
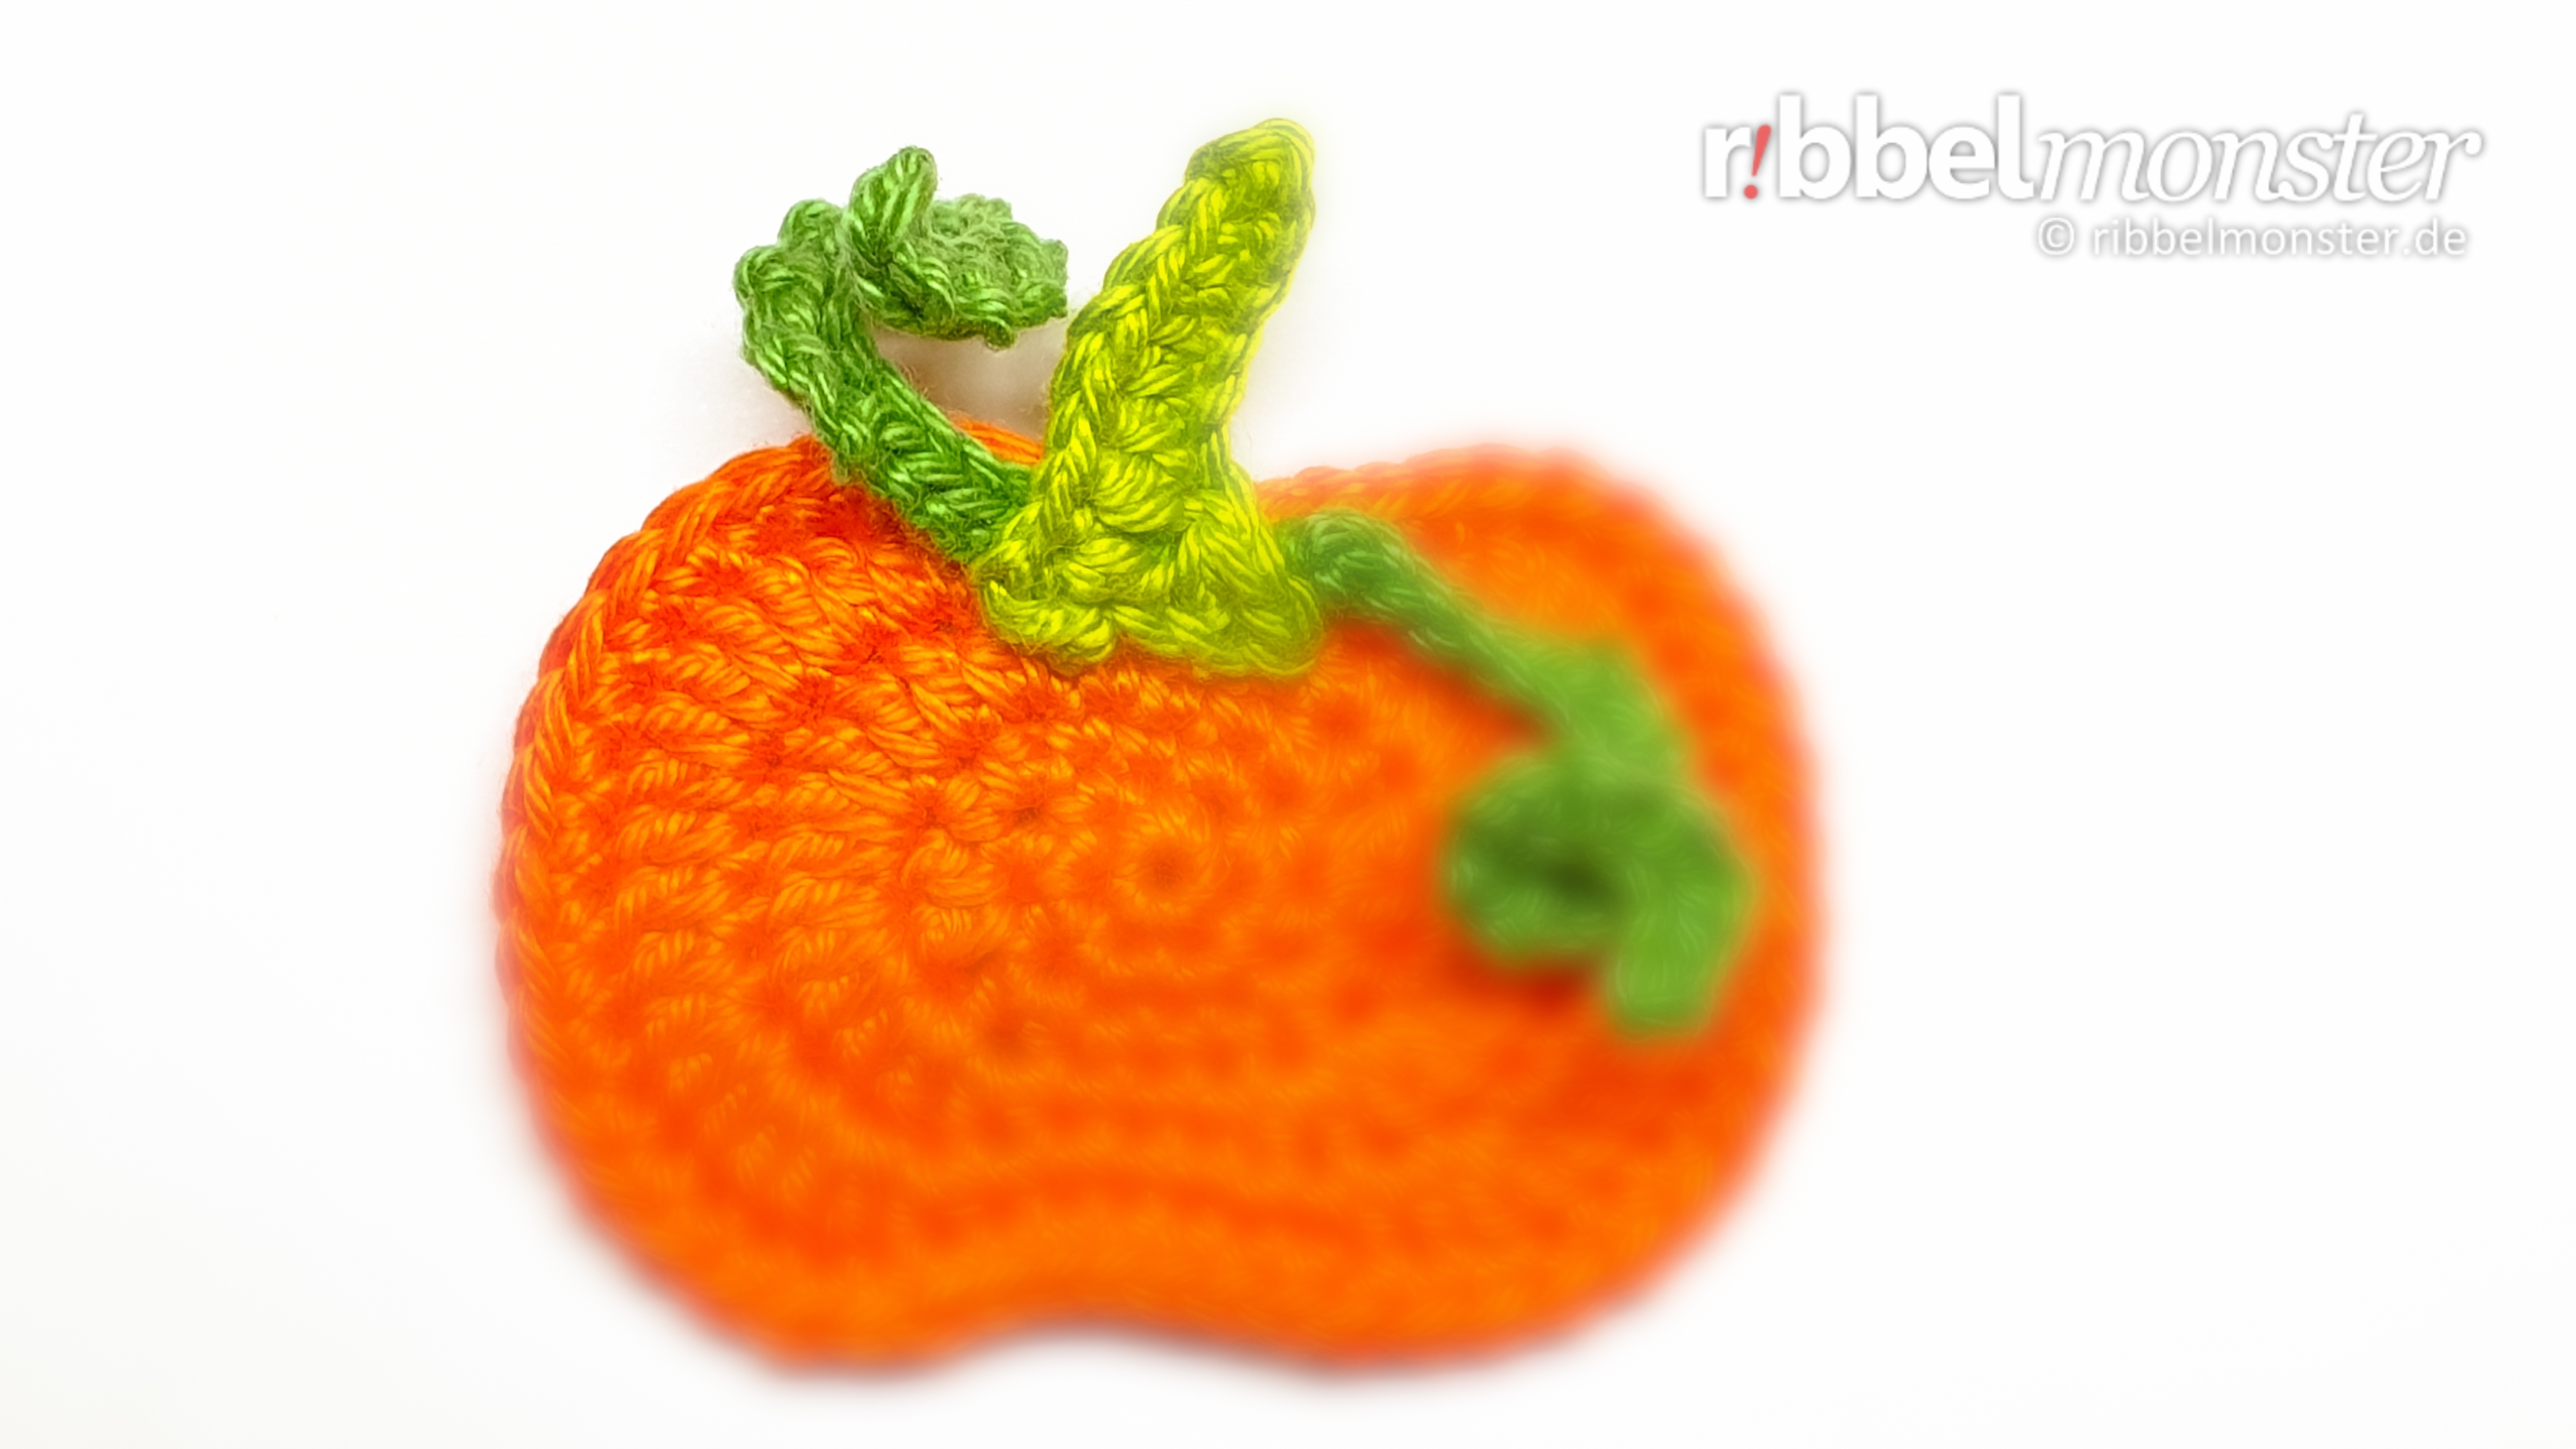
With this pattern you can crochet a patch, that looks like a circled pumpkin.
Note! Patches are excellent for decoration or adding flair to other pieces. Children love colorful patches on their clothing, and they can quickly cover up an unsightly hole. Since patches require relatively little yarn, they are excellent for using up yarn scraps. It never hurts to have a small supply of various patches on hand.
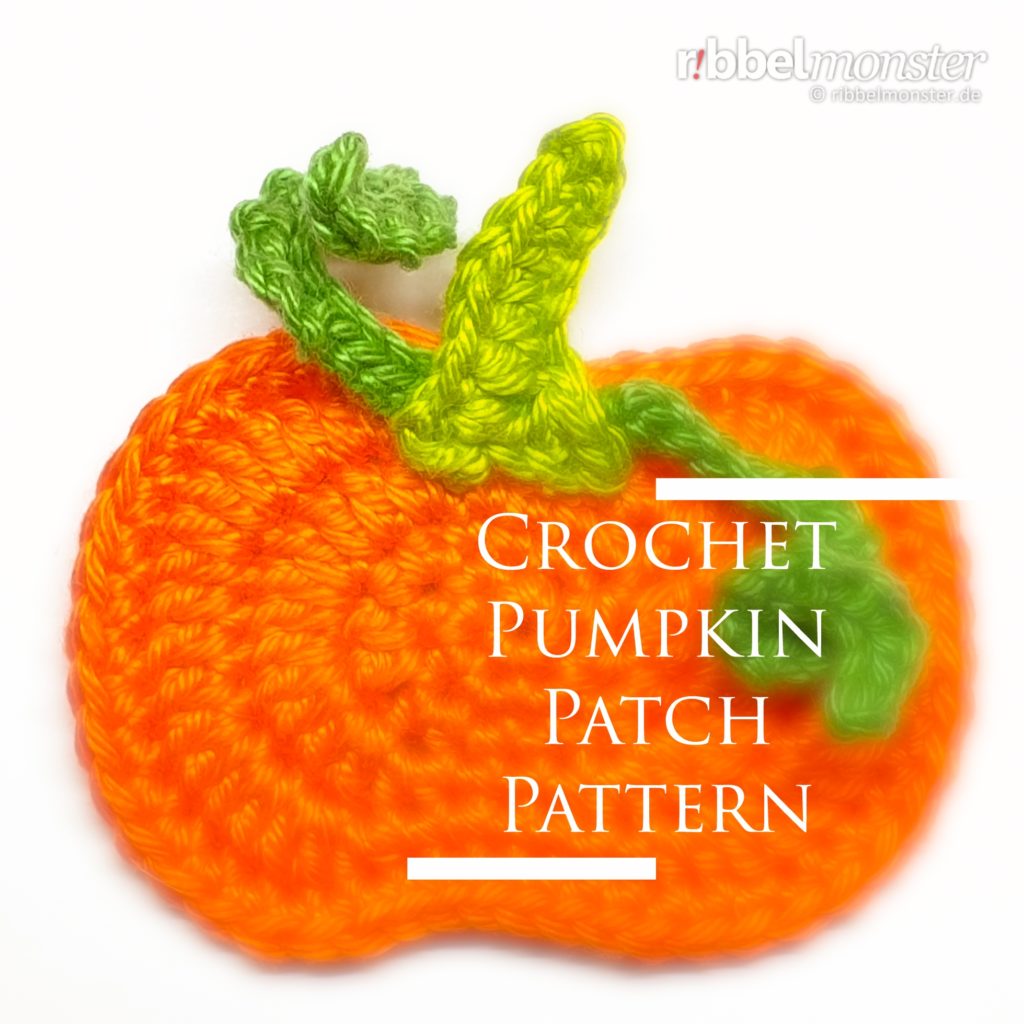
Introduction: Crochet Patch – Circled Pumpkin
Knowledge: Crochet Patch – Circled Pumpkin
- Chain Stitches
- Double Crochet Stitches (UK!)
- Half Treble Crochet Stitches (UK!)
- Magic Ring
- Slip Stitches
- Spiral Rounds
- Treble Crochet Stitches (UK!)
- Turning Chain Stitches
Supplies: Crochet Patch – Circled Pumpkin
Crochet Hook
You will need a crochet hook with a size of 12 (british). For converting to other sizes, the crochet hook size converter will help you. I have selected some great crochet hooks for you here.
Scissors – any
You’ll need any scissors. It’s best to use your most beautiful scissors because it brings you joy. If you don’t have really nice scissors, I’ve picked out some lovely ones for you.
Wool Needle
You’ll need a wool needle with a blunt tip. The thickness of the wool needle should match the thickness of your yarn. You might like the set of wool needles I’ve picked out for you.
Yarn – Schachenmayr – Catania – 241 – golfgrün (blaugrün)
I used yarn in the shade Golf Green. The material is 100% cotton. The yardage is 137 yds / 1.75 oz. If you want to replenish your supply, I’ve already picked out the matching yarn for you here.
Yarn – Schachenmayr – Catania – 281 – orange
I used yarn in the shade Orange. The material is 100% cotton. The yardage is 137 yds / 1.75 oz. If you want to replenish your supply, I’ve already picked out the matching yarn for you here.
Yarn – Schachenmayr – Catania – 392 – gelbgrün (hellgrün)
I used yarn in the shade Yellow Green. The material is 100% cotton. The yardage is 137 yds / 1.75 oz. If you want to replenish your supply, I’ve already picked out the matching yarn for you here.
Note! The specified yarn was used for the example shown here. In principle, you can use any yarn and an appropriate needle size. However, the quality of the material also affects the quality of the result, so you should avoid cutting corners in the wrong place. Also, the thickness of the yarn and the needle will influence the size of the outcome, which you can, of course, intentionally take advantage of.
Size: Crochet Patch – Circled Pumpkin
Note! If you want to change the size, you can simply use a thicker or thinner yarn with a suitable needle size. Simply doubling the rounds, rows, and stitches, on the other hand, will only result in an uneven outcome.
Crochet Pattern: Crochet Patch – Circled Pumpkin
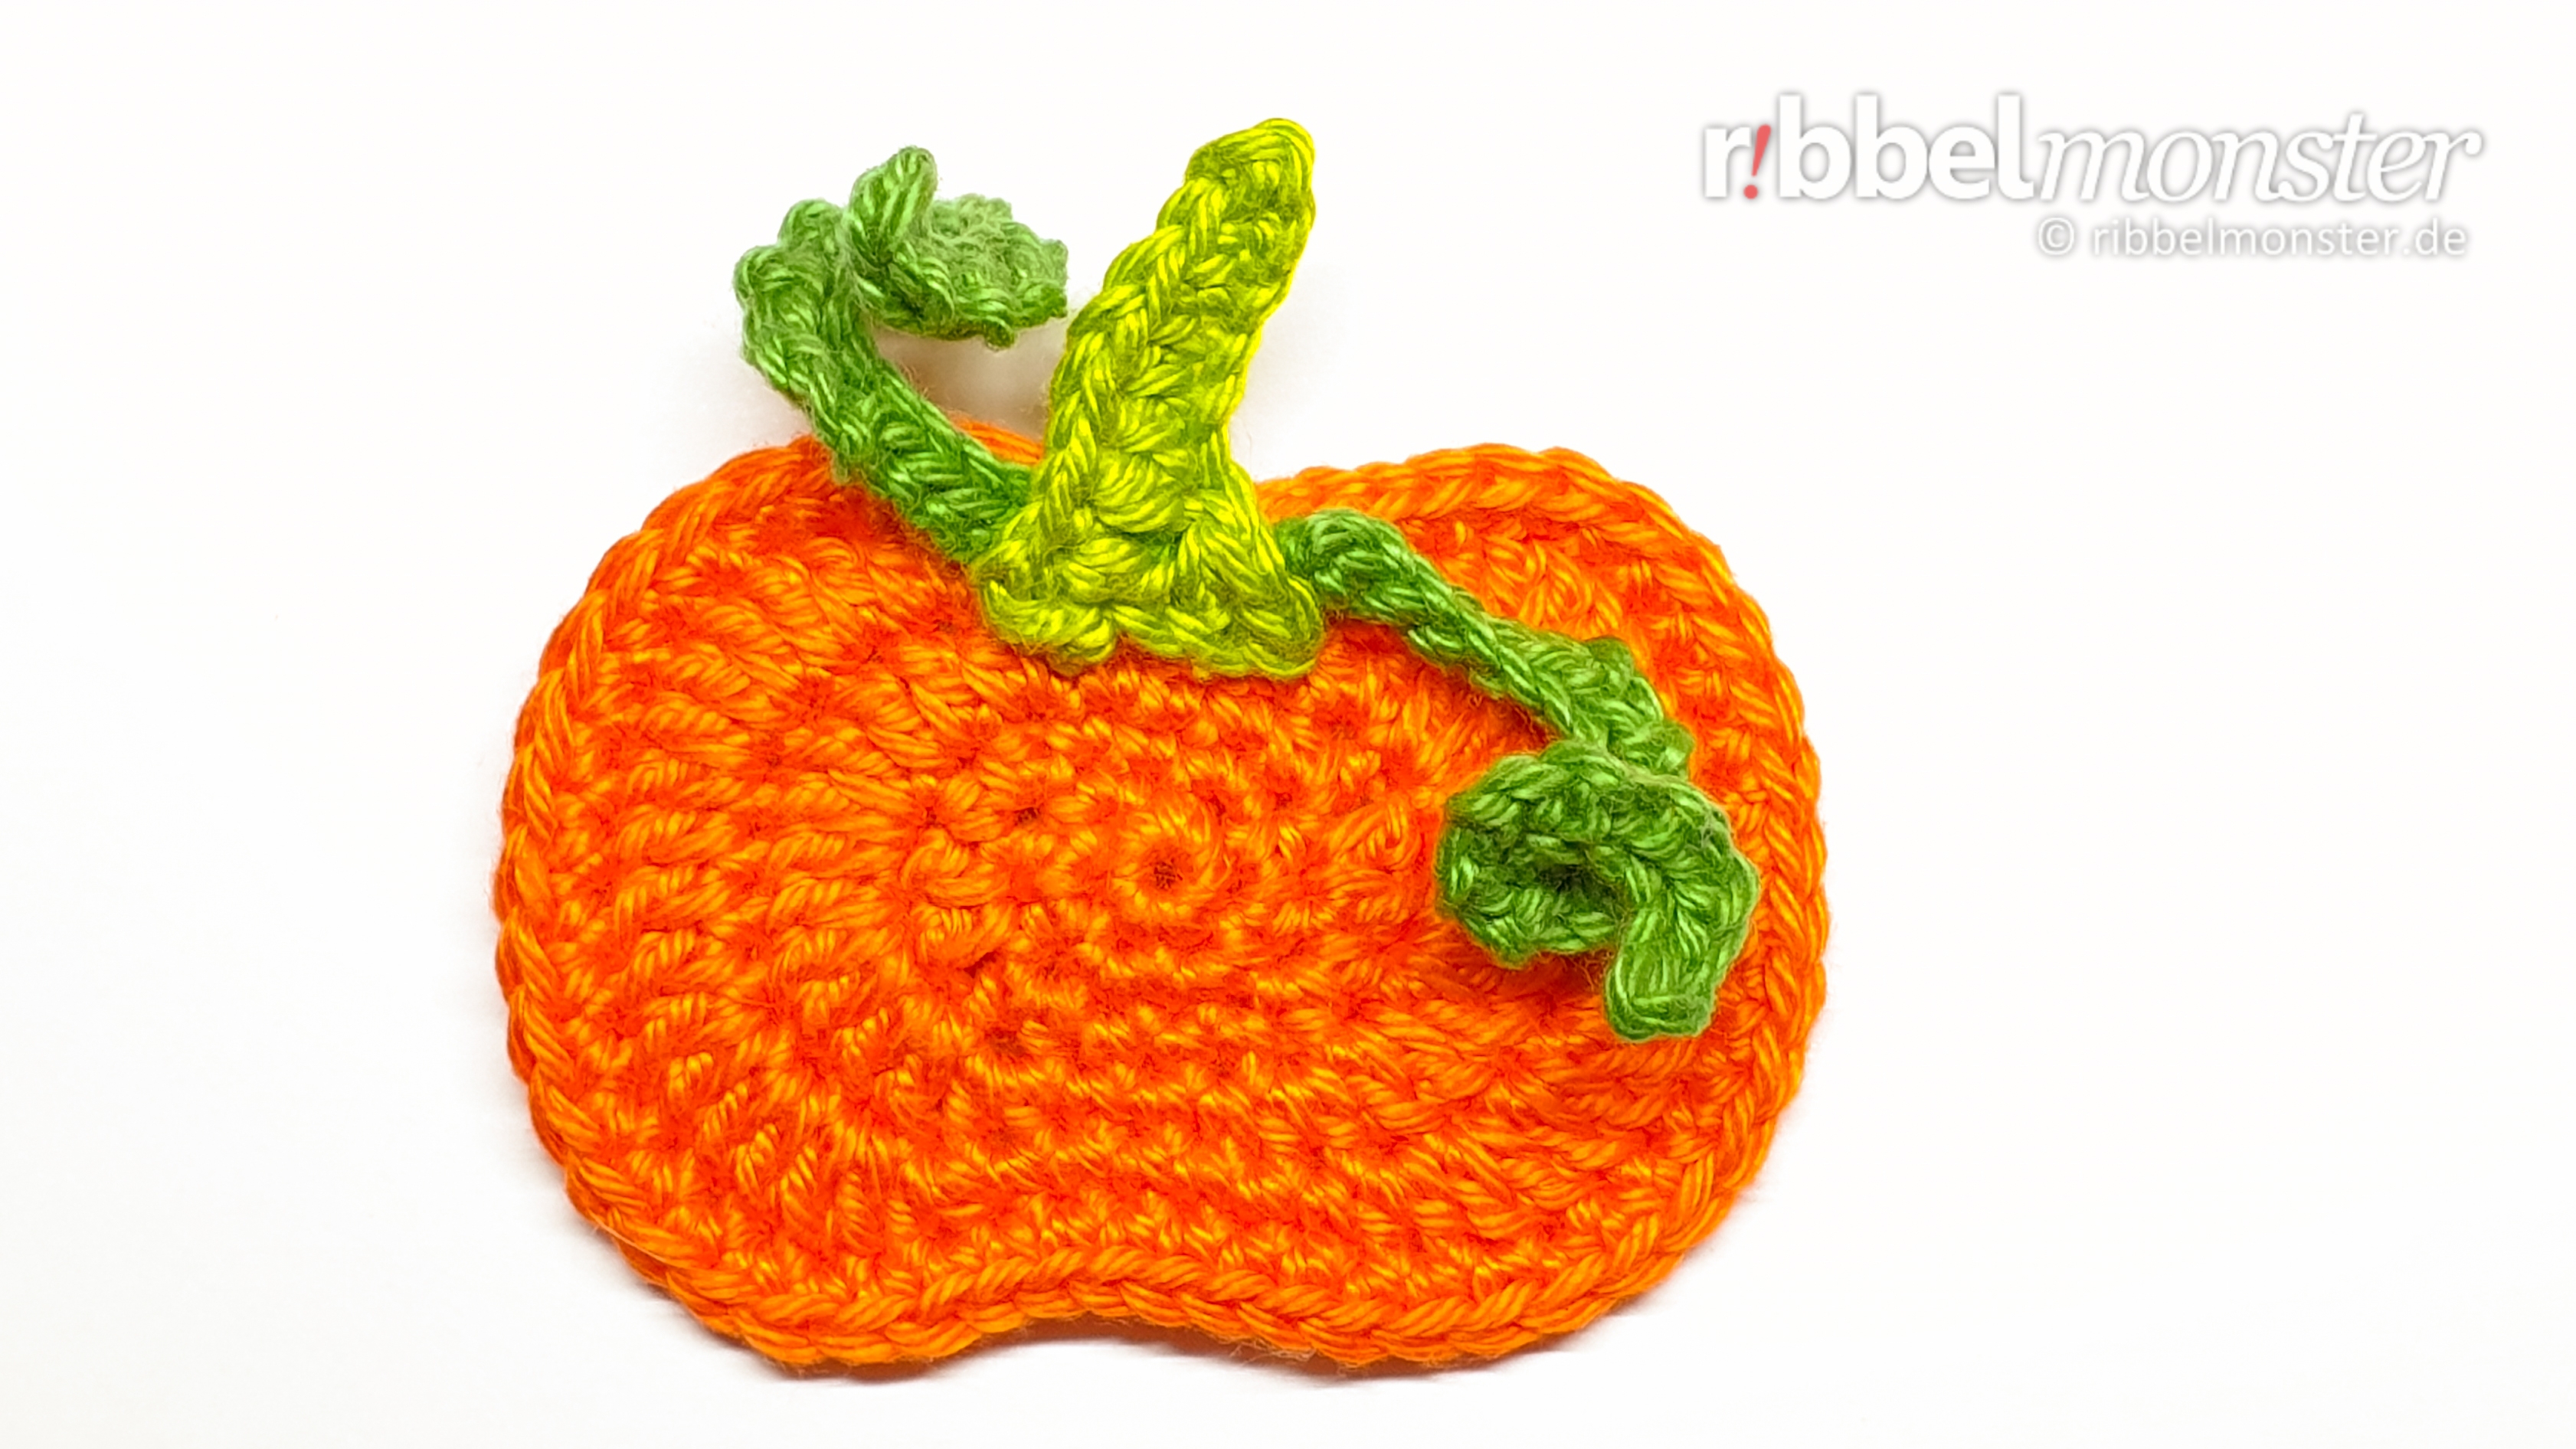
For the pumpkin we first crochet the pumpkin itself and then the stalk and the kringles. Finally, all parts are sewn together and then your pumpkin patch is already finished.
Crochet Pumpkin (1x)

We crochet the pumpkin in spiral rounds with different stitches. When you’re done, you can secure the ends of the thread on the back and hide it, or use it for sewing.
- orange:
- 1st round:
- magic ring
- into the magic ring:
- 6 double crochet stitches (UK!)
- = 6 stitches
- 2nd round:
- 1x 2 double crochet stitches (UK!) into one stitch
- 1x 2 half treble crochet stitches (UK!) into one stitch
- 2x 2 double crochet stitches (UK!) into one stitch
- 1x 2 half treble crochet stitches (UK!) into one stitch
- 1x 2 double crochet stitches (UK!) into one stitch
- = 12 stitches
- 3rd round:
- 2x 1 double crochet stitch (UK!) into one stitch
- 1x 2 half treble crochet stitches (UK!) into one stitch
- 1x 2 treble crochet stitches (UK!) into one stitch
- 1x 2 half treble crochet stitches (UK!) into one stitch
- 3x 1 double crochet stitch (UK!) into one stitch
- 1x 2 half treble crochet stitches (UK!) into one stitch
- 1x 2 treble crochet stitches (UK!) into one stitch
- 1x 2 half treble crochet stitches (UK!) into one stitch
- 1x 1 double crochet stitch (UK!) into one stitch
- = 18 stitches
- 4th round:
- 2x 1 double crochet stitch (UK!) into one stitch
- 1x 2 half treble crochet stitches (UK!) into one stitch
- 1x 2 treble crochet stitches (UK!) into one stitch
- 2x 3 treble crochet stitches (UK!) into one stitch
- 1x 2 treble crochet stitches (UK!) into one stitch
- 1x 2 half treble crochet stitches (UK!) into one stitch
- 3x 1 double crochet stitch (UK!) into one stitch
- 1x 2 half treble crochet stitches (UK!) into one stitch
- 1x 2 treble crochet stitches (UK!) into one stitch
- 2x 3 treble crochet stitches (UK!) into one stitch
- 1x 2 treble crochet stitches (UK!) into one stitch
- 1x 2 half treble crochet stitches (UK!) into one stitch
- 1x 1 double crochet stitch (UK!) into one stitch
- = 34 stitches
- 5th round:
- 4x 1 double crochet stitch (UK!) into one stitch
- 1x 2 half treble crochet stitches (UK!) into one stitch
- 3x 2 treble crochet stitches (UK!) into one stitch
- 3x 1 treble crochet stitch (UK!) into one stitch
- 3x 2 treble crochet stitches (UK!) into one stitch
- 1x 2 half treble crochet stitches (UK!) into one stitch
- 6x 1 double crochet stitch (UK!) into one stitch
- 1x 2 half treble crochet stitches (UK!) into one stitch
- 3x 2 treble crochet stitches (UK!) into one stitch
- 3x 1 treble crochet stitch (UK!) into one stitch
- 3x 2 treble crochet stitches (UK!) into one stitch
- 1x 2 half treble crochet stitches (UK!) into one stitch
- 2x 1 double crochet stitch (UK!) into one stitch
- = 50 stitches
- cut the thread, pull off the loop, secure and weave in the thread ends
Crochet Pumpkin Stalk (1x)

Crochet the stalk for the pumpkin in only 2 rows with chain stitches, double crochet stitches (UK!) and half treble crochet stitches (UK!). But watch out, because in the second row we crochet a little around the corner. Finally, you can use the thread ends to sew the stalk to the pumpkin.
- light green:
- 1st row:
- 4 chain stitches
- 1 lifting-chain stitch
- = 4 stitches
- 2nd row:
- 1x 1 double crochet stitch (UK!) into one stitch
- 1x 1 half treble crochet stitch (UK!) into one stitch
- 6 chainstitches
- 1 lifting-chain stitch
- into the chain stitches:
- 3x 1 double crochet stitch (UK!) into one stitch
- 3x 1 half treble crochet stitch (UK!) into one stitch
- 1x 1 half treble crochet stitch (UK!) into one stitch
- 1x 1 double crochet stitch (UK!) into one stitch
- 1 chain stitch
- 1 slip stitch
- cut the thread, pull off the loop, Fadenende wird später zum Annähen verwendet
Crochet Kringle (2x)
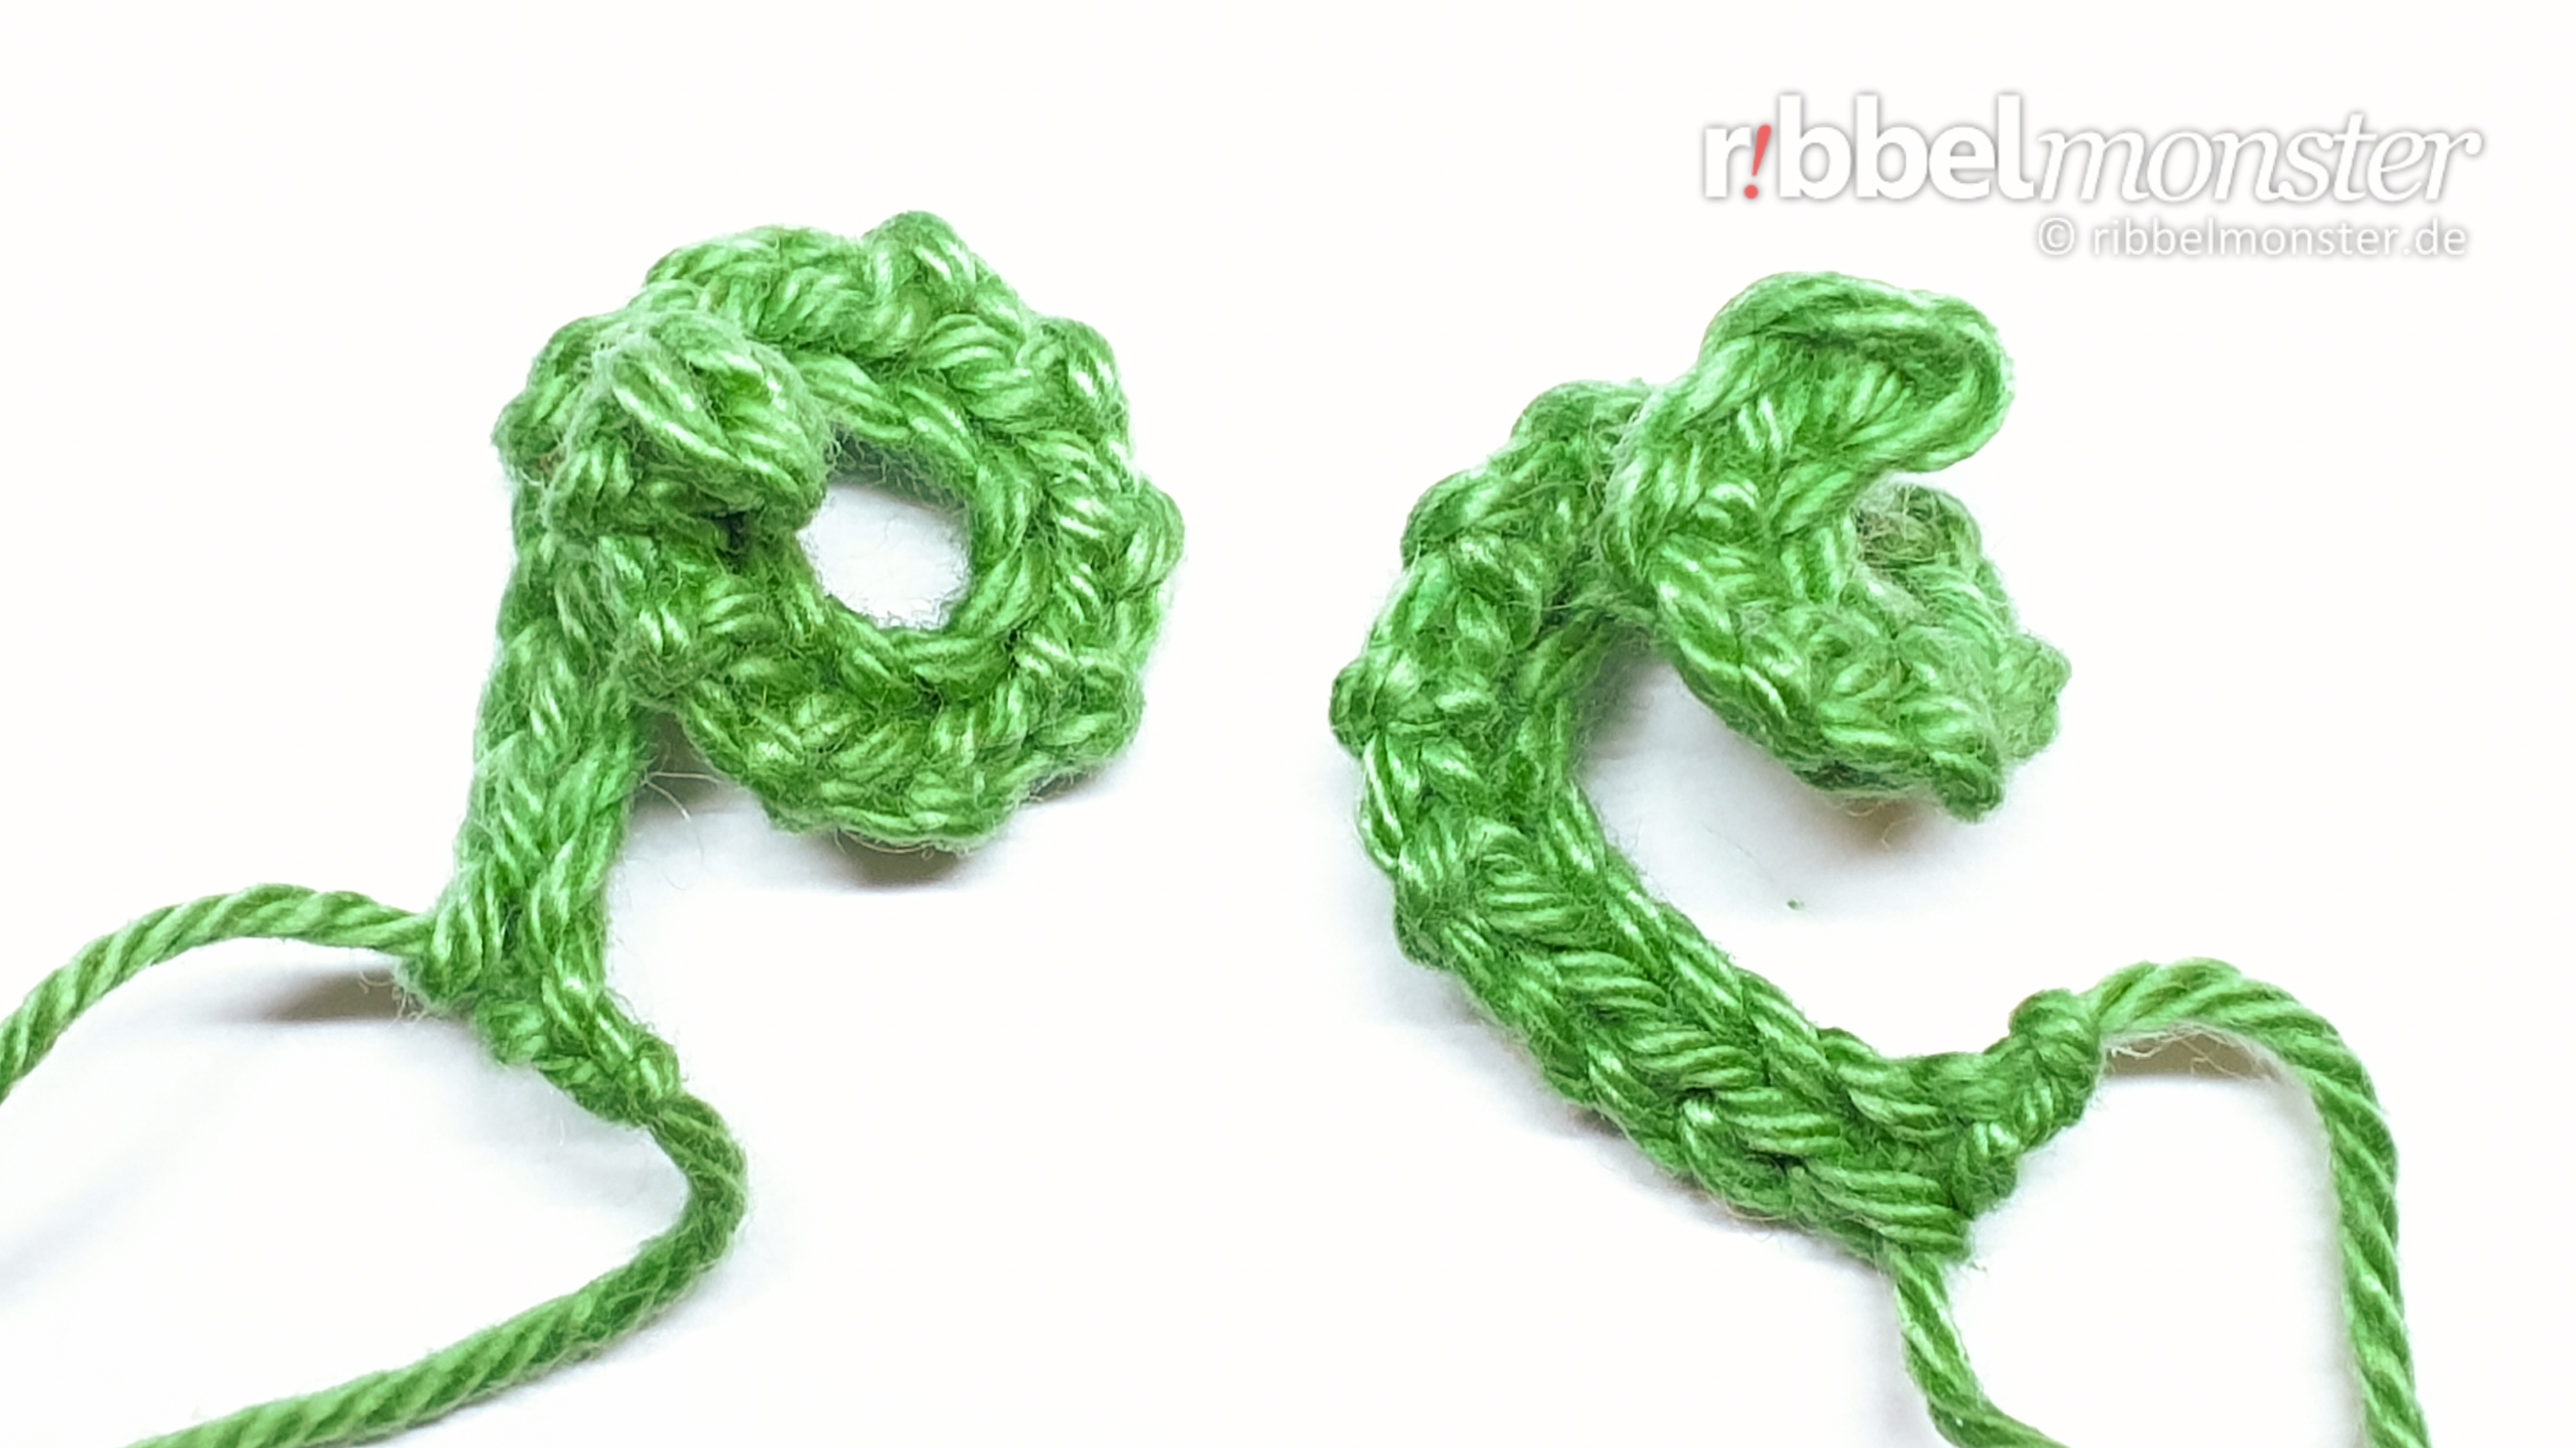
Crochet the kringles for the pumpkin in only 2 rows with chain stitches and slip stitches. Later, the kringles are sewn with the thread ends to the pumpkin.
- dark green:
- 1st row:
- 16 chain stitches
- 1 lifting-chain stitch
- = 16 stitches
- 2nd row:
- 1x 1 slip stitch into one stitch
- 10x 2 slip stitches into one stitch
- 5x 1 slip stitch into one stitch
- = 26 stitches
- cut the thread, pull off the loop, Fadenende wird später zum Annähen verwendet
Finish Pumpkin Patch
Finally, only all parts have to be put together. You start with the sewing of the kringle above right and left of the middle. Then you sew the stalk. It juts up over the edge of the pumpkin and hides the beginning of the kringle.
Ich hoffe es hat dir Spaß gemacht!
Besuchst du das Ribbelmonster bald wieder?