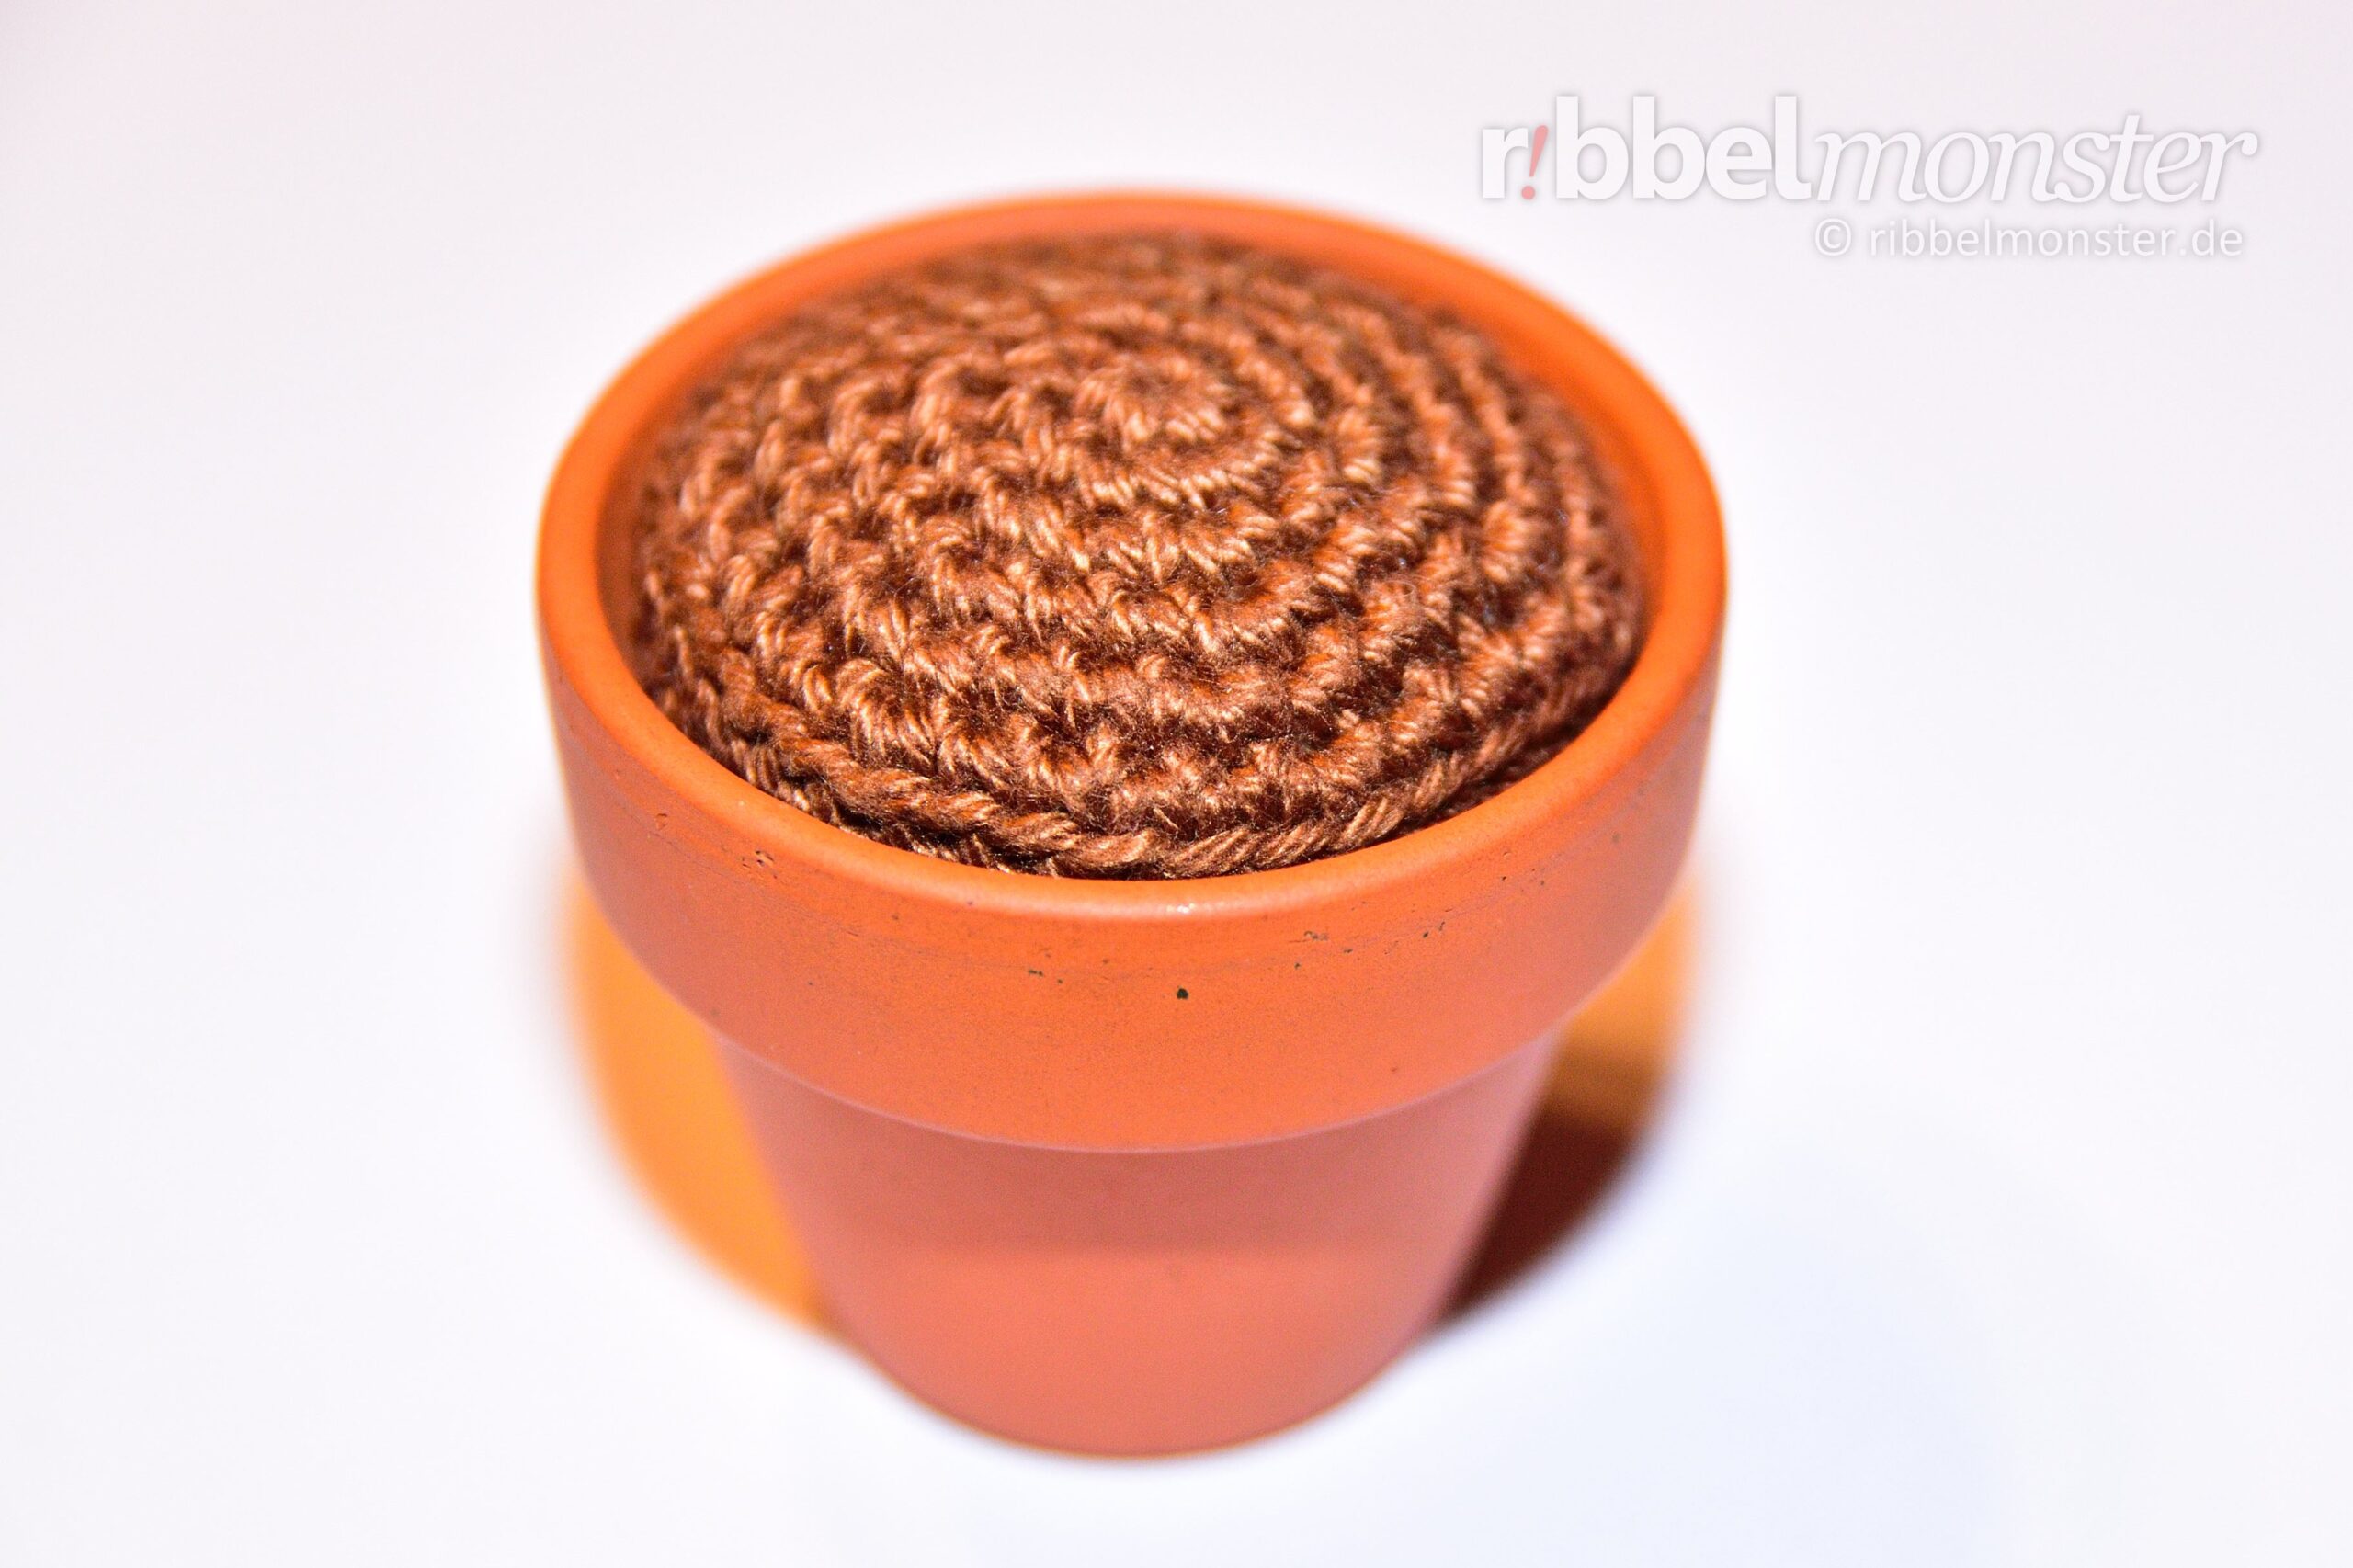
Du kannst ganz einfach Blumentopferde crochet und darin deine gehäkelten Pflanzen eintopfen. Hier findest du eine Anleitung um Blumentopferde zu crochet. Du kannst die Größe der gehäkelten Erde frei auf deinen Blumentopf anpassen.
Knowledge: Amigurumi – Blumentopferde crochet “Placke”
Supplies: Amigurumi – Blumentopferde crochet “Placke”
- Crochet Yarn:
- Colours: brown
- Size: ca. 125m / 50g
- Example: Schachenmayr Catania
- Häkelnadel:
- Metric: 2,5 mm
- Help? Needle Size Translator
- Wool Needle
- Scissors
- Filling:
- Example: Wadding (100% Viscose)
- Alternatives? Amigurumi Filling
Crochet Pattern: Amigurumi – Blumentopferde crochet “Placke”
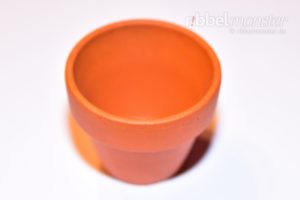 Die Blumentopferde crochet wir in 3 Etappen und passen dabei die Größe frei an. So kannst du ganz einfach passende Erde für jeden beliebigen Blumentopf crochet. Ich habe hier kleine Töpfe aus Keramik verwendet, aber du kannst auch größere Blumentöpfe aus jedem beliebigen Material verturn.
Oberteil der Blumentopferde crochet
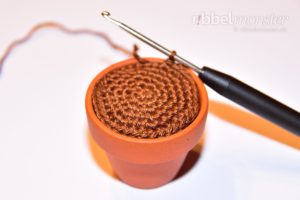 Als Oberteil der Blumentopferde crochet wir eine flache Scheibe aus double crochet stitches (UK!) in spiral rounds. Du häkelst die Scheibe genau so groß, das sie die obere Öffnung deines Blumentopfes ausfüllt. Sobald du die richtige Größe erreicht hast machst du einfach mit dem Mittelteil weiter.
- brown:
- 1st round: magic ring + 6 double crochet stitches (UK!) = 6 stitches
- weitere Runden: always double crochet stitches (UK!), gleichmäßig verteilt 6 stitches increase
- sobald die richtige Größe erreicht ist weiter mit Mittelteil
Mittelteil der Blumentopferde crochet
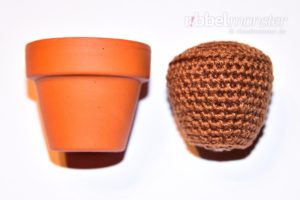 Für das Mittelteil der Blumentopferde crochet wir zuerst eine Kante und dann einen leicht schmaler werdenden Schlauch aus double crochet stitches (UK!) in spiral rounds. Du häkelst den Schlauch genau so lang, bis du den Boden des Topfes erreichst. Das kannst du einfach immer wieder probieren, allerdings muss du auf eine stitchesanzahl teilbar durch 6 enden. Sobald du die richtige Größe erreicht hast machst du einfach mit dem Unterteil weiter.
- brown:
- 1st round: stitch into back loop only, each stitch one stitch
- weitere Runden: normal in beide stitchesglieder einstechen, gleichmäßig verteilt 2 stitches decrease
- sobald die richtige Height erreicht ist und die stitchesanzahl teilbar durch 6, weiter mit Unterteil
Unterteil der Blumentopferde crochet
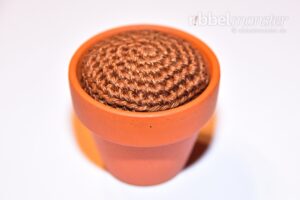 Für das Unterteil der Blumentopferde crochet wir wieder eine Kante und dann einen flachen Kreis aus double crochet stitches (UK!) in spiral rounds. Du häkelst hier genau so lange, bis du nur noch 6 stitches in der Runde hast. Kurz vor Ende wird die gehäkelte Erde noch vollständig gefüllt und gestopft. Dann bist du auch schon fertig.
- brown:
- 1st round: stitch into back loop only, each stitch one stitch
- weitere Runden: normal in beide stitchesglieder einstechen, gleichmäßig verteilt 6 stitches decrease
- vor der letzten Runde fill and stuff completely
- cut the thread generous, pull off the loop, close remaining opening, secure and weave in the thread end
Beispiel Blumentopferde crochet
Wenn es für dich passt, kannst du natürlich einfach die Beispiel Blumentopferde crochet, so wie ich sie gehäkelt habe. Diese Größe passt aber nur, wenn du nicht nur die gleichen Blumentöpfe verwendest, sondern auch die gleiche Needle Size und Yarnstärke.
- brown
- Oberteil:
- 1st round: magic ring + 6 double crochet stitches (UK!) = 6 stitches
- 2nd round: double every stitch = 12 stitches
- 3rd round: double every 2nd stitch = 18 stitches
- 4th round: double every 3rd stitch = 24 stitches
- 5th round: double every 4th stitch = 30 stitches
- 6th round: double every 5th stitch = 36 stitches
- Mittelteil:
- 7th round: stitch into back loop only, each stitch one stitch = 36 stitches
- 8th round: crochet together every 17th and 18th stitch = 34 stitches
- 9th round: crochet together every 16th and 17th stitch = 32 stitches
- 10th round: crochet together every 15th and 16th stitch = 30 stitches
- 11th round: crochet together every 14th and 15th stitch = 28 stitches
- 12th round: crochet together every 13th and 14th stitch = 26 stitches
- 13th round: crochet together every 12th and 13th stitch = 24 stitches
- 14th round: crochet together every 11th and 12th stitch = 22 stitches
- 15th round: crochet together every 10th and 11th stitch = 20 stitches
- 16th round: crochet together every 9th and 10th stitch = 18 stitches
- Unterteil:
- 17th round: stitch into back loop only, each stitch one stitch = 18 stitches
- 18th round: crochet together every 2nd and 3rd stitch = 12 stitches
- fill and stuff completely
- 19th round: crochet together every 1st and 2nd stitch = 6 stitches
- cut the thread generous, pull off the loop, close remaining opening, secure and weave in the thread end
Nun ist deine gehäkelte Blumentopferde auch schon fertig und du kannst sie einfach in deinen Blumentopf stecken. Jetzt kannst du jede beliebige Amigurumi Pflanze eintopfen und als Dekoration verturn.
Ich hoffe du hattest viel Spaß beim Häkeln und ich freue mich auf deinen nächsten Besuch!

