
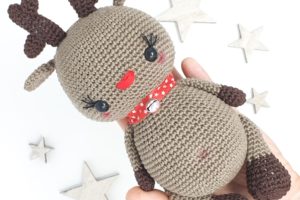
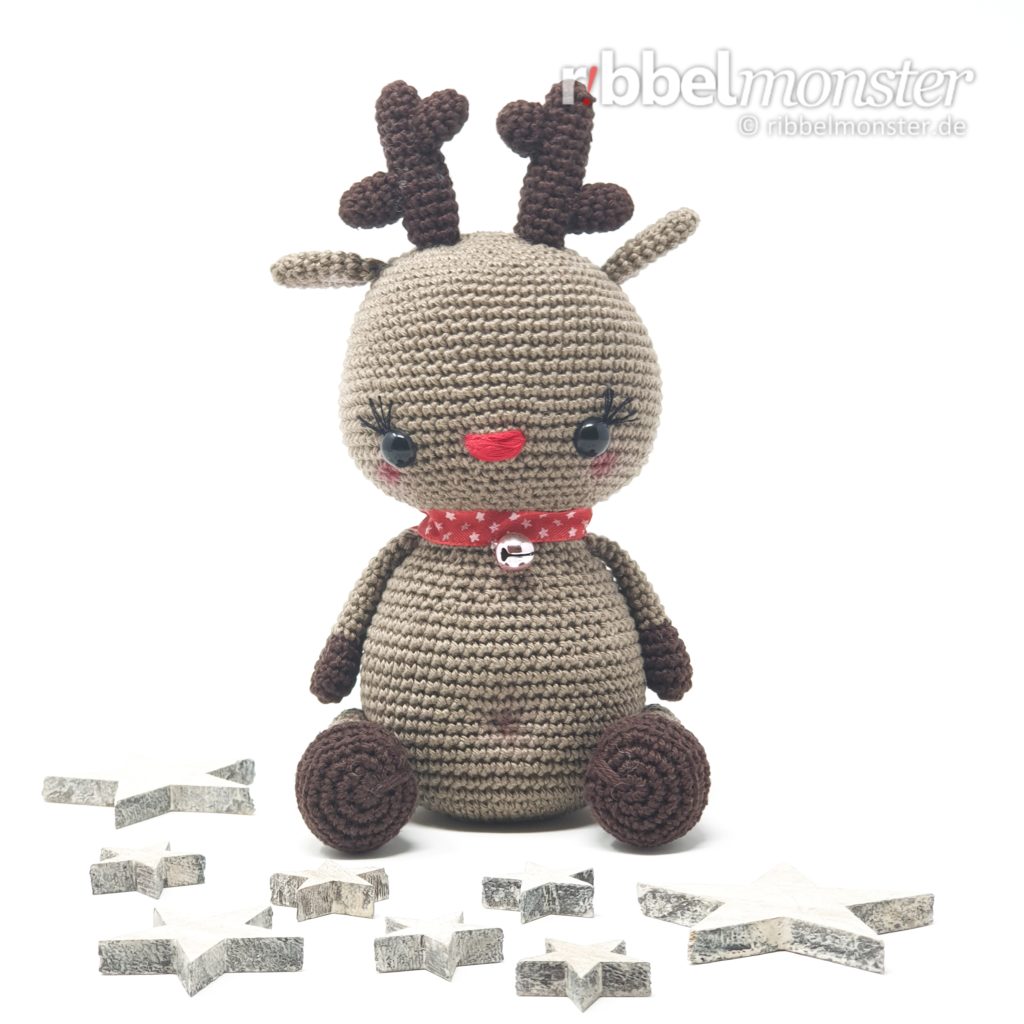
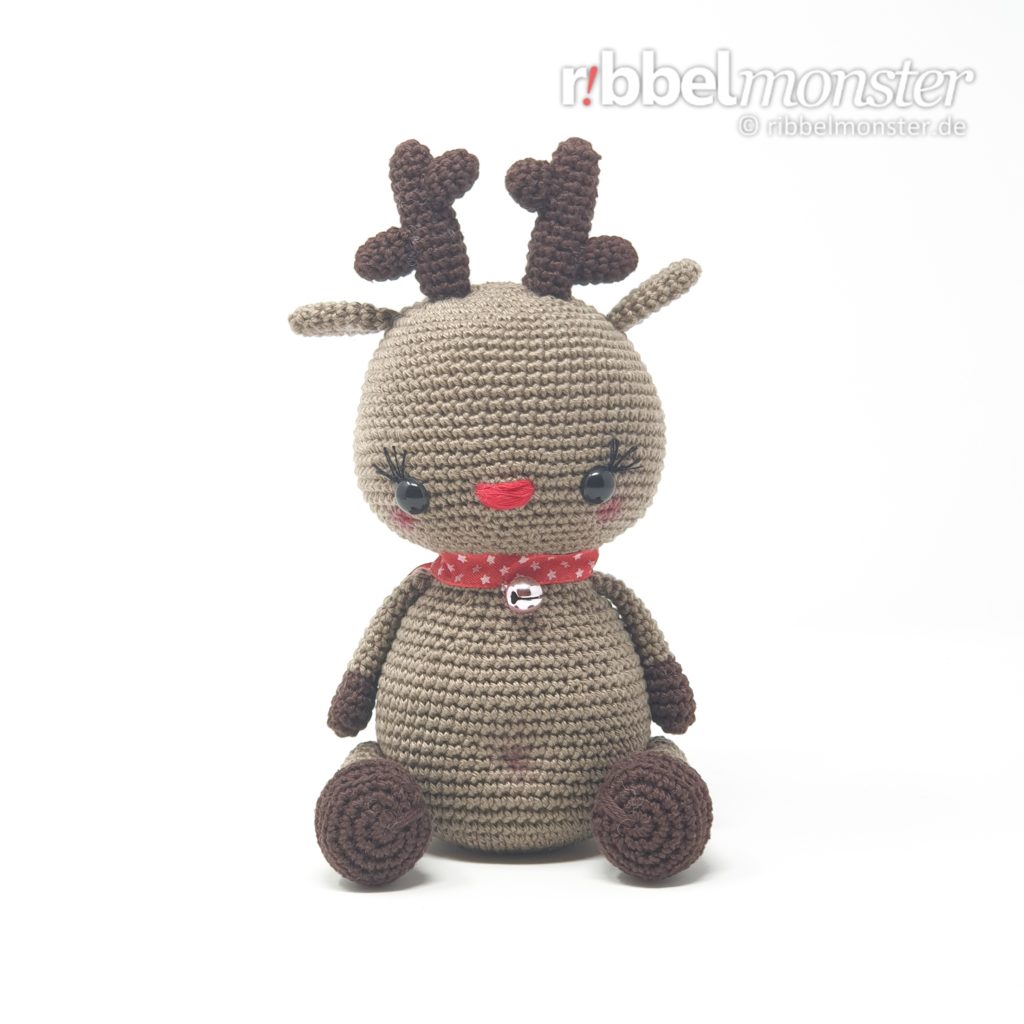
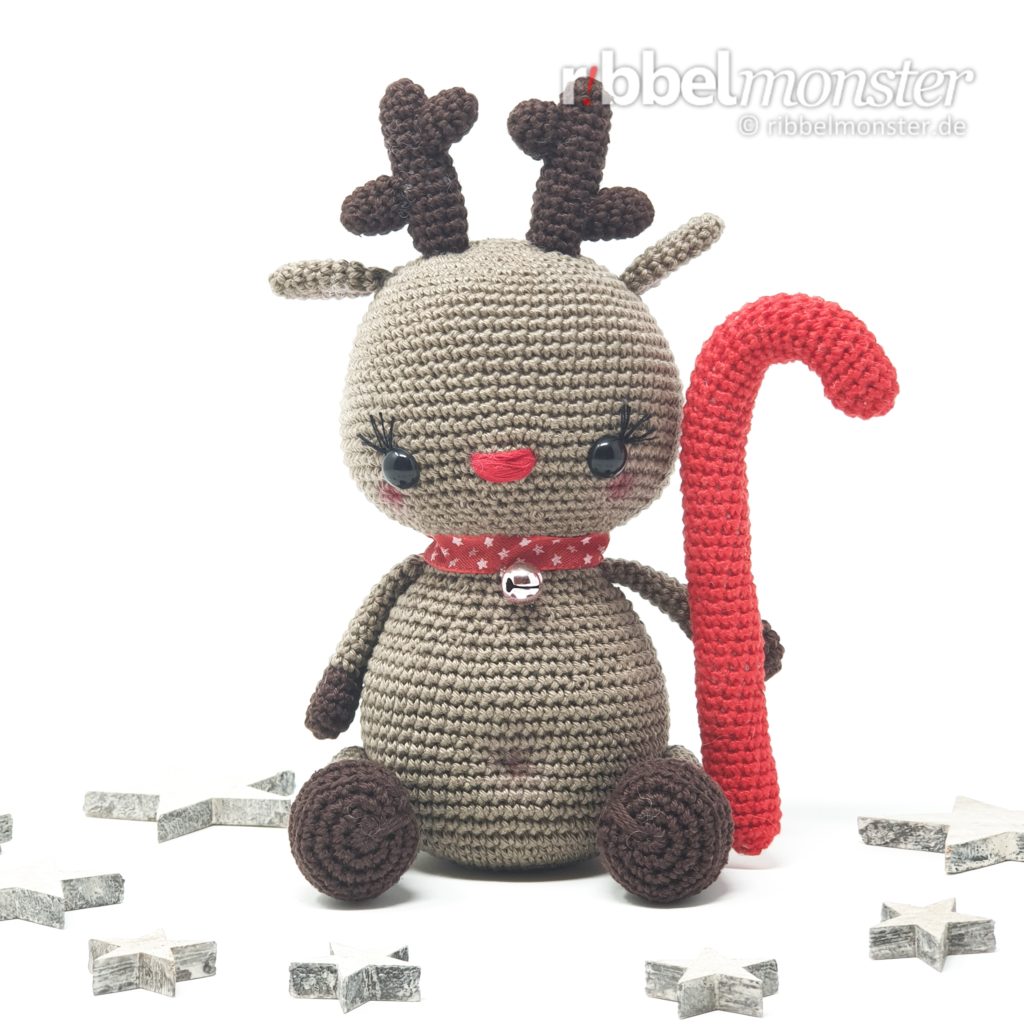
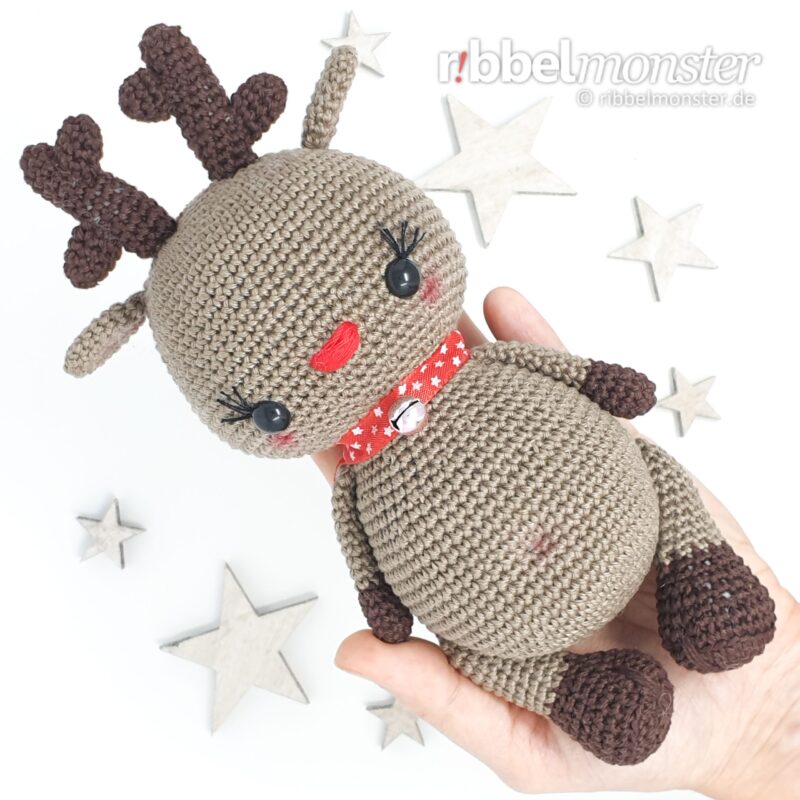
An Amigurumi Crochet Reindeer is easy to crochet with this detailed crochet pattern. The crocheted reindeer “Rudolphina” captivates with its compact and simple form. The large eyes invite cuddling and playing, and the Amigurumi Reindeer fills an adult’s hand completely.
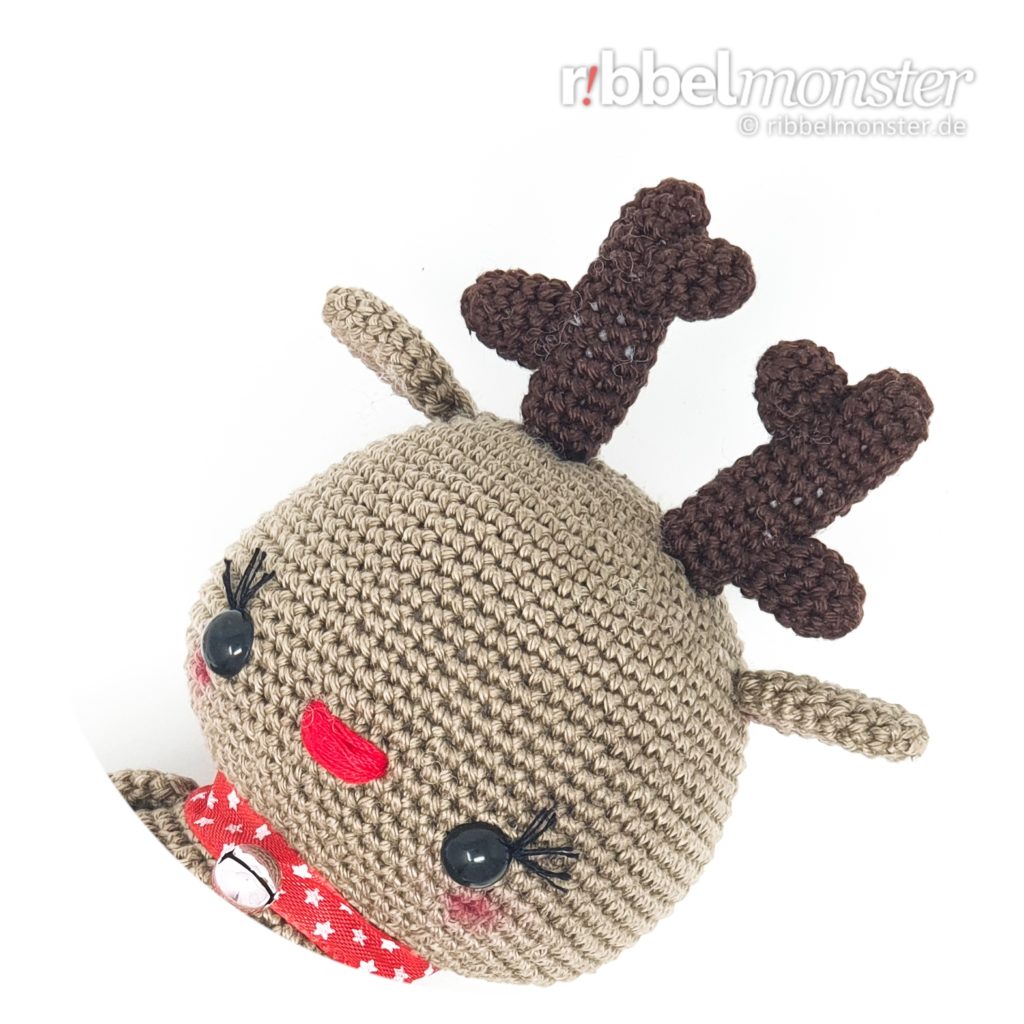
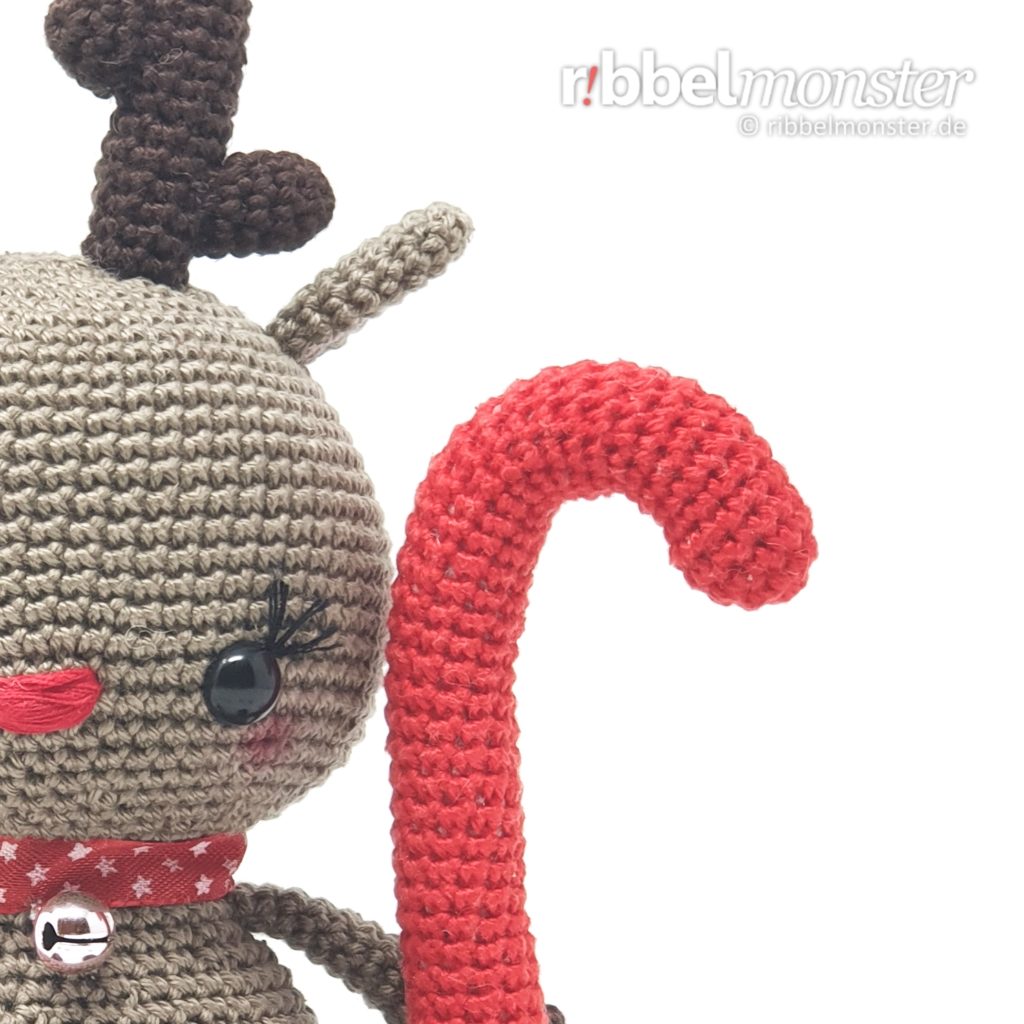
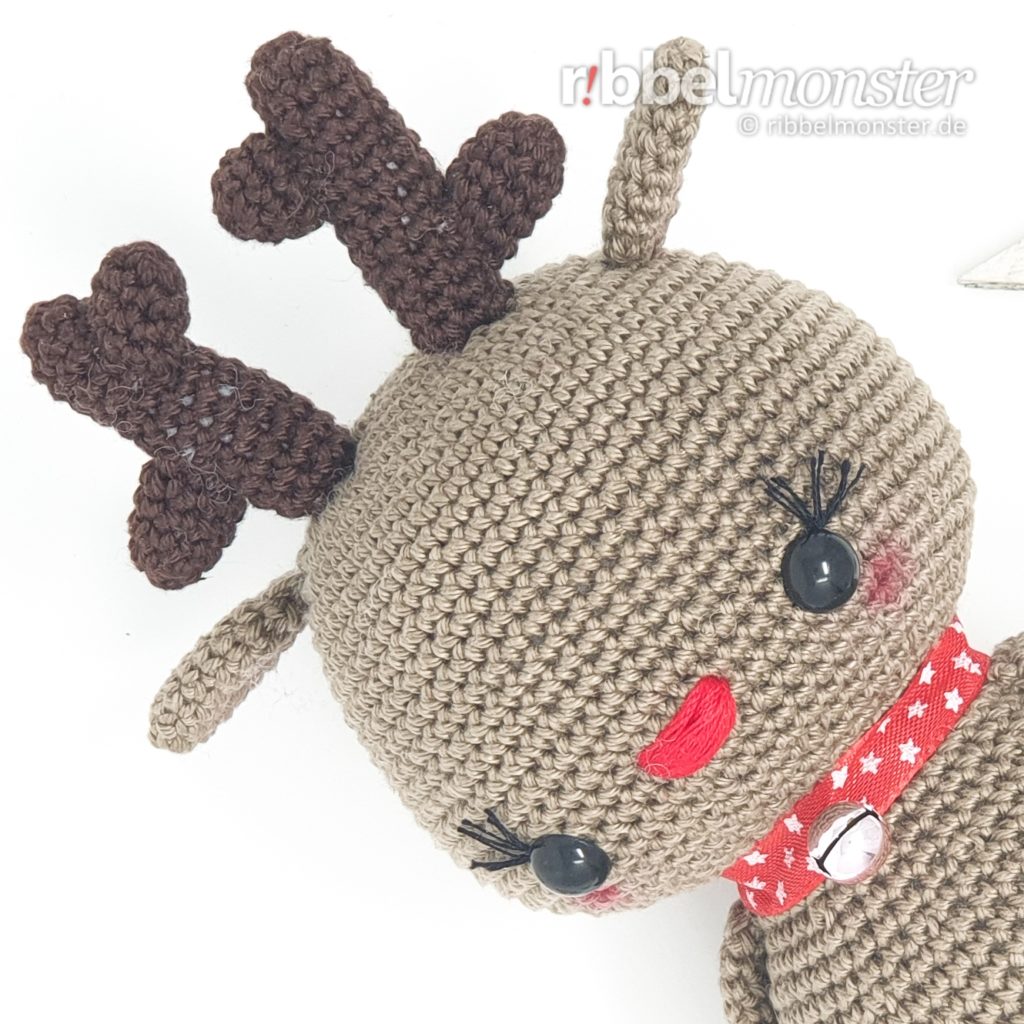
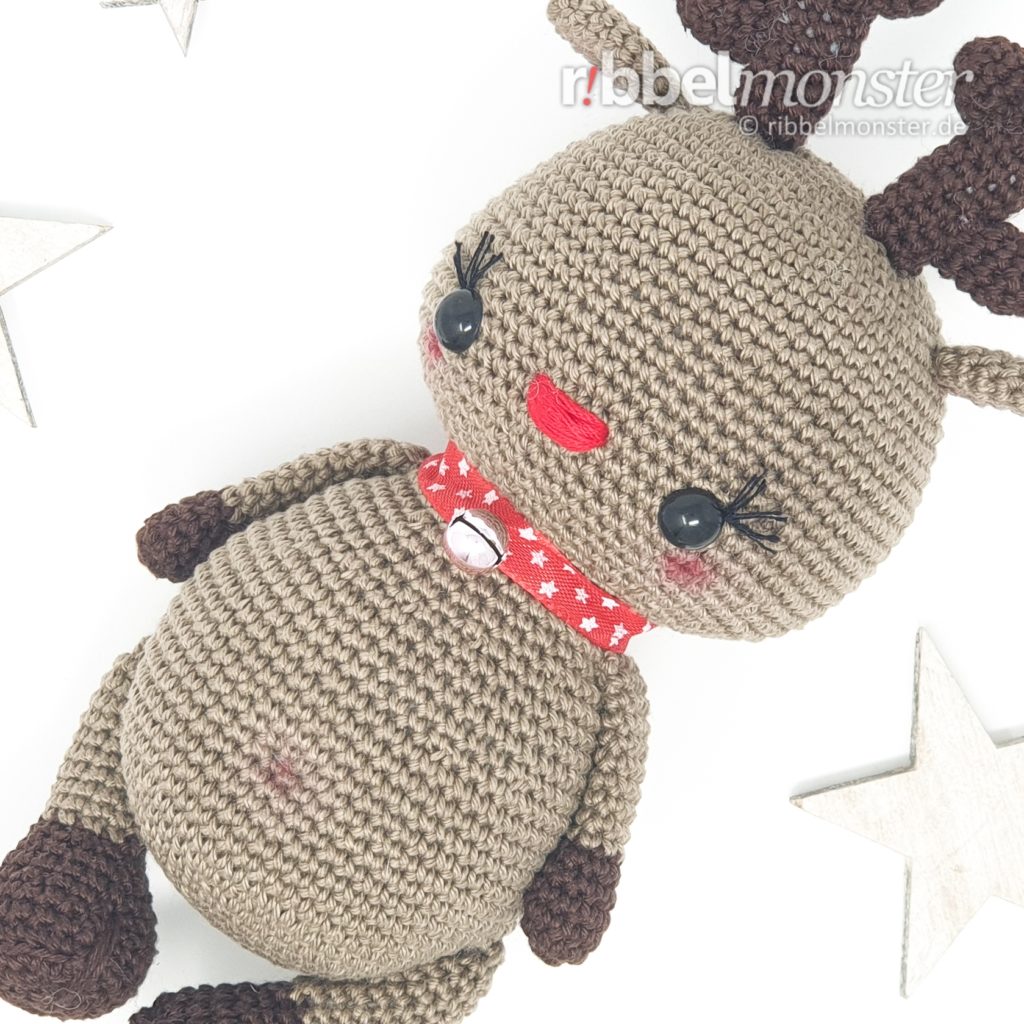
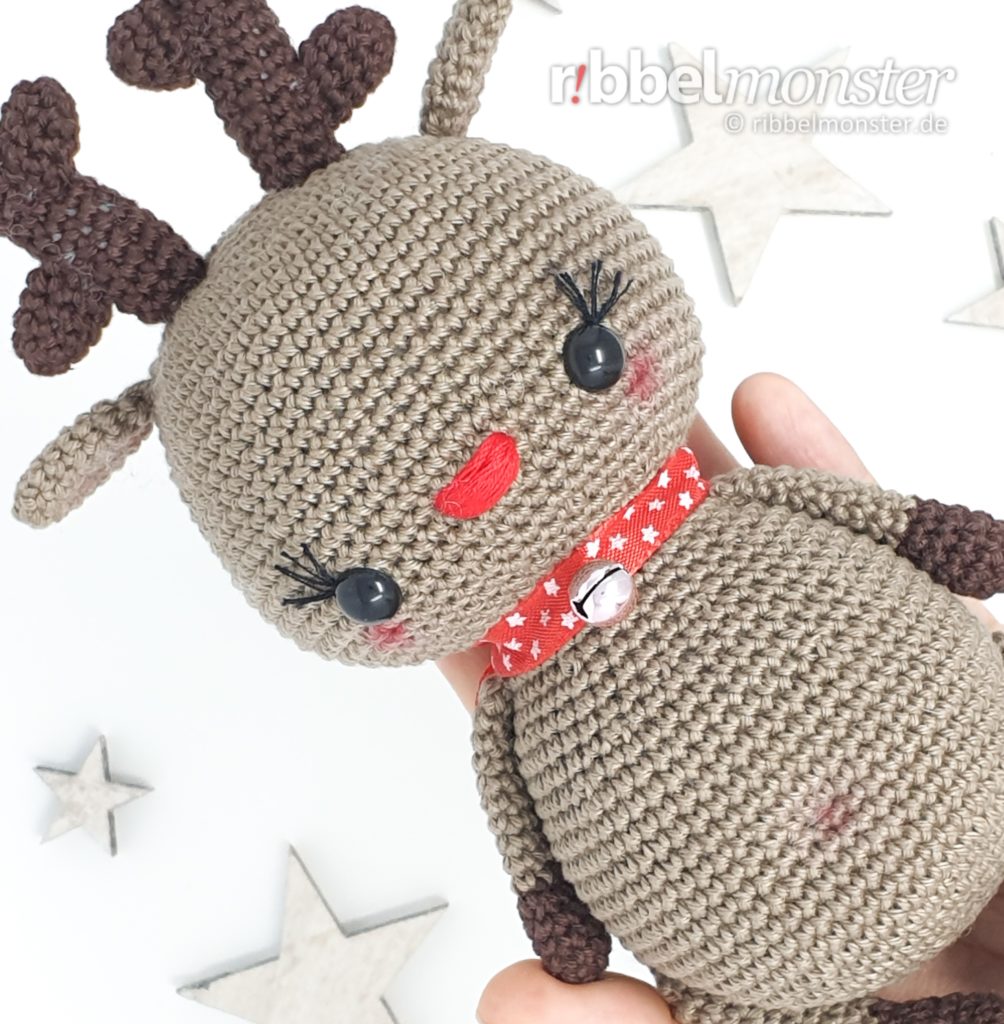
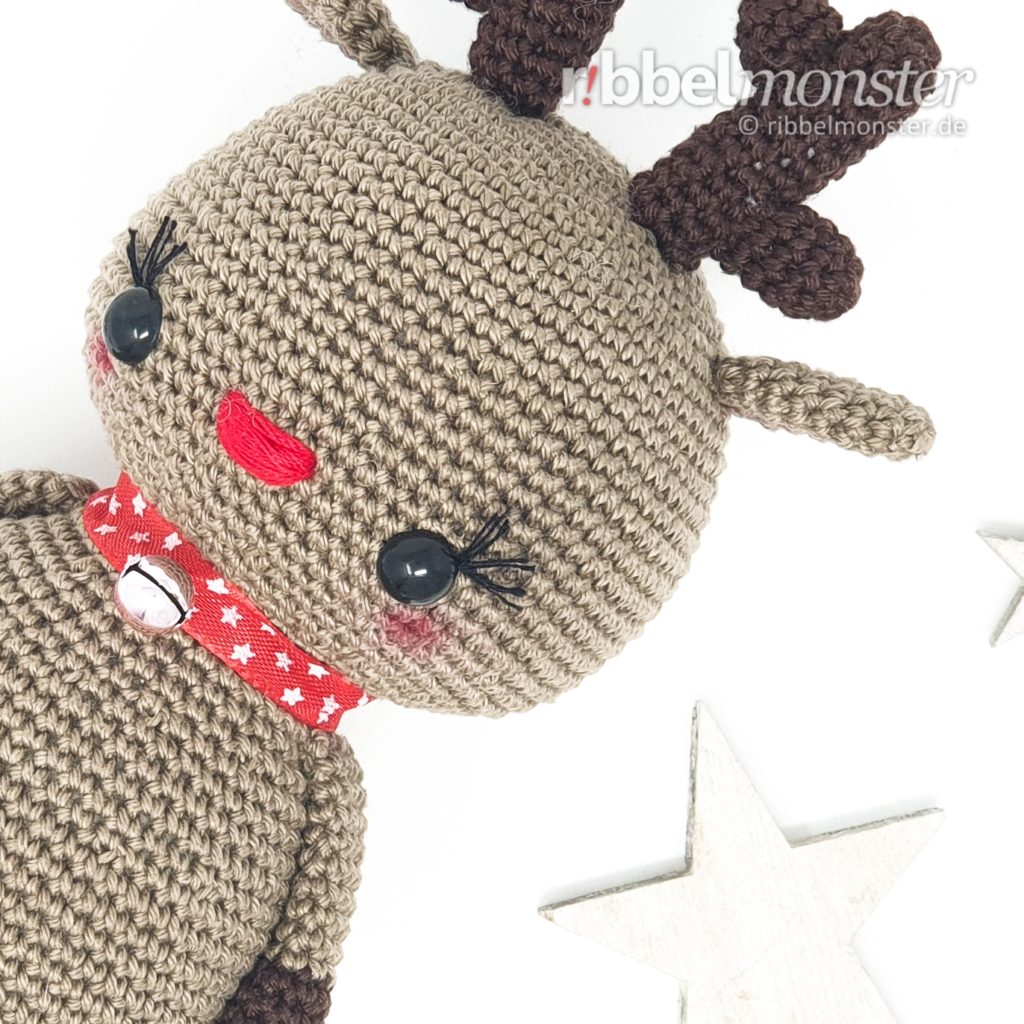
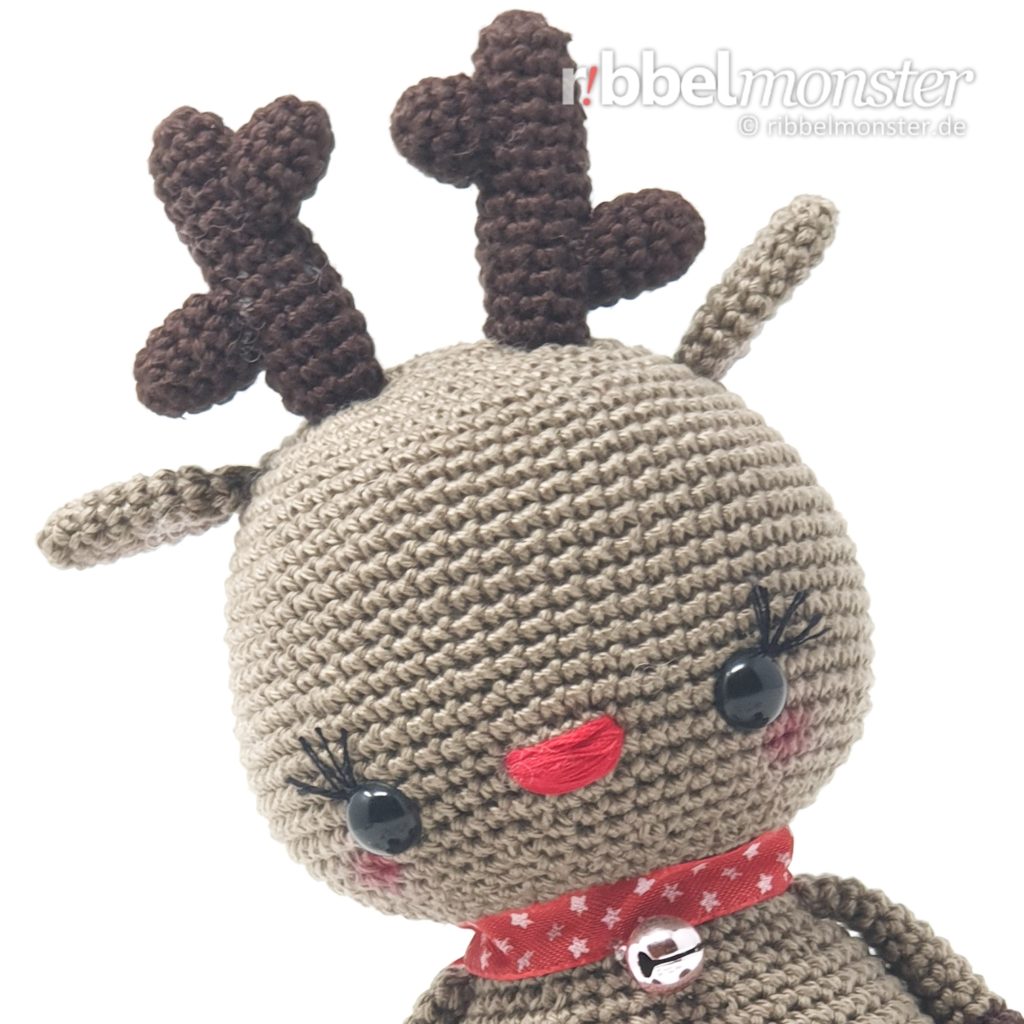
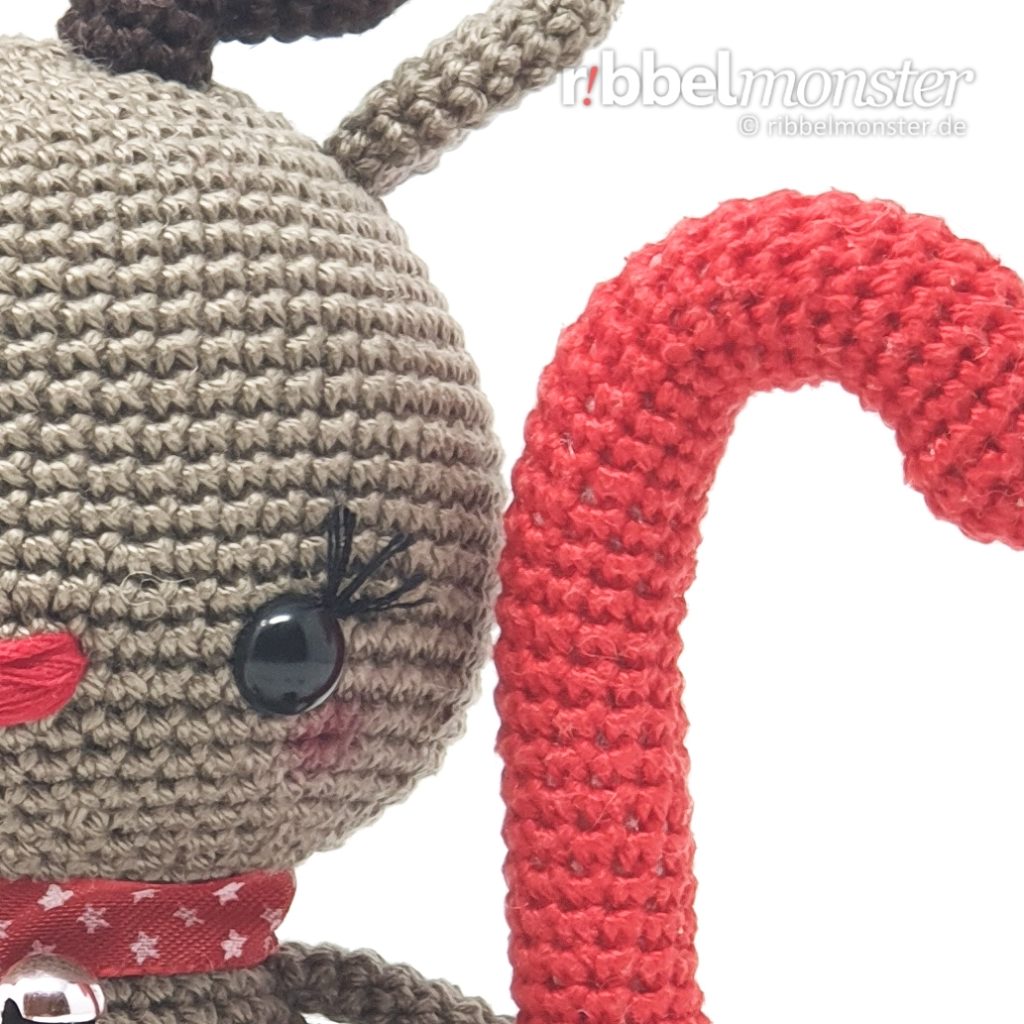
Shall I tell you a secret? It’s not always Rudolph leading Santa’s sleigh. No reindeer in the world can pull the heavy sleigh for Santa day and night around the world. But you don’t have to worry about the gifts because Rudolph has an equal substitute. It’s just hardly noticeable because Rudolphina looks exactly like him. But if you look closely, you can recognize her!
Inhalt
Introduction: Amigurumi – Crochet Reindeer “Rudolphina”
Before starting to crochet the Amigurumi Reindeer, it is crucial to prepare well. Therefore, you will find the necessary information about prerequisites, materials, and size here. If you need help, you will find additional links in the respective sections.
Achtung! Amigurumis sind sehr niedlich und deshalb nicht nur bei Erwachsenen sehr beliebt. Von Kindern werden sie gern als Spielzeug betrachtet, weshalb du besonders vorsichtig sein solltest. Amigurumis, die nicht bespielt werden sollen, sollten unbedingt außerhalb der Reichweite von Kindern aufbewahrt werden. Soll ein Amigurumi von Kindern bespielt werden, solltest du unbedingt die Vorgaben für Spielzeug einhalten. Wenn du die Amigurumis weitergeben oder verkaufen möchtest (Lizenz für Verkäufer), dann musst du zwingend die gesetzlichen Vorgaben für Spielzeug beachten und die benötigte CE-Kennzeichnung ausweisen.
Prerequisites
To successfully recreate this crochet pattern for the Amigurumi Reindeer, it is crucial that you are already familiar with the following crochet techniques. For each technique, you will find a detailed tutorial here so that you can quickly learn it yourself.
- Decreases
- Double Crochet Stitches (UK!)
- Half Treble Crochet Stitches (UK!)
- Increases
- Loops of a Stitch
- Magic Ring
- Spiral Rounds
Hinweis! Indem du regelmäßige Zunahmen und Abnahmen versetzt werden diese fast unsichtbar. Du erkennst regelmäßige Zunahmen an der Formulierung “jede … Masche verdoppeln” und regelmäßige Abnahmen an der Formulierung “jede … und … Masche zusammen häkeln”. Dabei hilft dir vielleicht auch die Maschentabelle für Kugeln und Kreise.
Hinweis! Mit einer besonderen Technik für unsichtbare Abnahmen sind diese kaum noch zu sehen. Auch wenn diese Technik ein wenig Übung erfordert lohnt es sich sie auszuprobieren.
Supplies
The depicted Amigurumi Reindeer was made using the materials listed here. If you want to crochet the Amigurumi Reindeer with a different yarn, be sure to use an appropriate needle size. If you expect an identical result, you should try to use exactly the shown materials. Here you will also find an enumeration of the necessary tools and supplies.
Crochet Hook
You will need a crochet hook with a size of 12 (british). For converting to other sizes, the crochet hook size converter will help you. I have selected some great crochet hooks for you here.
Darning Yarn
I have used darning yarn in the shade of black here. If you cannot find a suitable darning yarn in your supplies, I have already selected some for you.
Darning Yarn
Colour: red Help? View example
Filling
For filling, I used synthetic filling made of 100% polyester. However, there are numerous alternatives for filling material. If you’ve run out of filling, I’ve prepared a refill for you here.
Paint
I used acrylic paint in the shade of red here. This paint is non-toxic, water-dilutable, waterproof, and adheres to almost any surface. I found a great set of acrylic paints for you to try out here.
Pins
You’ll also need a few pins. The more colorful your collection, the better. If you need more, I’ve found something for you.
Safety Eyes
I used 2 safety eyes with a diameter of 1/2 inches. The eyes are completely black. However, there are countless alternatives for amigurumi eyes. You might prefer other safety eyes as well.
Scissors – any
You’ll need any scissors. It’s best to use your most beautiful scissors because it brings you joy. If you don’t have really nice scissors, I’ve picked out some lovely ones for you.
Wool Needle
You’ll need a wool needle with a blunt tip. The thickness of the wool needle should match the thickness of your yarn. You might like the set of wool needles I’ve picked out for you.
Yarn – Schachenmayr – Catania – 162 – kaffee (dunkelbraun)
I used yarn in the shade Coffee. The material is 100% cotton. The yardage is 137 yds / 1.75 oz. If you want to replenish your supply, I’ve already picked out the matching yarn for you here.
Yarn – Schachenmayr – Catania – 254 – taupe (graubraun)
I used yarn in the shade Taupe. The material is 100% cotton. The yardage is 137 yds / 1.75 oz. If you want to replenish your supply, I’ve already picked out the matching yarn for you here.
Hinweis! Das hier angegebene Garn habe ich für das gezeigte Beispiel verwendet. Prinzipiell kannst du jedes beliebige Garn und eine passende Nadelstärke verwenden. Allerdings beeinflusst die Materialqualität auch die Qualität des Resultats, weshalb du tunlichst nicht an der falschen Stelle sparen solltest. Außerdem beeinflussen die Stärke des Garns und der Nadel auch die Größe des Ergebnisses, was du natürlich bewusst ausnutzen kannst.
Hinweis! Ich habe hier Sicherheitsaugen verwendet. Wenn du noch nie Sicherheitsaugen angebracht hast, findest du hier auch eine ausführliche Anleitung zum Anbringen von Sicherheitsaugen. Neben einer großen Auswahl an anderen Sicherheitsaugen, gibt es auch noch unzählige Alternativen für Amigurumi Augen. Verwende einfach die Augen, die dir am besten gefallen.
Size
Here are the size specifications for the crocheted reindeer. The height was measured while sitting without antlers. Please note that the actual size depends on the yarn used, the size of the crochet hook, and individual crochet tension.
| Needle Size | Yardage | Size |
|---|---|---|
| Crochet Hook 12 | 137 yds / 1.75 oz | 6 inches |
| Crochet Hook 11 | 120 yds / 1.75 oz | ? |
| Crochet Hook 9 or 10 | 93 yds / 1.75 oz | ? |
Hinweis! Wenn du die Größe verändern möchtest, kannst du einfach ein dickeres oder dünneres Garn mit einer passenden Nadelstärke verwenden. Das schlichte Verdoppeln der Runden, Reihen und Maschen führt dagegen nur zu einem unförmigen Ergebnis.
Crochet Pattern: Amigurumi – Crochet Reindeer “Rudolphina”
For the Amigurumi Crochet Reindeer, we first crochet the head, body, arms, antlers, ears, tail, and legs. Afterward, all parts are sewn together, and then your crocheted reindeer is already finished.
Crochet Reindeer Head (1x)
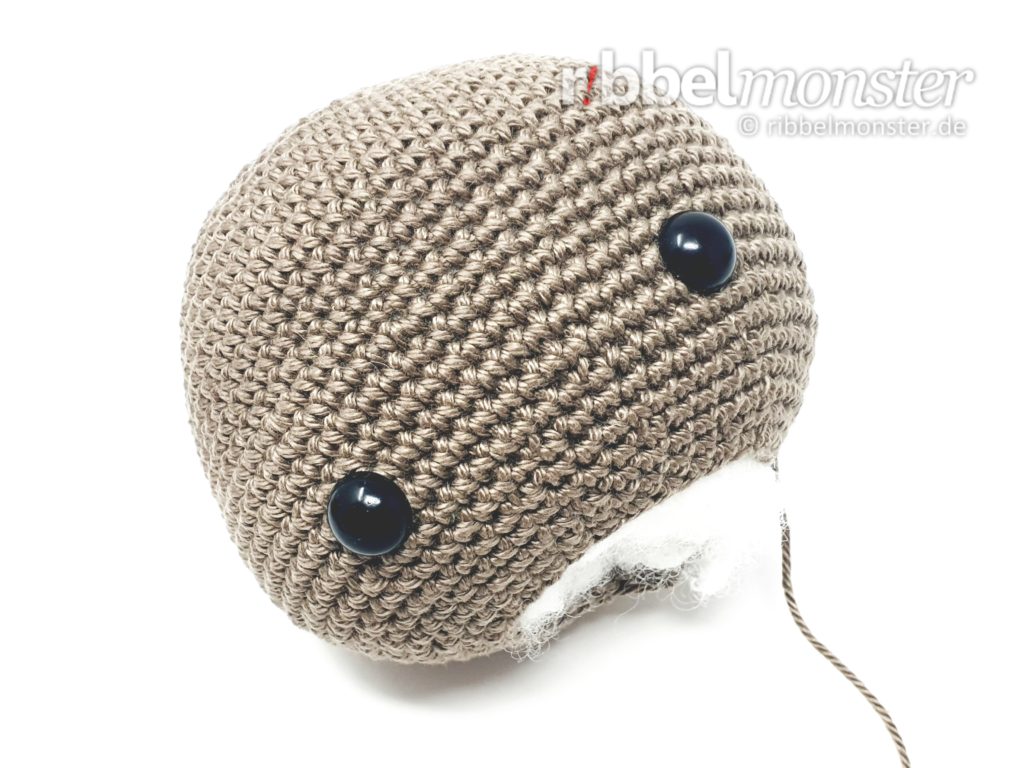
The head for the Crochet Reindeer is crocheted from top to bottom with double crochet stitches (UK!) in spiral rounds. The head receives safety eyes, is filled and stuffed, but not completely closed.
Hinweis! Wenn du ein besonders schönes Ergebnis erhalten möchtest, kannst du die regelmäßigen Zunahmen und regelmäßigen Abnahmen durch Versetzen ein wenig verstecken. Du erkennst regelmäßige Zunahmen an der Formulierung “jede … Masche verdoppeln” und regelmäßige Abnahmen an der Formulierung “jede … und … Masche zusammen häkeln”. Dabei hilft dir vielleicht auch die Maschentabelle für Kugeln und Kreise. Außerdem kannst du hier auch noch eine besondere Häkeltechnik für unsichtbare Abnahmen anwenden.
- grey-brown:
- 1st round:
- magic ring
- into the magic ring:
- 6 double crochet stitches (UK!)
- = 6 stitches
- 2nd round:
- double every stitch
- = 12 stitches
- 3rd round:
- double every 2nd stitch
- = 18 stitches
- 4th round:
- double every 3rd stitch
- = 24 stitches
- 5th round:
- double every 4th stitch
- = 30 stitches
- 6th round:
- double every 5th stitch
- = 36 stitches
- 7th round:
- double every 6th stitch
- = 42 stitches
- 8th round:
- double every 7th stitch
- = 48 stitches
- 9th round:
- double every 8th stitch
- = 54 stitches
- 10th round:
- double every 9th stitch
- = 60 stitches
- 11th round:
- double every 60th stitch
- = 61 stitches
- 12th round:
- double every 61st stitch
- = 62 stitches
- 13th round:
- double every 62nd stitch
- = 63 stitches
- 14th round:
- double every 63rd stitch
- = 64 stitches
- 15th round:
- double every 64th stitch
- = 65 stitches
- 16th round:
- double every 65th stitch
- = 66 stitches
- 17th round:
- double every 66th stitch
- = 67 stitches
- 18th round:
- double every 67th stitch
- = 68 stitches
- 19th round:
- double every 68th stitch
- = 69 stitches
- 20th round:
- double every 69th stitch
- = 70 stitches
- 21st round:
- double every 70th stitch
- = 71 stitches
- 22nd round:
- double every 71st stitch
- = 72 stitches
- 23rd – 25th round:
- (= 3 rounds)
- every stitch one stitch
- = 72 stitches
- attach safety eyes, position:
- after the 24th round
- 14 stitches distance
- 26th round:
- crochet together every 11th and 12th stitch
- = 66 stitches
- 27th round:
- crochet together every 10th and 11th stitch
- = 60 stitches
- 28th round:
- crochet together every 9th and 10th stitch
- = 54 stitches
- 29th round:
- crochet together every 8th and 9th stitch
- = 48 stitches
- 30th round:
- crochet together every 7th and 8th stitch
- = 42 stitches
- 31st round:
- crochet together every 6th and 7th stitch
- = 36 stitches
- 32nd round:
- crochet together every 5th and 6th stitch
- = 30 stitches
- fill and stuff completely
- cut the thread, pull off the loop
Crochet Reindeer Body (1x)
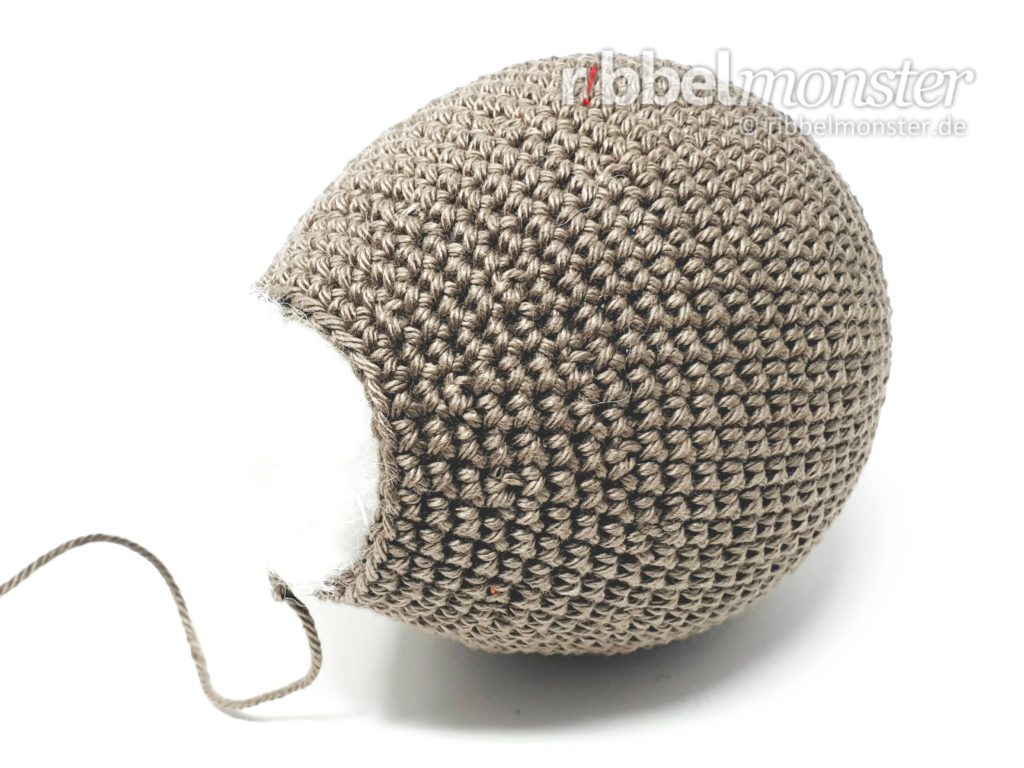
The body for the Crochet Reindeer is crocheted from bottom to top in spiral rounds with double crochet stitches (UK!). The body is fully filled and stuffed, but not completely closed, and is later sewn to the head with the thread end and opening.
Hinweis! Wenn du ein besonders schönes Ergebnis erhalten möchtest, kannst du die regelmäßigen Zunahmen und regelmäßigen Abnahmen durch Versetzen ein wenig verstecken. Du erkennst regelmäßige Zunahmen an der Formulierung “jede … Masche verdoppeln” und regelmäßige Abnahmen an der Formulierung “jede … und … Masche zusammen häkeln”. Dabei hilft dir vielleicht auch die Maschentabelle für Kugeln und Kreise. Außerdem kannst du hier auch noch eine besondere Häkeltechnik für unsichtbare Abnahmen anwenden.
- grey-brown:
- 1st round:
- magic ring
- into the magic ring:
- 6 double crochet stitches (UK!)
- = 6 stitches
- 2nd round:
- double every stitch
- = 12 stitches
- 3rd round:
- double every 2nd stitch
- = 18 stitches
- 4th round:
- double every 3rd stitch
- = 24 stitches
- 5th round:
- double every 4th stitch
- = 30 stitches
- 6th round:
- double every 5th stitch
- = 36 stitches
- 7th round:
- double every 6th stitch
- = 42 stitches
- 8th round:
- double every 7th stitch
- = 48 stitches
- 9th round:
- double every 8th stitch
- = 54 stitches
- 10th round:
- double every 9th stitch
- = 60 stitches
- 11th – 20th round:
- (= 10 rounds)
- every stitch one stitch
- = 60 stitches
- 21st round:
- crochet together every 19th and 20th stitch
- = 57 stitches
- 22nd round:
- crochet together every 18th and 19th stitch
- = 54 stitches
- 23rd round:
- crochet together every 17th and 18th stitch
- = 51 stitches
- 24th round:
- crochet together every 16th and 17th stitch
- = 48 stitches
- 25th round:
- crochet together every 15th and 16th stitch
- = 45 stitches
- 26th round:
- crochet together every 14th and 15th stitch
- = 42 stitches
- 27th round:
- crochet together every 13th and 14th stitch
- = 39 stitches
- 28th round:
- crochet together every 12th and 13th stitch
- = 36 stitches
- 29th round:
- crochet together every 11th and 12th stitch
- = 33 stitches
- 30th round:
- crochet together every 10th and 11th stitch
- = 30 stitches
- 31st round:
- every stitch one stitch
- = 30 stitches
- fill and stuff completely
- cut yarn generously, pull through loop, do NOT cut the yarn end, it will be used later for sewing
Crochet Ears (2x)
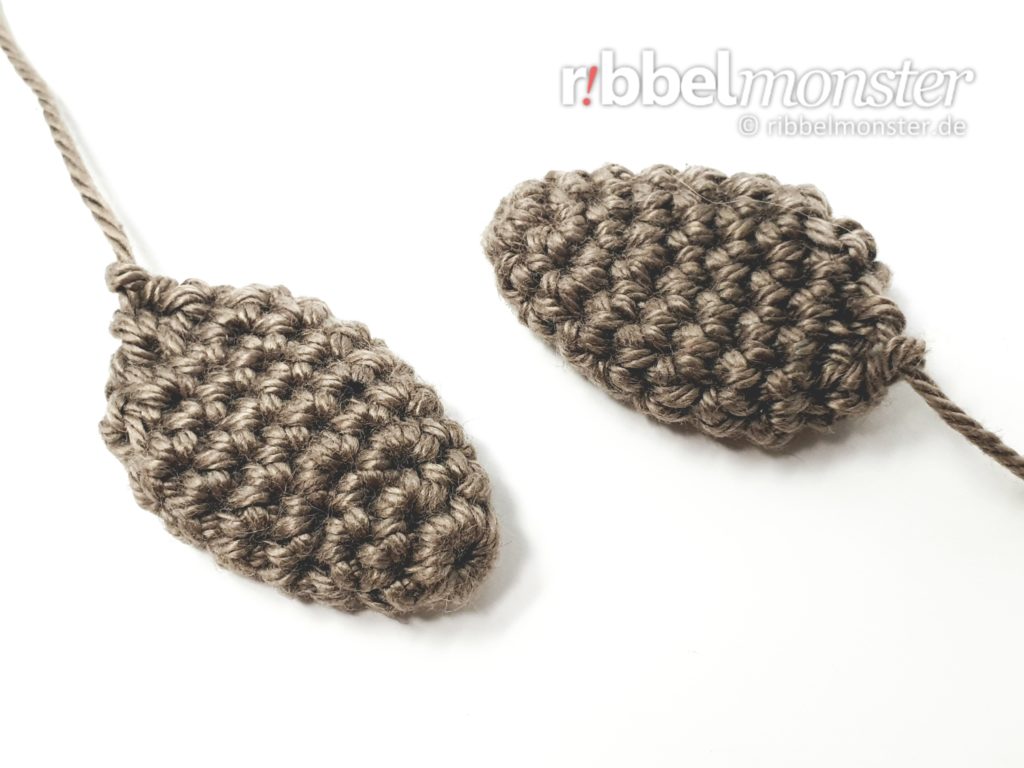
Next, we want to crochet the ears for the Crochet Reindeer. We crochet the ears from top to bottom in spiral rounds with double crochet stitches (UK!). However, the ears are not filled so that we can later sew them flat with the thread end to the head.
Hinweis! Wenn du ein besonders schönes Ergebnis erhalten möchtest, kannst du die regelmäßigen Zunahmen und regelmäßigen Abnahmen durch Versetzen ein wenig verstecken. Du erkennst regelmäßige Zunahmen an der Formulierung “jede … Masche verdoppeln” und regelmäßige Abnahmen an der Formulierung “jede … und … Masche zusammen häkeln”. Dabei hilft dir vielleicht auch die Maschentabelle für Kugeln und Kreise. Außerdem kannst du hier auch noch eine besondere Häkeltechnik für unsichtbare Abnahmen anwenden.
Hinweis! Wenn mehrere möglichst identische Teile entstehen sollen, ist es sinnvoll diese am selben Tag nacheinander zu arbeiten. Bei größeren Teilen ist es sogar empfehlenswert diese gleichzeitig in Etappen zu arbeiten. Wir arbeiten einfach nicht jeden Tag gleich fest oder locker und das kann zu sichtbaren Unterschieden führen.
- grey-brown:
- 1st round:
- magic ring
- into the magic ring:
- 6 double crochet stitches (UK!)
- = 6 stitches
- 2nd round:
- double every 3rd stitch
- = 8 stitches
- 3rd round:
- double every 4th stitch
- = 10 stitches
- 4th round:
- double every 5th stitch
- = 12 stitches
- 5th – 8th round:
- (= 4 rounds)
- every stitch one stitch
- = 12 stitches
- 9th round:
- crochet together every 1st and 2nd stitch
- = 6 stitches
- cut yarn generously, pull through loop, do NOT cut the yarn end, it will be used later for sewing
Crochet Tail (1x)
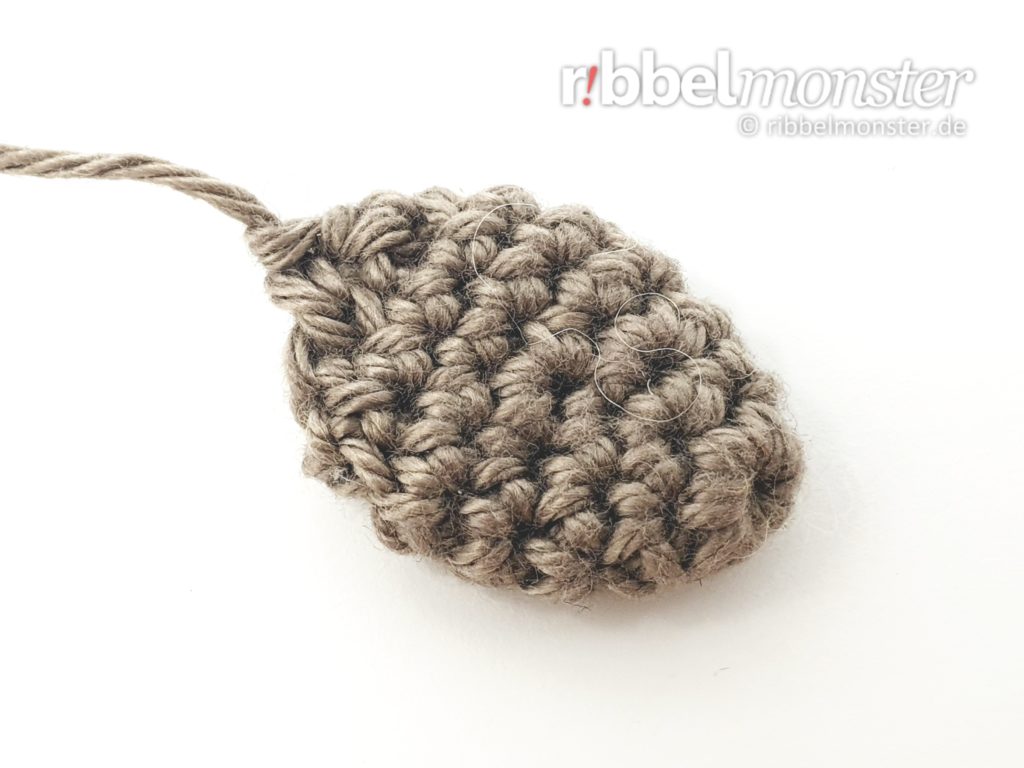
The tail for the Crochet Reindeer is crocheted from tip to base in spiral rounds with exclusively double crochet stitches (UK!). The tail is not filled but only folded flat and later sewn to the hindquarters with the remaining thread end.
Hinweis! Wenn du ein besonders schönes Ergebnis erhalten möchtest, kannst du die regelmäßigen Zunahmen und regelmäßigen Abnahmen durch Versetzen ein wenig verstecken. Du erkennst regelmäßige Zunahmen an der Formulierung “jede … Masche verdoppeln” und regelmäßige Abnahmen an der Formulierung “jede … und … Masche zusammen häkeln”. Dabei hilft dir vielleicht auch die Maschentabelle für Kugeln und Kreise. Außerdem kannst du hier auch noch eine besondere Häkeltechnik für unsichtbare Abnahmen anwenden.
- grey-brown:
- 1st round:
- magic ring
- into the magic ring:
- 6 double crochet stitches (UK!)
- = 6 stitches
- 2nd round:
- double every 3rd stitch
- = 8 stitches
- 3rd round:
- double every 4th stitch
- = 10 stitches
- 4th round:
- double every 5th stitch
- = 12 stitches
- 5th + 6th round:
- (= 2 rounds)
- every stitch one stitch
- = 12 stitches
- 7th round:
- crochet together every 1st and 2nd stitch
- = 6 stitches
- cut yarn generously, pull through loop, do NOT cut the yarn end, it will be used later for sewing
Crochet Arms (2x):
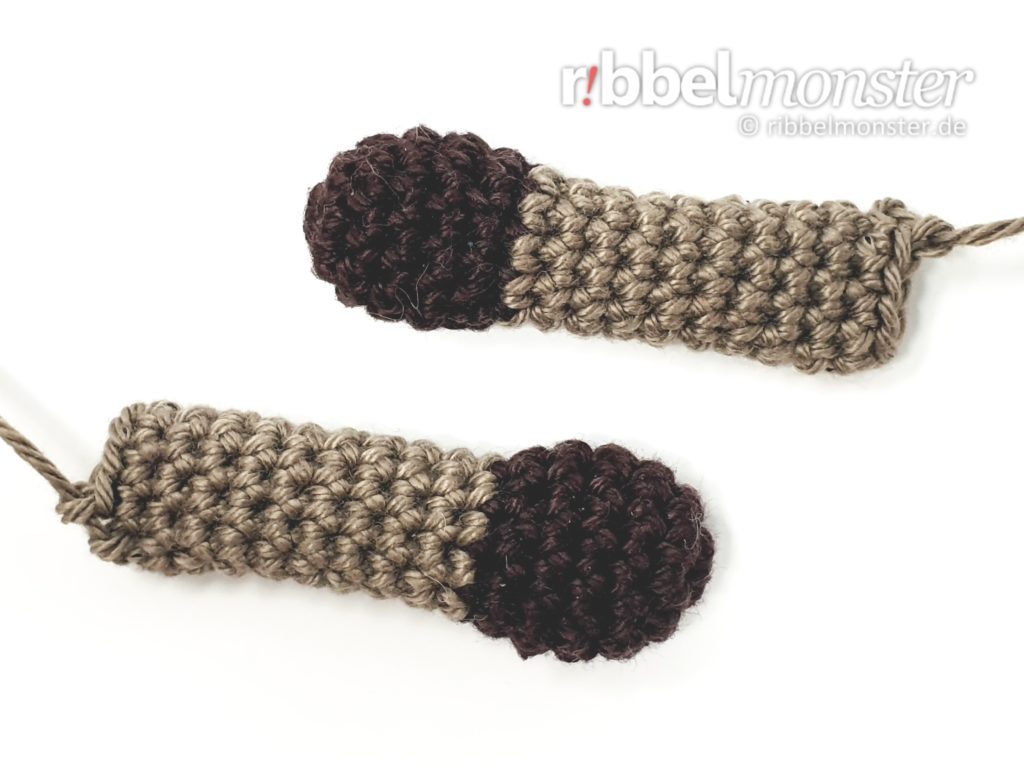
The arms for the Crochet Reindeer are crocheted from fingertips to shoulders in spiral rounds with exclusively double crochet stitches (UK!). The arms are not filled but flat-folded and sewn to the body with the thread ends.
Hinweis! Wenn du ein besonders schönes Ergebnis erhalten möchtest, kannst du die regelmäßigen Zunahmen und regelmäßigen Abnahmen durch Versetzen ein wenig verstecken. Du erkennst regelmäßige Zunahmen an der Formulierung “jede … Masche verdoppeln” und regelmäßige Abnahmen an der Formulierung “jede … und … Masche zusammen häkeln”. Dabei hilft dir vielleicht auch die Maschentabelle für Kugeln und Kreise. Außerdem kannst du hier auch noch eine besondere Häkeltechnik für unsichtbare Abnahmen anwenden.
Hinweis! Wenn mehrere möglichst identische Teile entstehen sollen, ist es sinnvoll diese am selben Tag nacheinander zu arbeiten. Bei größeren Teilen ist es sogar empfehlenswert diese gleichzeitig in Etappen zu arbeiten. Wir arbeiten einfach nicht jeden Tag gleich fest oder locker und das kann zu sichtbaren Unterschieden führen.
- dark brown:
- 1st round:
- magic ring
- into the magic ring:
- 6 double crochet stitches (UK!)
- = 6 stitches
- 2nd round:
- double every stitch
- = 12 stitches
- 3rd – 5th round:
- (= 3 rounds)
- every stitch one stitch
- = 12 stitches
- 6th round:
- crochet together every 3rd and 4th stitch
- = 9 stitches
- grey-brown:
- 7th – 16th round:
- (= 10 rounds)
- every stitch one stitch
- = 9 stitches
- cut yarn generously, pull through loop, do NOT cut the yarn end, it will be used later for sewing
Crochet Legs (2x)
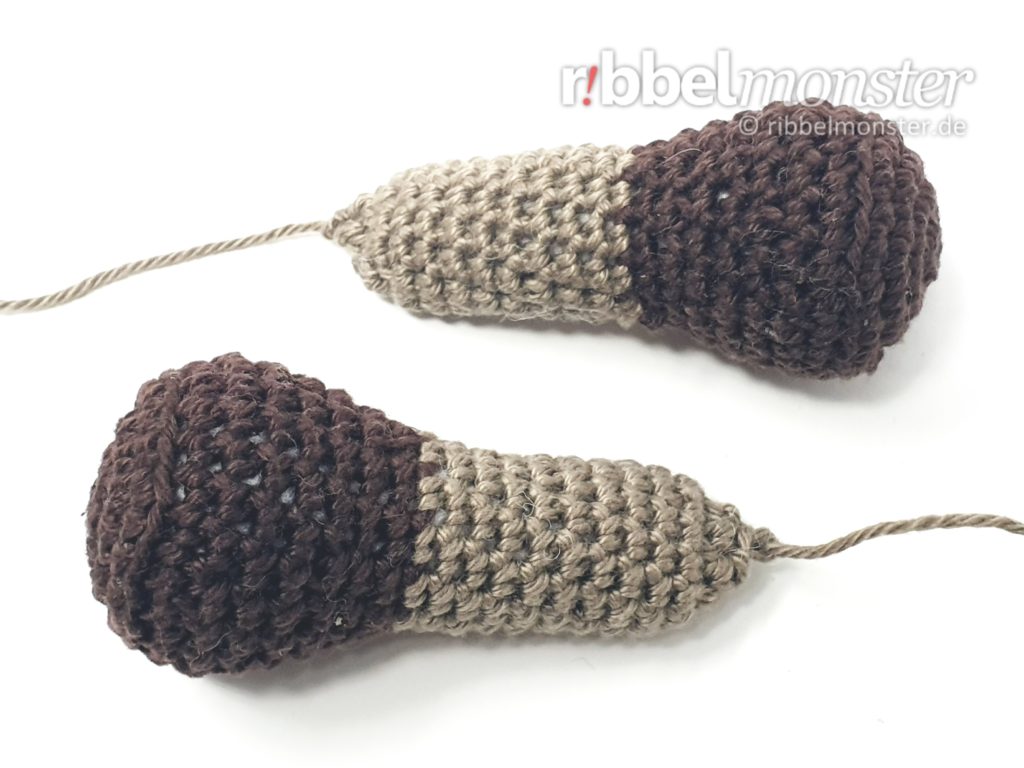
The legs for the Crochet Reindeer are crocheted from toe to hip in spiral rounds with exclusively double crochet stitches (UK!). The feet are filled neatly, while the legs remain slightly looser so that they can be moved well later.
Hinweis! Wenn du ein besonders schönes Ergebnis erhalten möchtest, kannst du die regelmäßigen Zunahmen und regelmäßigen Abnahmen durch Versetzen ein wenig verstecken. Du erkennst regelmäßige Zunahmen an der Formulierung “jede … Masche verdoppeln” und regelmäßige Abnahmen an der Formulierung “jede … und … Masche zusammen häkeln”. Dabei hilft dir vielleicht auch die Maschentabelle für Kugeln und Kreise. Außerdem kannst du hier auch noch eine besondere Häkeltechnik für unsichtbare Abnahmen anwenden.
Hinweis! Wenn mehrere möglichst identische Teile entstehen sollen, ist es sinnvoll diese am selben Tag nacheinander zu arbeiten. Bei größeren Teilen ist es sogar empfehlenswert diese gleichzeitig in Etappen zu arbeiten. Wir arbeiten einfach nicht jeden Tag gleich fest oder locker und das kann zu sichtbaren Unterschieden führen.
- dark brown:
- 1st round:
- magic ring
- into the magic ring:
- 6 double crochet stitches (UK!)
- = 6 stitches
- 2nd round:
- double every stitch
- = 12 stitches
- 3rd round:
- double every 2nd stitch
- = 18 stitches
- 4th round:
- double every 3rd stitch
- = 24 stitches
- 5th round:
- into the back loop only:
- every stitch one stitch
- = 24 stitches
- into the back loop only:
- 6th round:
- crochet together every 11th and 12th stitch
- = 22 stitches
- 7th round:
- crochet together every 10th and 11th stitch
- = 20 stitches
- 8th round:
- crochet together every 9th and 10th stitch
- = 18 stitches
- 9th round:
- crochet together every 8th and 9th stitch
- = 16 stitches
- 10th round:
- crochet together every 7th and 8th stitch
- = 14 stitches
- 11th round:
- crochet together every 6th and 7th stitch
- = 12 stitches
- grey-brown:
- 12th – 21st round:
- (= 10 rounds)
- every stitch one stitch
- = 12 stitches
- fill and stuff completely
- 17th round:
- crochet together every 1st and 2nd stitch
- = 6 stitches
- cut yarn generously, pull through loop, do NOT cut the yarn end, it will be used later for sewing
Crochet Antlers (2x)
The antlers of the crocheted reindeer consist of 2 horns, each made up of a small, a medium, and a large part. All parts are crocheted from top to bottom in spiral rounds with exclusively single crochet stitches. Then, all parts are filled and sewn together so that two identical horns are created for the antlers.
Tip: Wenn du ein besonders schönes Ergebnis erhalten möchtest, kannst du die regelmäßigen Zunahmen durch Versetzen ein wenig verstecken. Dazu verwendest du einfach die Maschentabelle für Kugeln und Kreise.
(Redaktion: Block ersetzen)
Hinweis! Wenn mehrere möglichst identische Teile entstehen sollen, ist es sinnvoll diese am selben Tag nacheinander zu arbeiten. Bei größeren Teilen ist es sogar empfehlenswert diese gleichzeitig in Etappen zu arbeiten. Wir arbeiten einfach nicht jeden Tag gleich fest oder locker und das kann zu sichtbaren Unterschieden führen.
Small Part (2x)
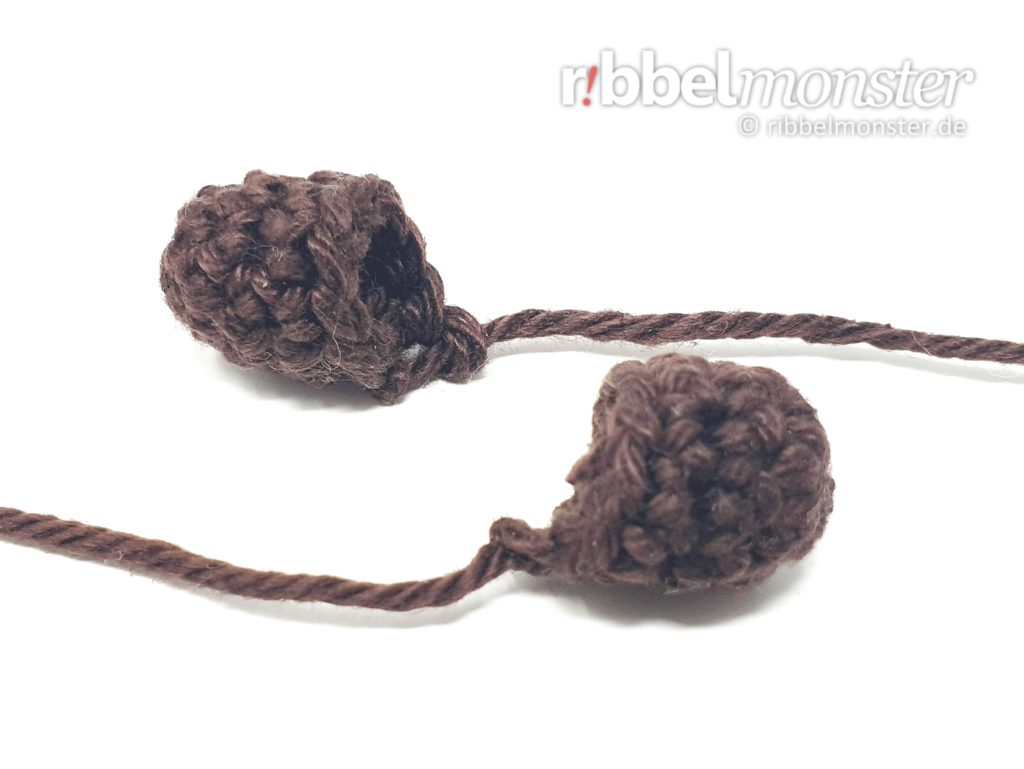
Tip: Wenn du ein besonders schönes Ergebnis erhalten möchtest, kannst du die regelmäßigen Zunahmen durch Versetzen ein wenig verstecken. Dazu verwendest du einfach die Maschentabelle für Kugeln und Kreise.
(Redaktion: Block ersetzen)
Hinweis! Wenn mehrere möglichst identische Teile entstehen sollen, ist es sinnvoll diese am selben Tag nacheinander zu arbeiten. Bei größeren Teilen ist es sogar empfehlenswert diese gleichzeitig in Etappen zu arbeiten. Wir arbeiten einfach nicht jeden Tag gleich fest oder locker und das kann zu sichtbaren Unterschieden führen.
- dark brown:
- 1st round:
- magic ring
- into the magic ring:
- 6 double crochet stitches (UK!)
- = 6 stitches
- 2nd round:
- double every 2nd stitch
- = 9 stitches
- 3rd + 4th round:
- (= 2 rounds)
- every stitch one stitch
- = 9 stitches
- cut yarn generously, pull through loop, do NOT cut the yarn end, it will be used later for sewing
Medium Part (2x)
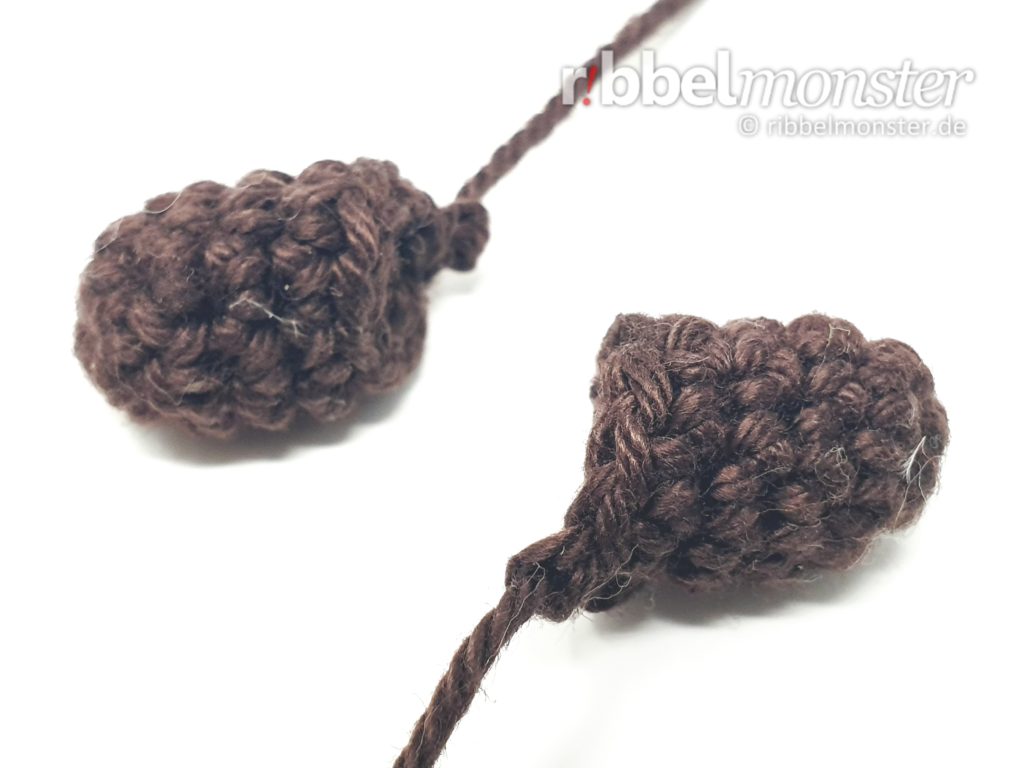
Tip: Wenn du ein besonders schönes Ergebnis erhalten möchtest, kannst du die regelmäßigen Zunahmen durch Versetzen ein wenig verstecken. Dazu verwendest du einfach die Maschentabelle für Kugeln und Kreise.
(Redaktion: Block ersetzen)
Hinweis! Wenn mehrere möglichst identische Teile entstehen sollen, ist es sinnvoll diese am selben Tag nacheinander zu arbeiten. Bei größeren Teilen ist es sogar empfehlenswert diese gleichzeitig in Etappen zu arbeiten. Wir arbeiten einfach nicht jeden Tag gleich fest oder locker und das kann zu sichtbaren Unterschieden führen.
- dark brown:
- 1st round:
- magic ring
- into the magic ring:
- 6 double crochet stitches (UK!)
- = 6 stitches
- 2nd round:
- double every 2nd stitch
- = 9 stitches
- 3rd – 5th round:
- (= 3 rounds)
- every stitch one stitch
- = 9 stitches
- cut yarn generously, pull through loop, do NOT cut the yarn end, it will be used later for sewing
Large Part (2x)
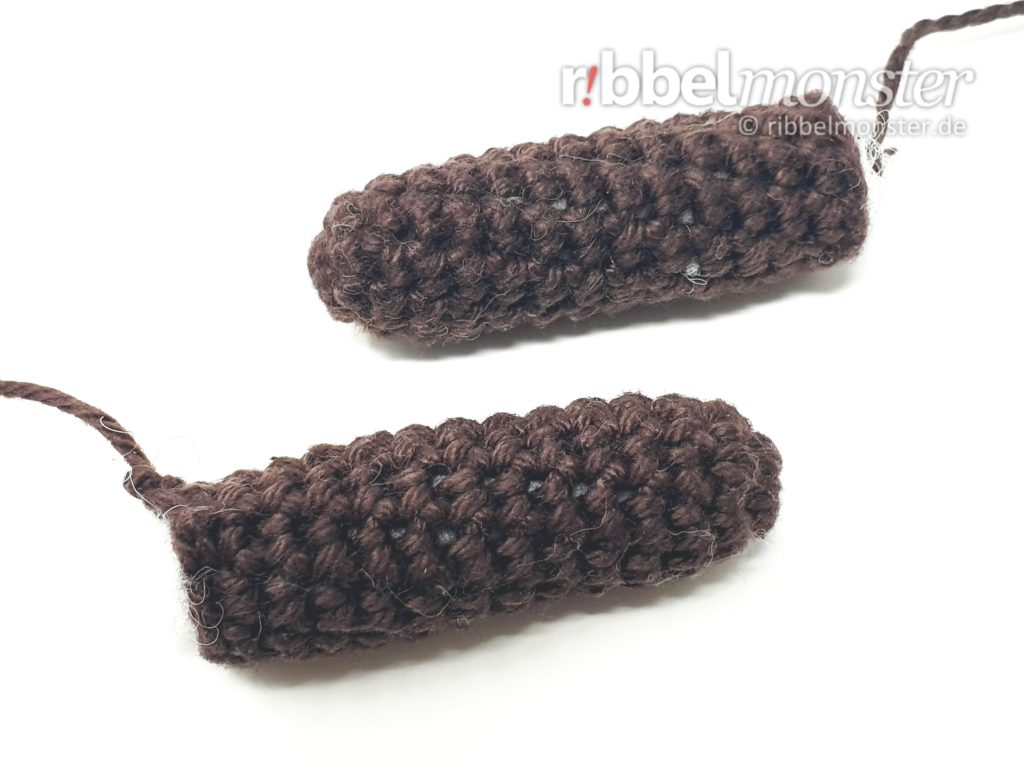
Tip: Wenn du ein besonders schönes Ergebnis erhalten möchtest, kannst du die regelmäßigen Zunahmen durch Versetzen ein wenig verstecken. Dazu verwendest du einfach die Maschentabelle für Kugeln und Kreise.
(Redaktion: Block ersetzen)
Hinweis! Wenn mehrere möglichst identische Teile entstehen sollen, ist es sinnvoll diese am selben Tag nacheinander zu arbeiten. Bei größeren Teilen ist es sogar empfehlenswert diese gleichzeitig in Etappen zu arbeiten. Wir arbeiten einfach nicht jeden Tag gleich fest oder locker und das kann zu sichtbaren Unterschieden führen.
- dark brown:
- 1st round:
- magic ring
- into the magic ring:
- 6 double crochet stitches (UK!)
- = 6 stitches
- 2nd round:
- double every 2nd stitch
- = 9 stitches
- 3rd – 14th round:
- (= 12 rounds)
- every stitch one stitch
- = 9 stitches
- cut yarn generously, pull through loop, do NOT cut the yarn end, it will be used later for sewing
Assemble Antlers (2x)
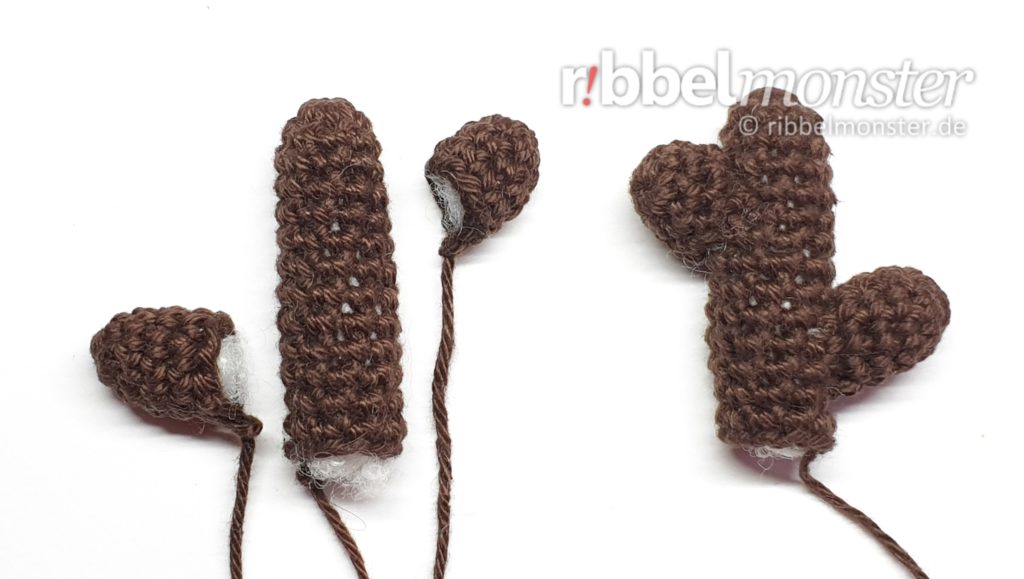
Next, we can assemble the horns for the crocheted reindeer. You should now have 6 individual parts, 2 of each kind. Now you can fill and stuff all parts well. Then, each small and medium part is sewn with the opening to a large part. The small part sits on one side at the top, and the medium part sits on the other side at the bottom. You can simply follow the photo for attaching the parts. For sewing the parts, you can use the remaining thread ends.
Amigurumi Reindeer Finish
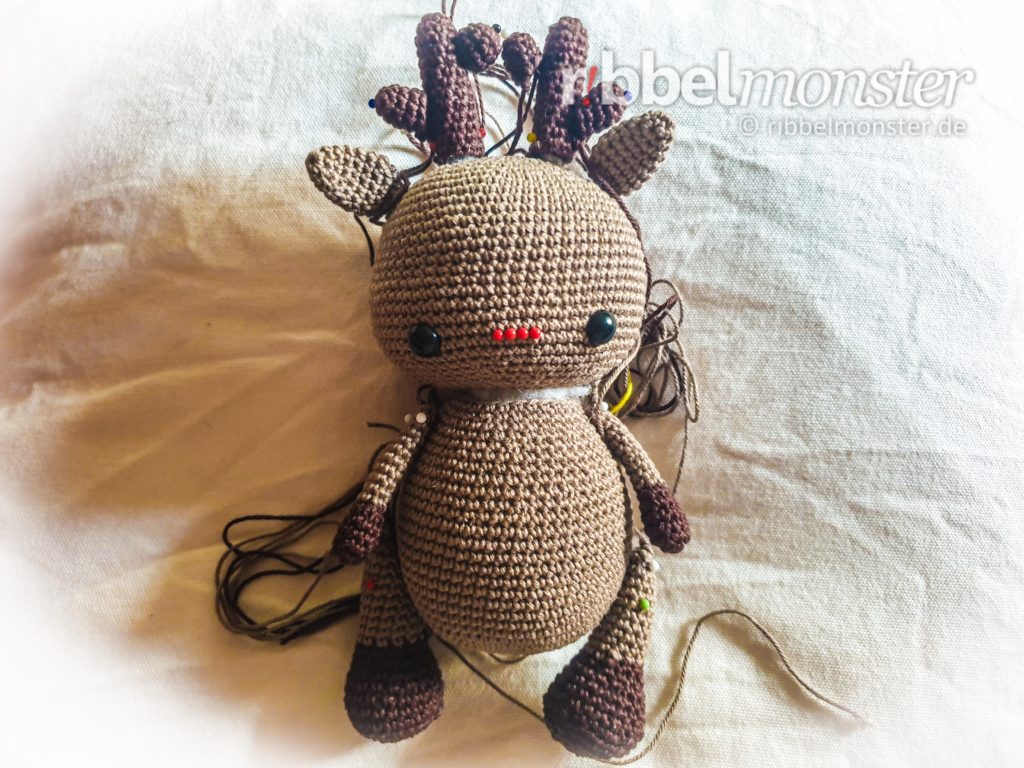
Once all parts are finished crocheting, you can sew your Amigurumi Reindeer together. However, it is helpful to put the items together with pins. So you see if the positions are correct and can still easily make changes.
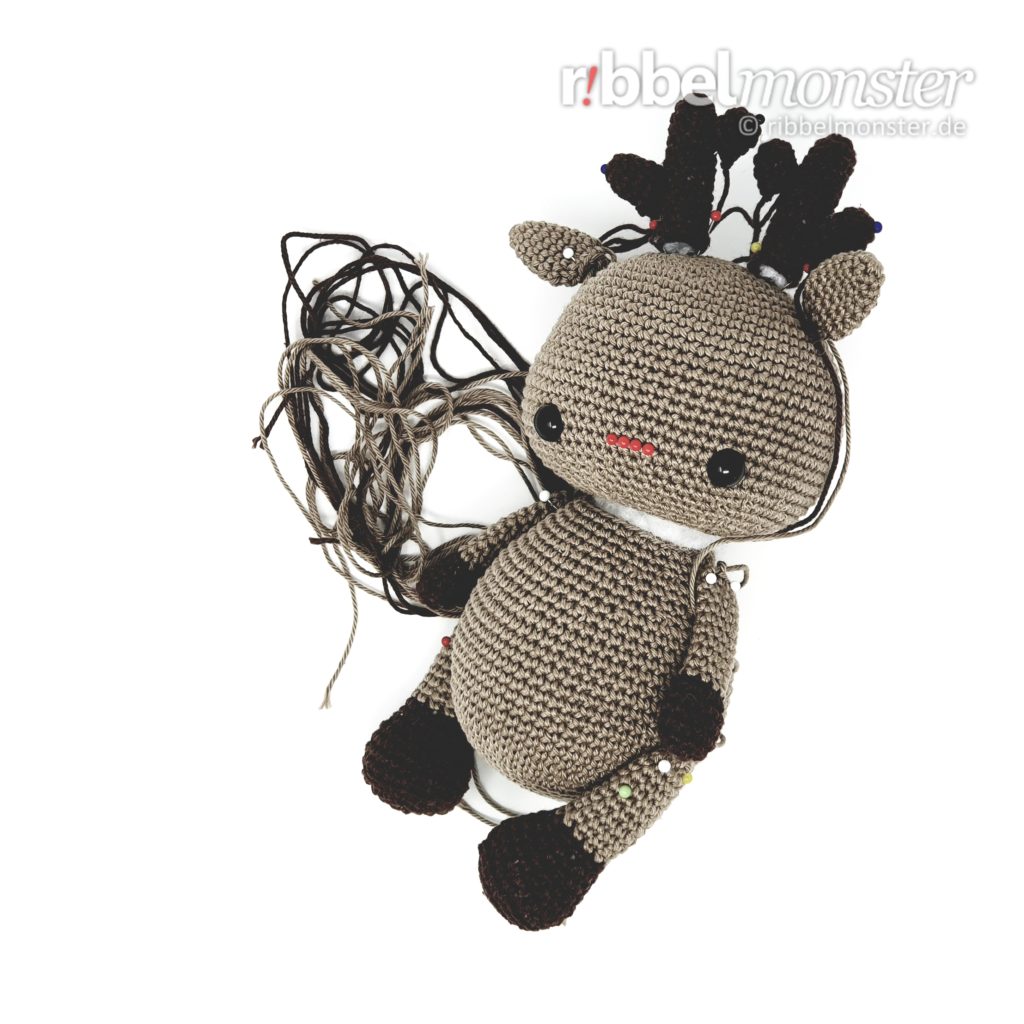
Sew Head to Body
First, we sew the head all around to the body. Both openings face each other. The pointed side of the body is the center of the back, and the midpoint between the eyes is on the front. You can orient yourself using the pattern for sewing open parts together.
Sew Ears to Head
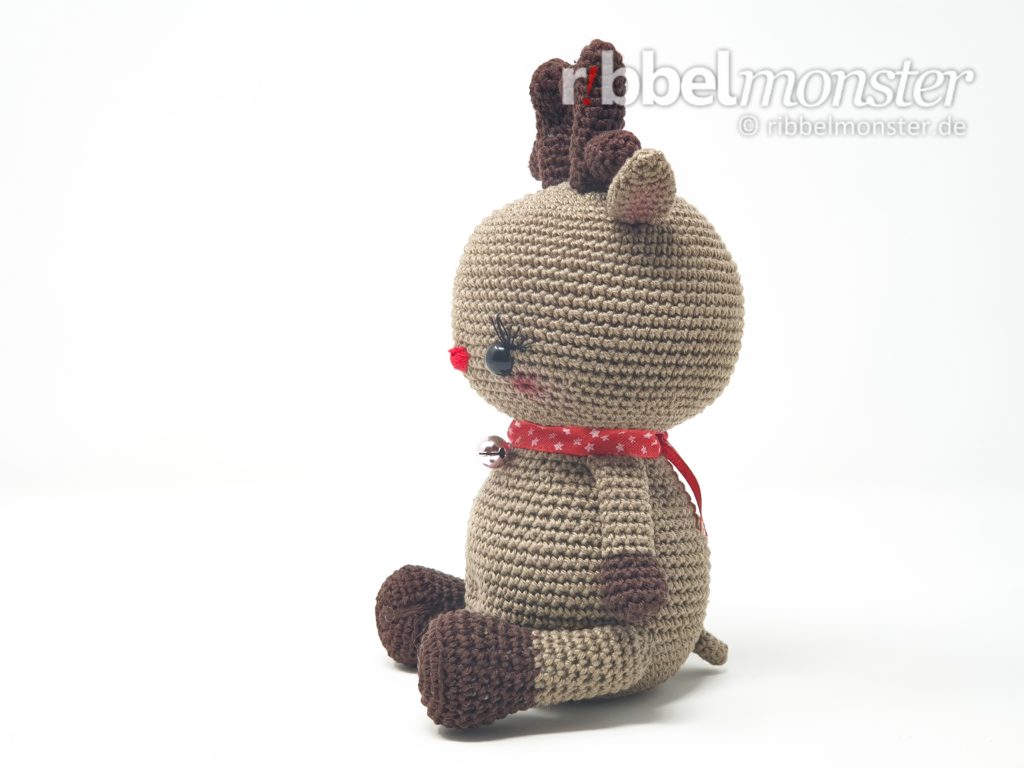
Then, the ears can be sewn to the head. They are not filled but only folded flat. The open side sits horizontally on the 10th round on the side of the head. Both ears form a line parallel to the eyes when viewed from above.
Sew Antlers to Head
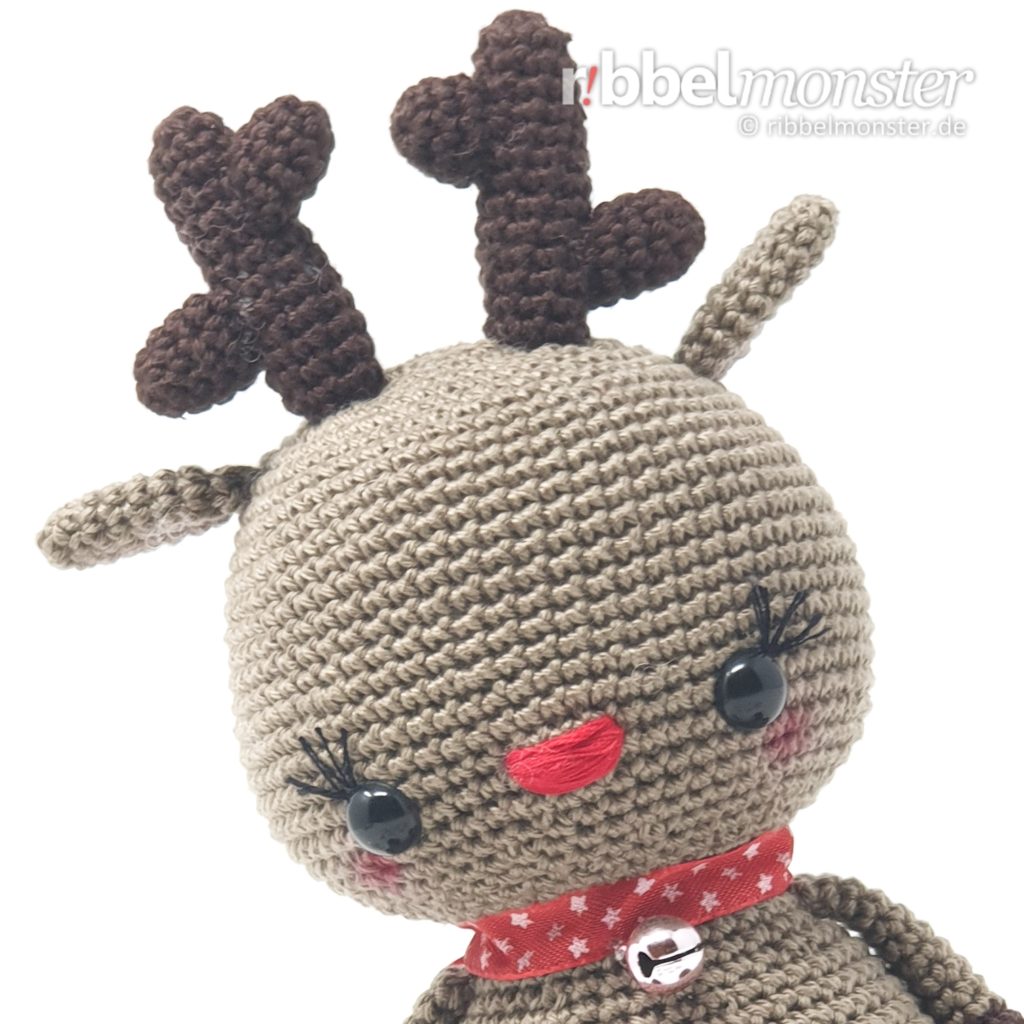
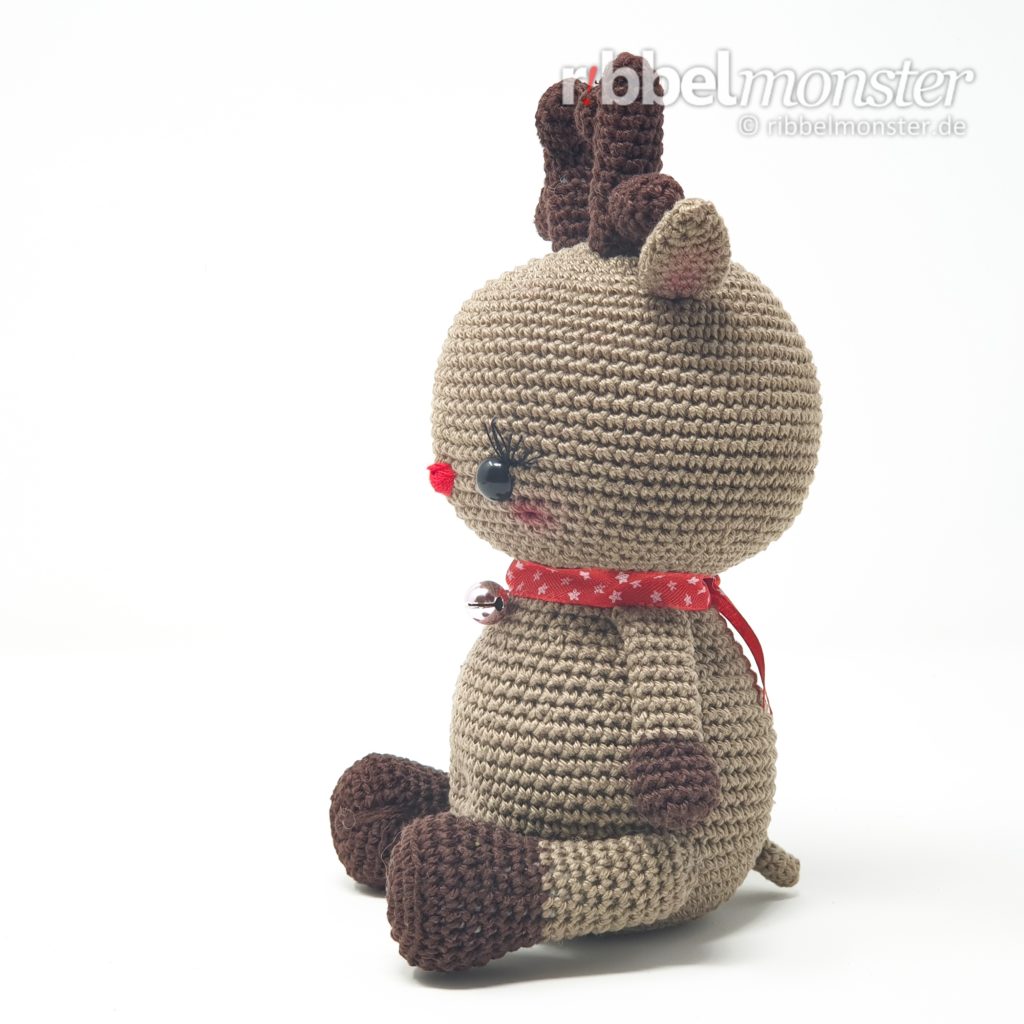
Afterward, you can tackle the antlers. They sit on the head in a line parallel to the eyes. They are located between the ears but slightly offset from the center towards the face. Make sure that the branches of the antlers are arranged symmetrically. Sew the filled antlers with the remaining thread end with the open side all around on the head so that they stand upright nicely.
Sew Arms to Body
Next, the arms are folded flat and sewn to the body with the openings using the thread ends. They sit horizontally around the 29th round and have 14 stitches distance on the front. When the arms are securely sewn, the thread ends are secured inside the body.
Sew Legs to Body
Now we sew the legs with the flat-folded opening with a distance of 30 stitches between the 11th and 14th rounds diagonally to the body. The upper edge of the legs runs from the inside to the outside from top to bottom. We use the thread ends for sewing and secure them later inside the body.
Sew Tail to Body
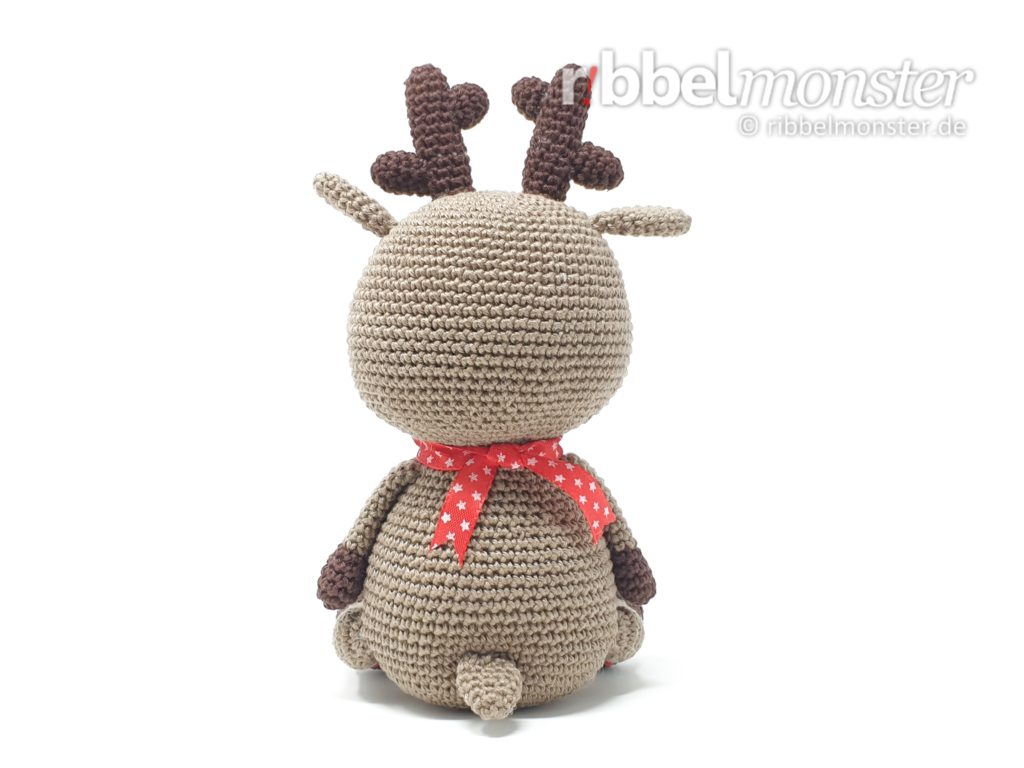
We sew the tail with the flat-folded opening horizontally around the 12th round in the center of the back.
Create Details
Now you can add various details as desired.
With red stuffing yarn, stitch the nose with horizontal stitches across several stitches between the eyes.
With black stuffing yarn, you can tie eyelashes around the eyes, trim them as needed, and fray them with the needle.
You can simply paint red cheeks, the inside of the ears, and the belly button with red acrylic paint. The gentle cheeks tutorial may help you with this.
Then, draw the belly button inward with yarn color. To do this, stitch horizontally around two stitches at the appropriate location at the front and pull them on the back around two stitches below the tail.
Afterward, tie both feet in the front area in the middle so that two typical hooves form on each foot.
If you like, you can also tie a ribbon with a bell around the neck of your crocheted reindeer.
Done!
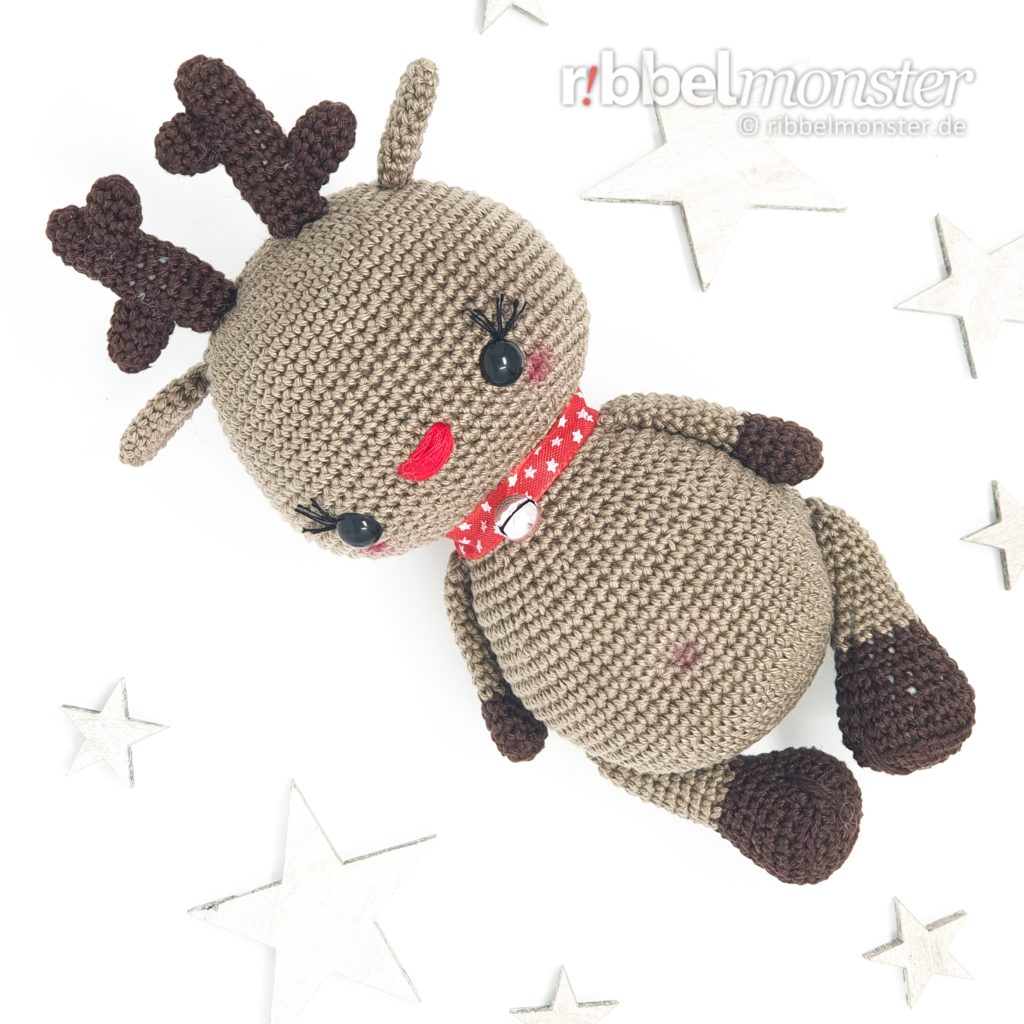
Your crocheted Amigurumi Reindeer is finished. You should definitely show it off to all your friends, and while you’re at it, why not leave us a comment with a photo!
Wenn dir diese Anleitung Freude bereitet hat, dann gefallen dir vielleicht auch die anderen Amigurumis der Onafu Serie. Schau dir doch mal die folgenden Anleitungen an!
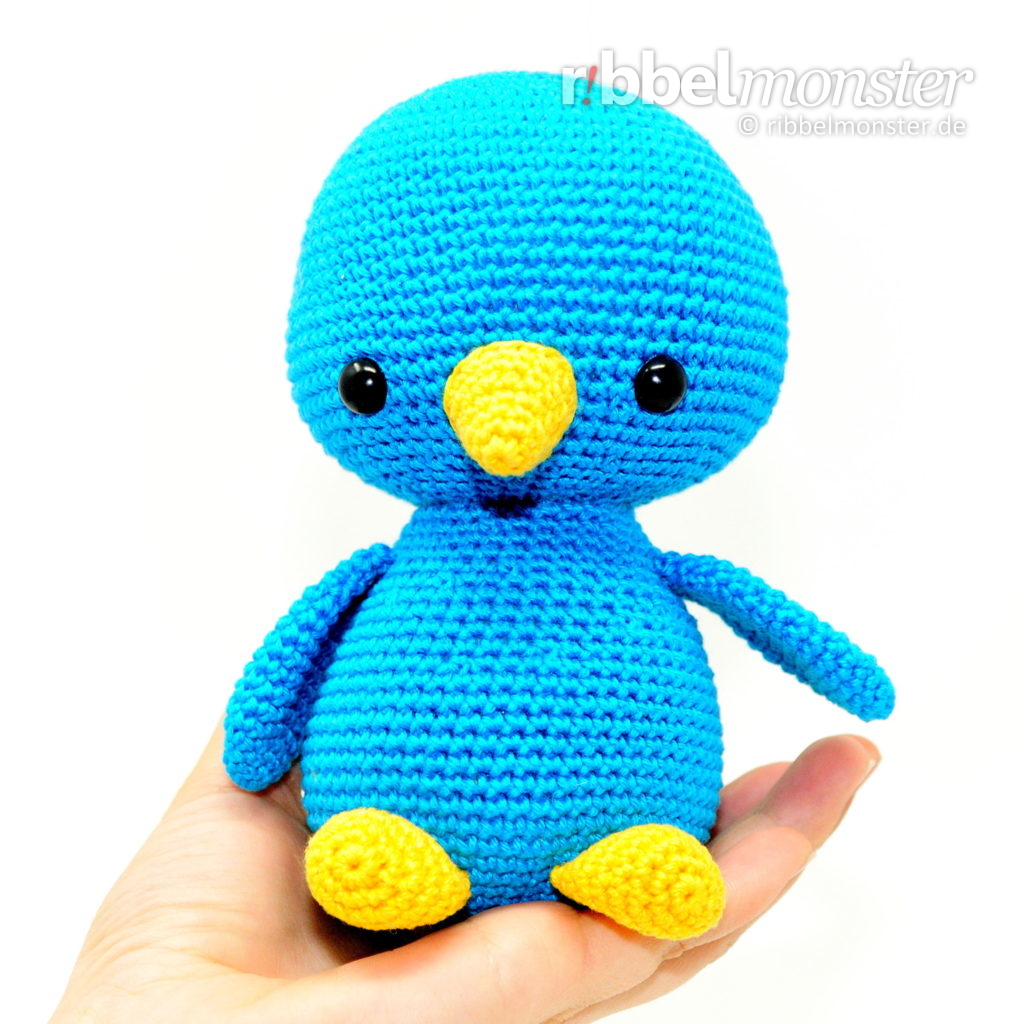
Wenn du gern die neusten Neuigkeiten erfahren möchtest, kannst du unseren niedlichen Amigurumi Spatz Tweepy fragen.
Wusstest du eigentlich, dass manchmal die kleine Rudolphina den Schlitten vom Weihnachtsmann zieht? Du kannst das Amigurumi Rentier einfach selbst häkeln.
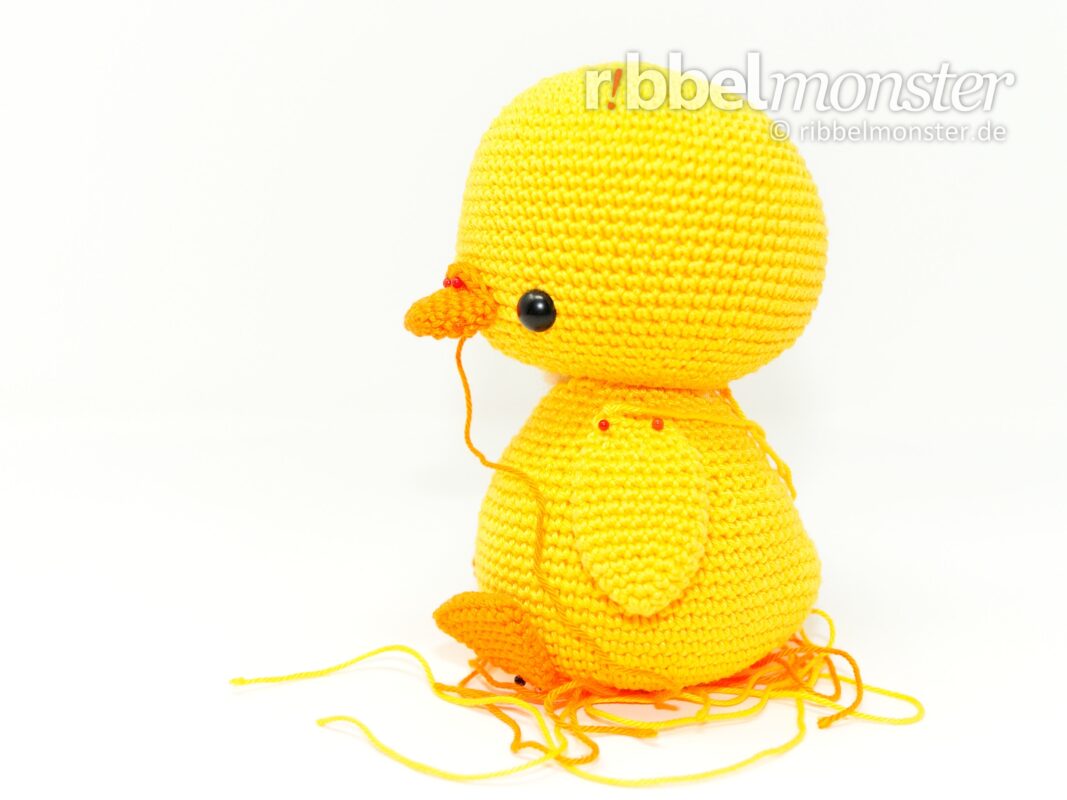
Hast du schon das niedlich Amigurumi Entenküken gehäkelt. Nakinaknak plappert immer fröhlich vor sich hin und würde gern jemanden mit seinem geschnatter genauso fröhlich machen.
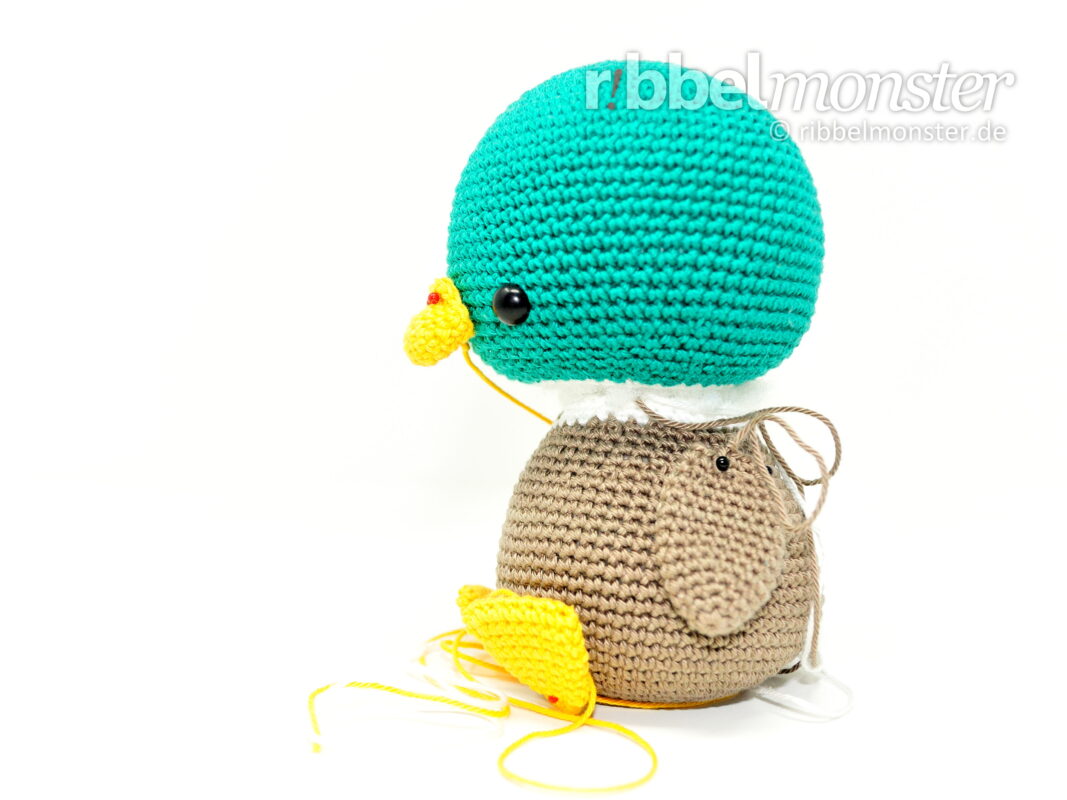
Unser prächtiger Amigrumi Erpel Darius wartet nur darauf, dich mit seinem prächtigen Federkleid beeindrucken zu dürfen.