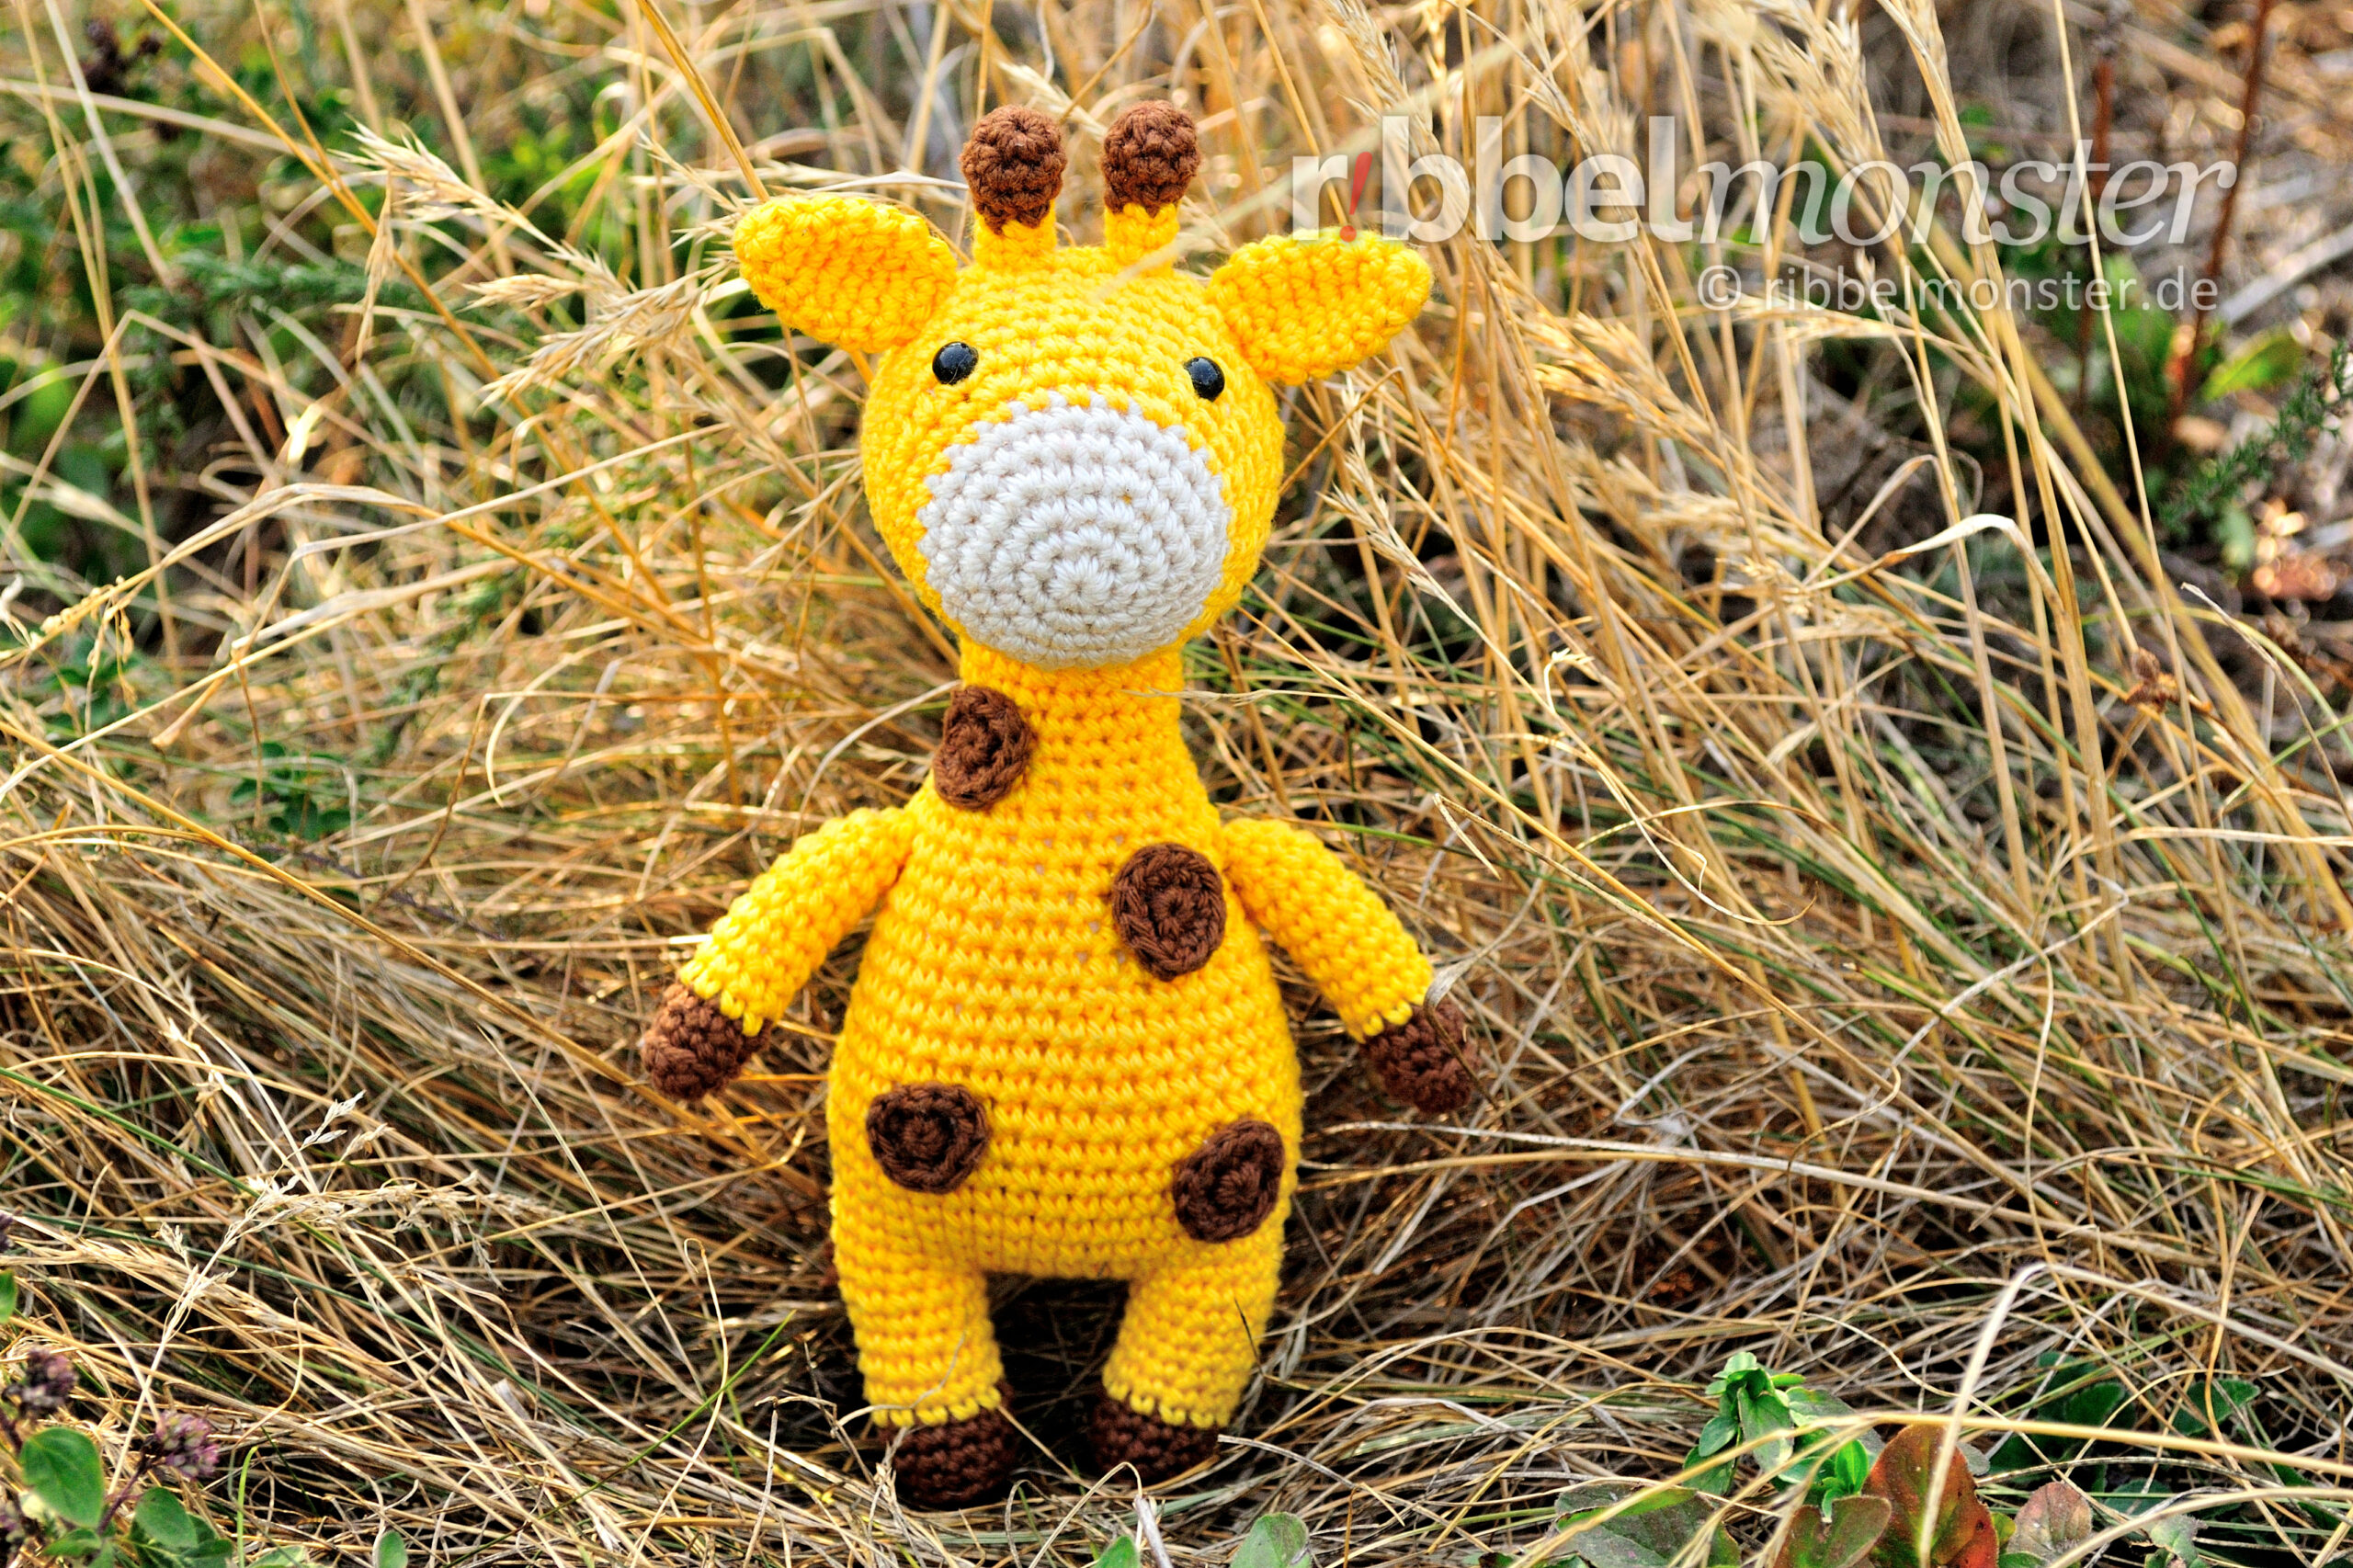
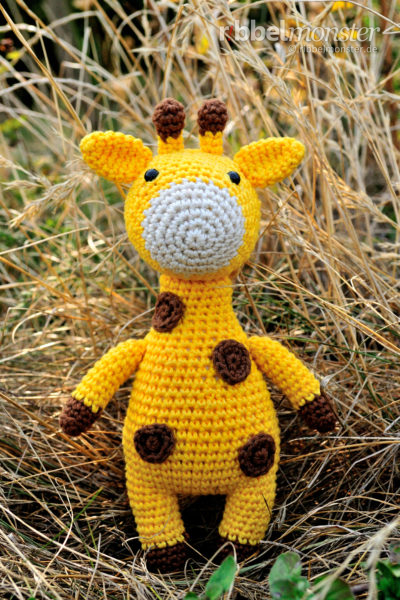
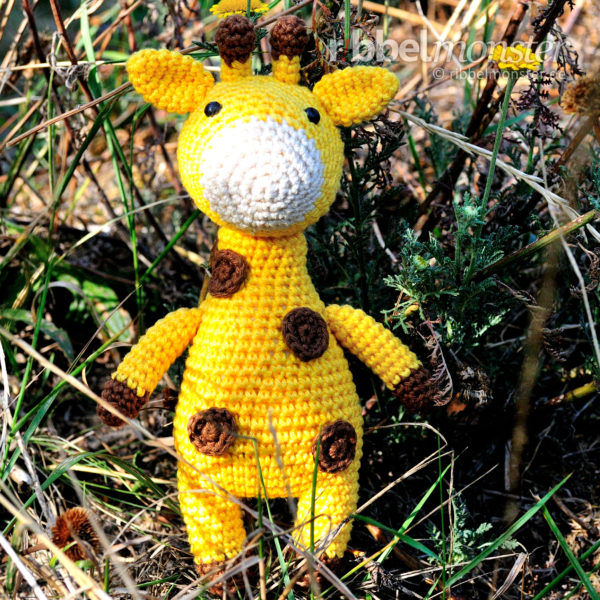
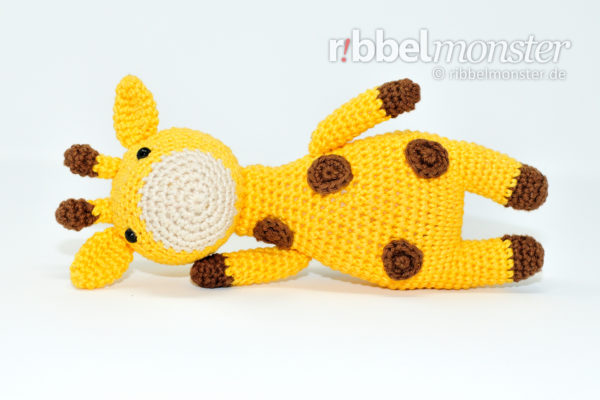
With this free crochet pattern you can crochet the Amigurumi giraffe “Hans Joachim”. The crochet giraffe “Hans Joachim” is made easily and is a beautiful decoration or a sweet plushie.
Knowledge: Amigurumi – Crochet Giraffe “Hans Joachim”
- magic ring
- chain stitches
- lifting-chain stitch
- slip stitch
- double crochet stitch (UK!)
- half treble crochet stitches (UK!)
Supplies: Amigurumi – Crochet Giraffe “Hans Joachim”
- Crochet Yarn:
- Colours: yellow, brown, beige
- Size: ca. 125m / 50g
- Example: Schachenmayr Catania
- Häkelnadel:
- Metric: 2,5 mm
- Help? Needle Size Translator
- Wool Needle
- Scissors
- Filling:
- Example: Synthetische Füllwatte (100% Polyester)
- Alternatives? Amigurumi Filling
- Eyes:
- Example: 2 Safety Eyes (black, 6mm)
- Alternatives? Amigurumi Eyes
Size: Amigurumi – Crochet Giraffe “Hans Joachim”
Here you find the size specifications for die gehäkelte Giraffe without horns.
| Needle Size | Yarn | Height |
| 2,5 mm (shown example) | 125m / 50g, 100% Cotton | 17cm |
| 3,5 | 25cm |
Pattern: Amigurumi – Crochet Giraffe “Hans Joachim”
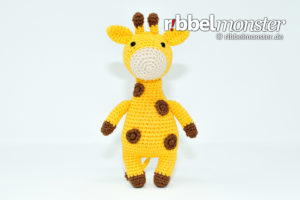 For the Amigurumi Giraffe we first crochet legs and body in one piece and then head, arms, tail, ears, horns and spots. At least all parts will be sewn together and then your crochet giraffe is already finished.
Crochet Giraffe Legs (2x)
 The legs for the giraffe we crocht from bottom up in spiral rounds with only double crochet stitches (UK!). Don’t cut the thread of the second leg, because we will crochet together both legs in the next step.
- brown:
- 1st round: magic ring + 6 double crochet stitches (UK!) = 6 stitches
- 2nd round: double every stitch = 12 stitches
- 3rd round: stitch into back loop only, each stitch one stitch = 12 stitches
- 4th + 5th round: (= 2 rounds) each stitch one stitch = 12 stitches
- yellow:
- 6th – 11th round: (= 6 rounds) each stitch one stitch = 12 stitches
- 1st leg: cut the thread, pull off the loop
- 2nd leg: DONT cut the thread end, continue with crochet legs together
Crochet Legs Together
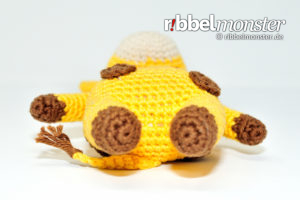 Next we will crochet together the legs, so we can continue with the body.
- 6 chain stitches
- 12th round:
- start left to the join of the other leg (1st leg): each stitch one stitch = 12 stitches
- into the chain stitches: each stitch one stitch = 6 stitches
- into the other leg (2nd leg): each stitch one stitch = 12 stitches
- into the chain stitches: each stitch one stitch = 6 stitches
- = 36 stitches
- DONT cut the thread end, continue with body
Crochet Giraffe Body (1x)
After we hat crocheted together the legs, we can continue crocheting the body of the giraffe. The body will be crocheted from bottom up in spiral rounds with only double crochet stitches (UK!).
- yellow:
- 13th – 23rd round: (= 12 rounds) each stitch one stitch = 36 stitches
- fill and stuff
- 24th round: crochet together every 17th and 18th stitch = 34 stitches
- 25th round: crochet together every 16th and 17th stitch = 32 stitches
- 26th round: crochet together every 15th and 16th stitch = 30 stitches
- 27th round: crochet together every 14th and 15th stitch = 28 stitches
- 28th round: crochet together every 13th and 14th stitch = 26 stitches
- 29th round: crochet together every 12th and 13th stitch = 24 stitches
- 30th round: crochet together every 11th and 12th stitch = 22 stitches
- 31st round: crochet together every 10th and 11th stitch = 20 stitches
- 32nd round: crochet together every 9th and 10th stitch = 18 stitches
- 33rd – 36th round: (= 4 rounds) each stitch one stitch = 18 stitches
- beyond the end of the round: 4x 1 half treble crochet stitch (UK!) into one stitch, 1x 1 double crochet stitch (UK!) into one stitch, 1x 1 slip stitch into one stitch
- fill and stuff completely
- cut the thread generous, pull off the loop, DONT cut the thread end, will be needed for sewing later
Crochet Giraffe Head (1x)
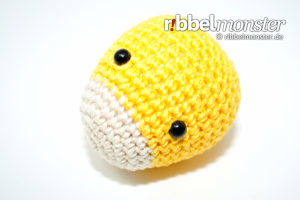 The head for the giraffe we crochet from front backwards in spiral rounds with double crochet stitches (UK!). You can crochet the head with one or two colours.
- beige/yellow:
- 1st round: magic ring + 6 double crochet stitches (UK!) = 6 stitches
- 2nd round: double every stitch = 12 stitches
- 3rd round: double every 2nd stitch = 18 stitches
- 4th round: double every 3rd stitch = 24 stitches
- 5th + 6th round: (= 2 rounds) each stitch one stitch = 24 stitches
- yellow:
- 7th round: double every 12th stitch = 26 stitches
- 8th round: double every 13th stitch = 28 stitches
- 9th round: double every 14th stitch = 30 stitches
- 10th round: double every 15th stitch = 32 stitches
- 11th round: double every 16th stitch = 34 stitches
- 12th round: double every 17th stitch = 36 stitches
- 13th – 16th round: (= 4 rounds) each stitch one stitch = 36 stitches
- Attach Safety Eyes, position: after the 9th round, 6 stitches distance
- 17th round: crochet together every 5th and 6th stitch = 30 stitches
- 18th round: crochet together every 4th and 5th stitch = 24 stitches
- 19th round: crochet together every 3rd and 4th stitch = 18 stitches
- fill and stuff completely
- 20th round: crochet together every 2nd and 3rd stitch = 12 stitches
- 21st round: crochet together every 1st and 2nd stitch = 6 stitches
- cut the thread generous, pull off the loop, close remaining opening, secure and weave in the thread end
Crochet Giraffe Arms (2x)
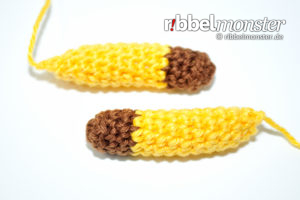 The arms of the giraffe we crochet from bottom up in spiral rounds with double crochet stitches (UK!). Shortly before closing the arms are filled and later the will be sewn to the body with the thread ends.
- brown:
- 1st round: magic ring + 6 double crochet stitches (UK!) = 6 stitches
- 2nd round: double every 2nd stitch = 9 stitches
- 3rd round: stitch into back loop only, each stitch one stitch = 9 stitches
- 4th round: each stitch one stitch = 9 stitches
- yellow:
- 5th -13th round: (= 9 rounds) each stitch one stitch = 9 stitches
- fill and stuff completely
- 14th round: crochet together every 2nd and 3rd stitch = 6 stitches
- cut the thread generous, pull off the loop, DONT cut the thread end, will be needed for sewing later
Crochet Giraffe Ears (2x)
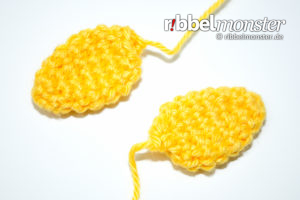 The ears of the giraffe we crochet from the tip to approach in spiral rounds with double crochet stitches (UK!). The ears of the Amigurumi giraffe wont be filled but folded flat. Later the ears will be sewn to the head with the thread ends.
- yellow:
- 1st round: magic ring + 6 double crochet stitches (UK!) = 6 stitches
- 2nd round: double every 3rd stitch = 8 stitches
- 3rd round: double every 4th stitch = 10 stitches
- 4th round: double every 5th stitch = 12 stitches
- 5th – 7th round: (= 3 rounds) each stitch one stitch = 12 stitches
- 8th round: crochet together every 1st and 2nd stitch = 6 stitches
- cut the thread generous, pull off the loop, DONT cut the thread end, will be needed for sewing later
Crochet Giraffe Horns (2x)
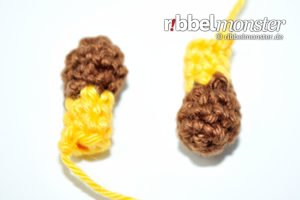 The horns for the giraffe we crochet from top don in spiral rounds with double crochet stitches (UK!). Then the horns will be filled and later sewn with the thread ends to the head.
- brown:
- 1st round: magic ring + 6 double crochet stitches (UK!) = 6 stitches
- 2nd round: double every 2nd stitch = 9 stitches
- 3rd round: each stitch one stitch = 9 stitches
- 4th round: crochet together every 2nd and 3rd stitch = 6 stitches
- yellow:
- 5th – 7th round: (= 3 rounds) each stitch one stitch = 6 stitches
- beyond the end of the round: 1x 1 slip stitch into one stitch
- fill and stuff completely
- cut the thread generous, pull off the loop, DONT cut the thread end, will be needed for sewing later
Crochet Giraffe Tail (1x)
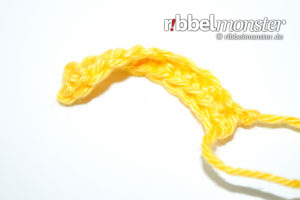 The tail for the giraffe we crochet in only two rows with chain stitches and double crochet stitches (UK!). Later we tie on some hairs to the tail and then we will tie it to the back of the giraffe.
- yellow:
- 1st row: 10 chain stitches + 1 lifting-chain stitches = 10 stitches
- 2nd row: always double crochet stitches (UK!), each stitch one stitch = 10 stitches
- cut the thread generous, pull off the loop, DONT cut the thread end, will be needed for sewing later
Crochet Giraffe Spots (8x)
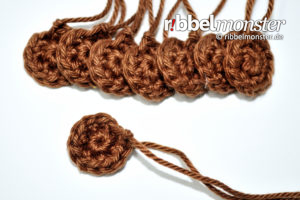 The spots of the giraffe we crochet in spiral rounds with double crochet stitches (UK!) from inside out. The thread ends will be needed later to sew the spots to the body of the giraffe.
- brown:
- 1st round: magic ring + 6 double crochet stitches (UK!) = 6 stitches
- 2nd round: double every stitch = 12 stitches
- beyond the end of the round: 1x 1 slip stitch into one stitch
- cut the thread generous, pull off the loop, DONT cut the thread end, will be needed for sewing later
Finish Amigurumi Giraffe
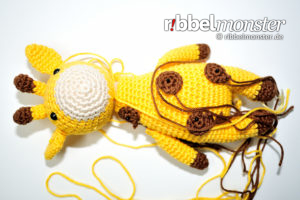 When you have finished crocheting all parts you can finish the amigurumi giraffe. First we sew the head to the body while using the thread end of the body.
 Between the 4 half treble crochet stitches (UK!) at the neck is the middle of the back of the body. The middle on the top of the head is exactly between the eyes. From there we can mark the middle of the bottom after the 15th round of the head.
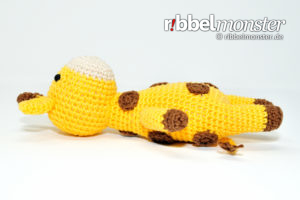
Now we can sew together the head and the body a way that both marks will match. That sounds a bit complicated, but I made a Tutorial about Sewing Open Parts to Closed Parts with more detailed practices for you.
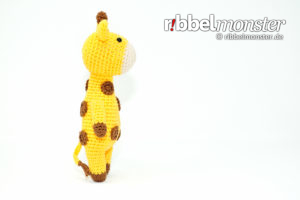 After you got this you can sew the arms left and right to the body. The arms are placed horizontaly around the 28th round of the body and have a distance of 11 stitches on the front.
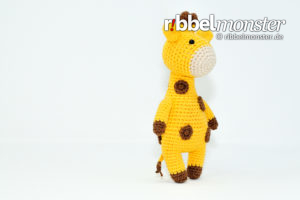 First mark the middle of the front and then sew the arms folded flat with the thread end to the right place. All thread ends will just be secured and weaved in inside.
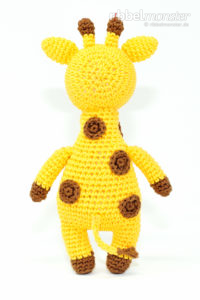 The tail will be tied to the middle of the back after the 17th round using the thread ends. For this the Tutorial to Tie on Small Parts will be helpful.
Then you cut 3 pieces of brown yarn with a length of 5cm and tie them to the end of the tail. There for just pull the middle of the threads with the hook through the tip of the tail and then pull the ends through the loop.
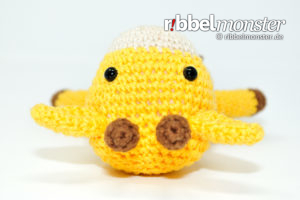 The horns are placed at the 15th round on the middle of the head with 2 stitches distance. Just orient yourself by the middle between the eyes and use the thread ends to sew the horns once around to the head.
Now we can sew the ears horizontally left and right to the horns at the 14th round of the head. They have a distance of 1 stitch to each horn and you can use the thread ends for sewing also.
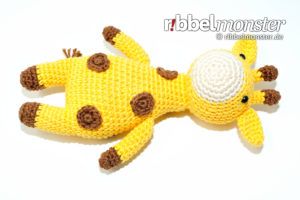 The spots are spread evenly on the front and the back of the body. This will be easy when you will pin them first. If you like the result you can sew them once after the other with the thread end once around to the body.
Congratulations! Your Amigurumi Giraffe is finished and of course I would be happy to see some pictures of your giraffes!

