
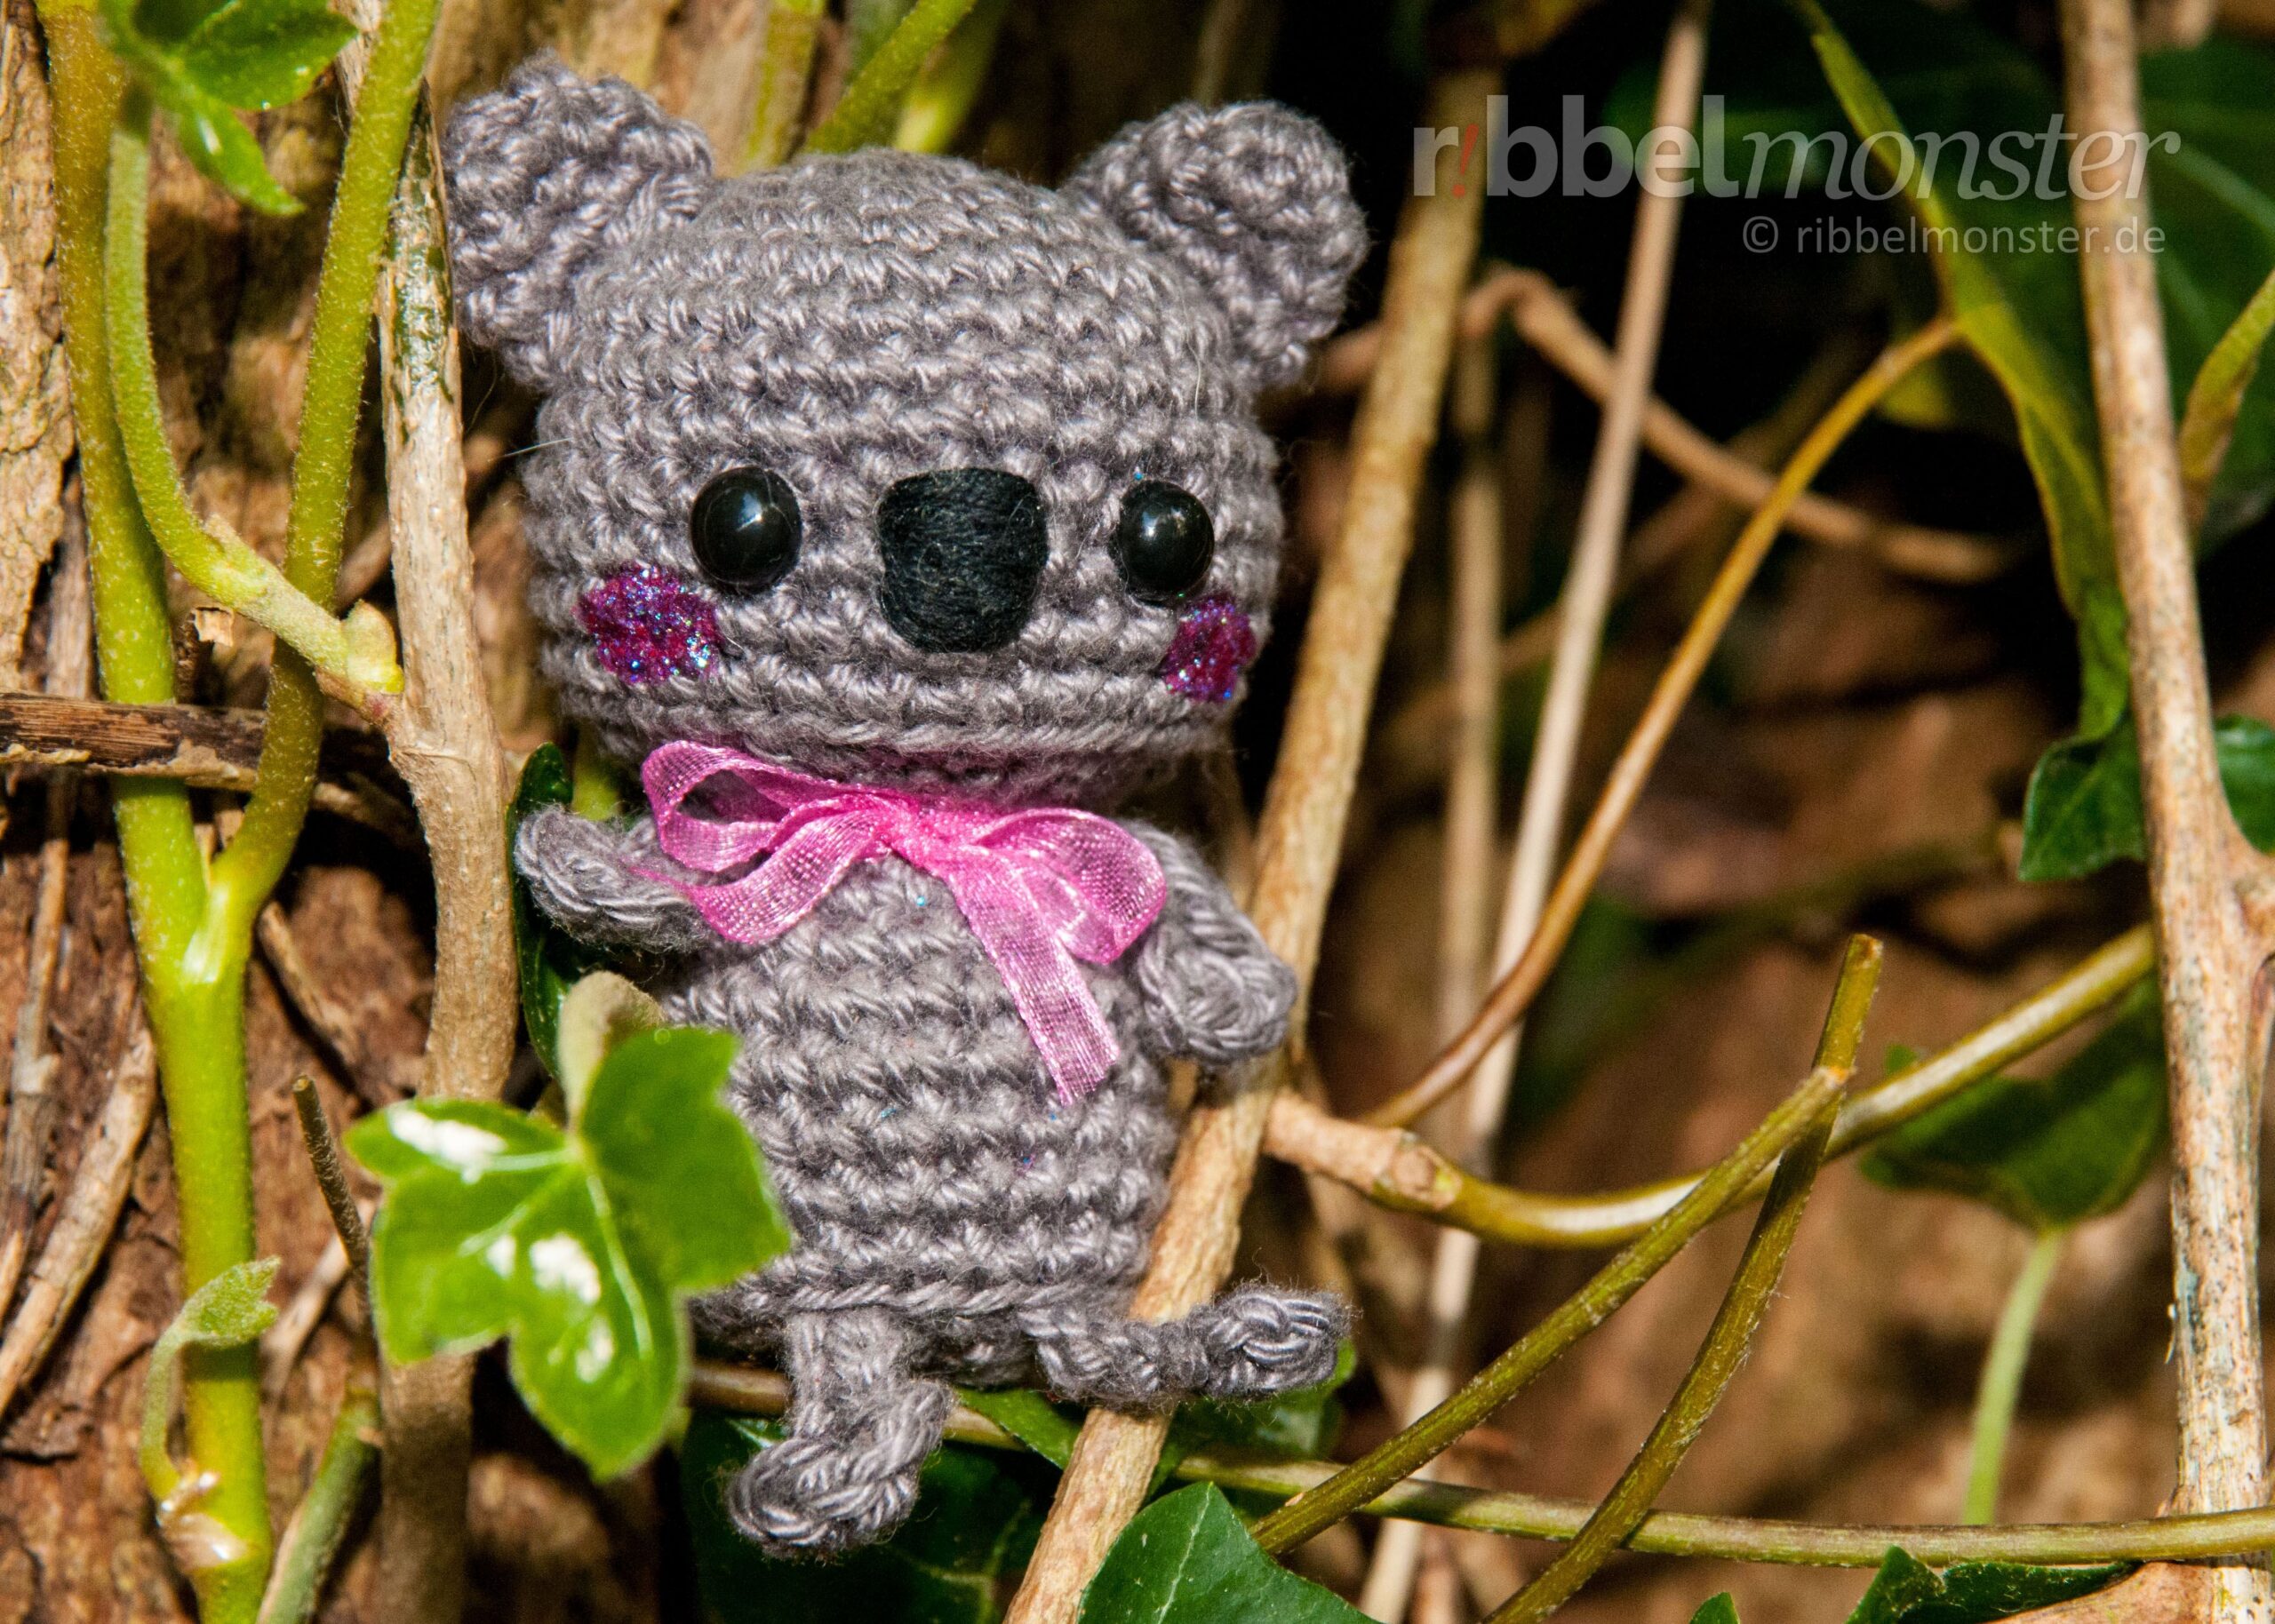
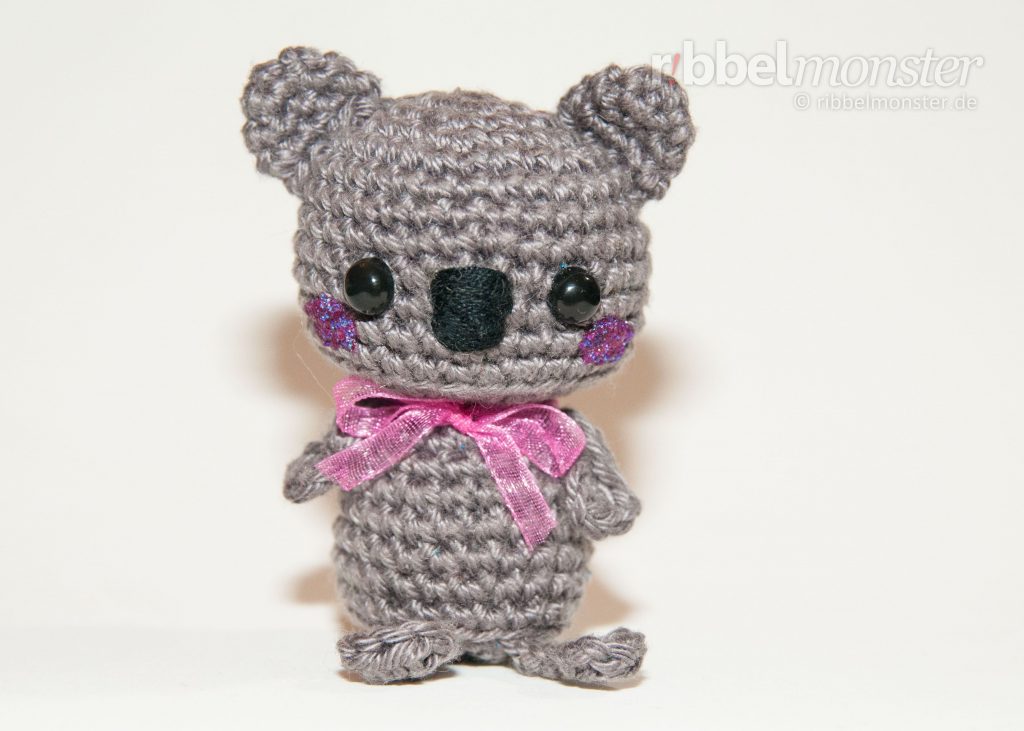
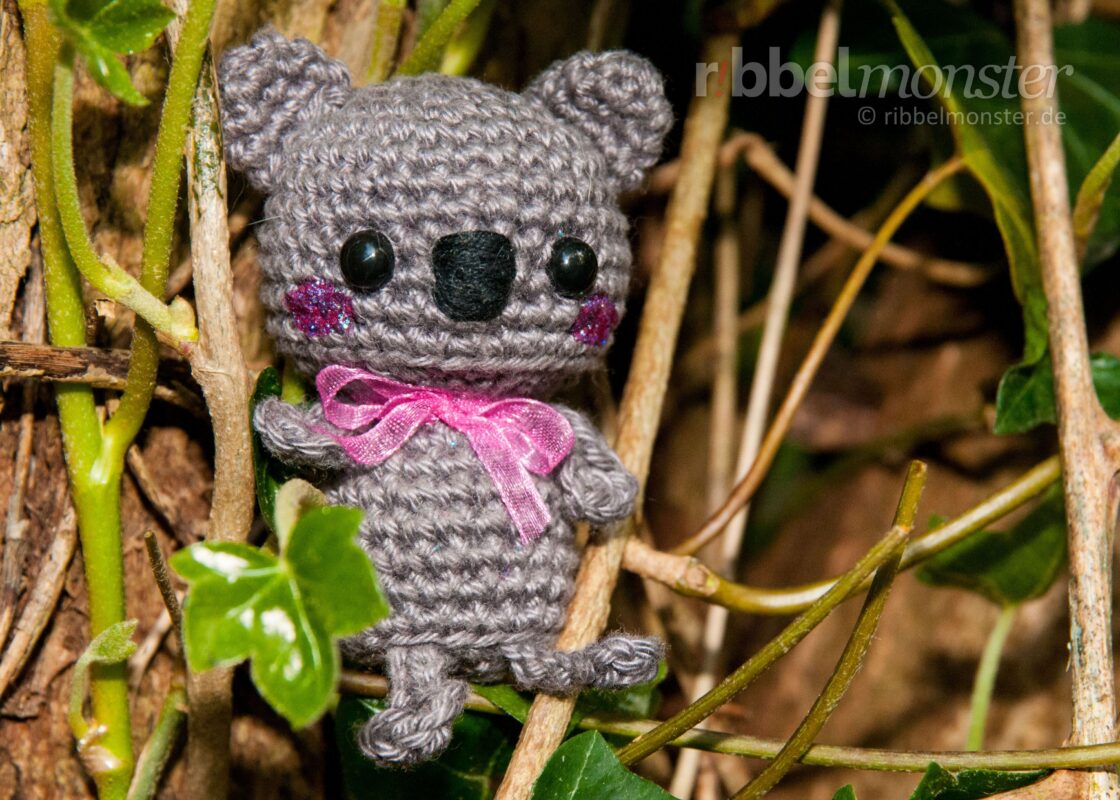
Crochet an adorable koala bear with this free pattern. For the little koala bear, we crochet the head and body in one piece. Then follow arms, legs, ears, and tail. When you assemble all the parts and give your koala bear a cute face, no one can resist it.
Inhalt
Introduction: Amigurumi – Minimee Crochet Koala Bear “Sina”
Before we start crocheting the Amigurumi koala bear, it is crucial to prepare well. Here you will find comprehensive information about the required prerequisites, materials, and size. Additionally, you can seek help through the respective provided links.
Achtung! Amigurumis sind sehr niedlich und deshalb nicht nur bei Erwachsenen sehr beliebt. Von Kindern werden sie gern als Spielzeug betrachtet, weshalb du besonders vorsichtig sein solltest. Amigurumis, die nicht bespielt werden sollen, sollten unbedingt außerhalb der Reichweite von Kindern aufbewahrt werden. Soll ein Amigurumi von Kindern bespielt werden, solltest du unbedingt die Vorgaben für Spielzeug einhalten. Wenn du die Amigurumis weitergeben oder verkaufen möchtest (Lizenz für Verkäufer), dann musst du zwingend die gesetzlichen Vorgaben für Spielzeug beachten und die benötigte CE-Kennzeichnung ausweisen.
Prerequisites
To successfully recreate this crochet pattern for the Amigurumi koala bear, it is essential to be familiar with the following crochet techniques. If you are not proficient in all of them yet, you will find comprehensive tutorials here to learn them.
- Chain Stitches
- Decreases
- Double Crochet Stitches (UK!)
- Half Treble Crochet Stitches (UK!)
- Increases
- Loops of a Stitch
- Magic Ring
- Slip Stitches
- Spiral Rounds
- Turning Chain Stitches
Hinweis! Indem du regelmäßige Zunahmen und Abnahmen versetzt werden diese fast unsichtbar. Du erkennst regelmäßige Zunahmen an der Formulierung “jede … Masche verdoppeln” und regelmäßige Abnahmen an der Formulierung “jede … und … Masche zusammen häkeln”. Dabei hilft dir vielleicht auch die Maschentabelle für Kugeln und Kreise.
Hinweis! Mit einer besonderen Technik für unsichtbare Abnahmen sind diese kaum noch zu sehen. Auch wenn diese Technik ein wenig Übung erfordert lohnt es sich sie auszuprobieren.
Supplies
The following materials were used to crochet the Amigurumi koala bear. You can also crochet the Amigurumi koala bear with a different yarn and a matching crochet hook. For an authentic result, it is recommended to use materials as similar as possible. In addition to the materials, all necessary tools and supplies are also listed here.
Crochet Hook
You will need a crochet hook with a size of 12 (british). For converting to other sizes, the crochet hook size converter will help you. I have selected some great crochet hooks for you here.
Filling
For filling, I used wadding made of 100% viscose. However, there are numerous alternatives for filling material. If you’ve run out of filling, I’ve prepared a refill for you here.
Paint
I used acrylic paint in the shade of pink here. This paint is non-toxic, water-dilutable, waterproof, and adheres to almost any surface. I found a great set of acrylic paints for you to try out here.
Pins
You’ll also need a few pins. The more colorful your collection, the better. If you need more, I’ve found something for you.
Ribbon
I’ve used organza ribbon or satin ribbon here. The width is 1/5 inches. The color is pink. If you can’t find anything suitable, I’ve selected a set of beautiful ribbons for you here.
Safety Eyes
I used 2 safety eyes with a diameter of 1/4 inches. The eyes are completely black. However, there are countless alternatives for amigurumi eyes. You might prefer other safety eyes as well.
Bow
Ich habe hier eine Schleife im Farbton Rosa verwendet. Die Schleife ist etwa 2,5 cm breit. Wenn du keine passende Schleife in deinen Vorräten findest, habe ich hier etwas für dich herausgesucht.
Scissors – any
You’ll need any scissors. It’s best to use your most beautiful scissors because it brings you joy. If you don’t have really nice scissors, I’ve picked out some lovely ones for you.
Wool Needle
You’ll need a wool needle with a blunt tip. The thickness of the wool needle should match the thickness of your yarn. You might like the set of wool needles I’ve picked out for you.
Yarn – Schachenmayr – Catania – 393 – graphit (dunkelgrau)
I used yarn in the shade Graphite. The material is 100% cotton. The yardage is 137 yds / 1.75 oz. If you want to replenish your supply, I’ve already picked out the matching yarn for you here.
Hinweis! Ich habe hier Sicherheitsaugen verwendet. Wenn du noch nie Sicherheitsaugen angebracht hast, findest du hier auch eine ausführliche Anleitung zum Anbringen von Sicherheitsaugen. Neben einer großen Auswahl an anderen Sicherheitsaugen, gibt es auch noch unzählige Alternativen für Amigurumi Augen. Verwende einfach die Augen, die dir am besten gefallen.
Hinweis! Das hier angegebene Garn habe ich für das gezeigte Beispiel verwendet. Prinzipiell kannst du jedes beliebige Garn und eine passende Nadelstärke verwenden. Allerdings beeinflusst die Materialqualität auch die Qualität des Resultats, weshalb du tunlichst nicht an der falschen Stelle sparen solltest. Außerdem beeinflussen die Stärke des Garns und der Nadel auch die Größe des Ergebnisses, was du natürlich bewusst ausnutzen kannst.
Size
Here you will find the size specifications for the crocheted Amigurumi koala bear. The height was measured standing without ears. Please note that the actual size depends on the yarn used, the size of the crochet hook, and individual crochet tension.
| Needle Size | Yardage | Size |
|---|---|---|
| Crochet Hook 12 | 137 yds / 1.75 oz | 2 2/5 inch |
| Crochet Hook 11 | 120 yds / 1.75 oz | 3 inches |
| Crochet Hook 9 or 10 | 93 yds / 1.75 oz | ? |
Hinweis! Wenn du die Größe verändern möchtest, kannst du einfach ein dickeres oder dünneres Garn mit einer passenden Nadelstärke verwenden. Das schlichte Verdoppeln der Runden, Reihen und Maschen führt dagegen nur zu einem unförmigen Ergebnis.
Crochet Pattern: Amigurumi – Minimee Crochet Koala Bear “Sina”
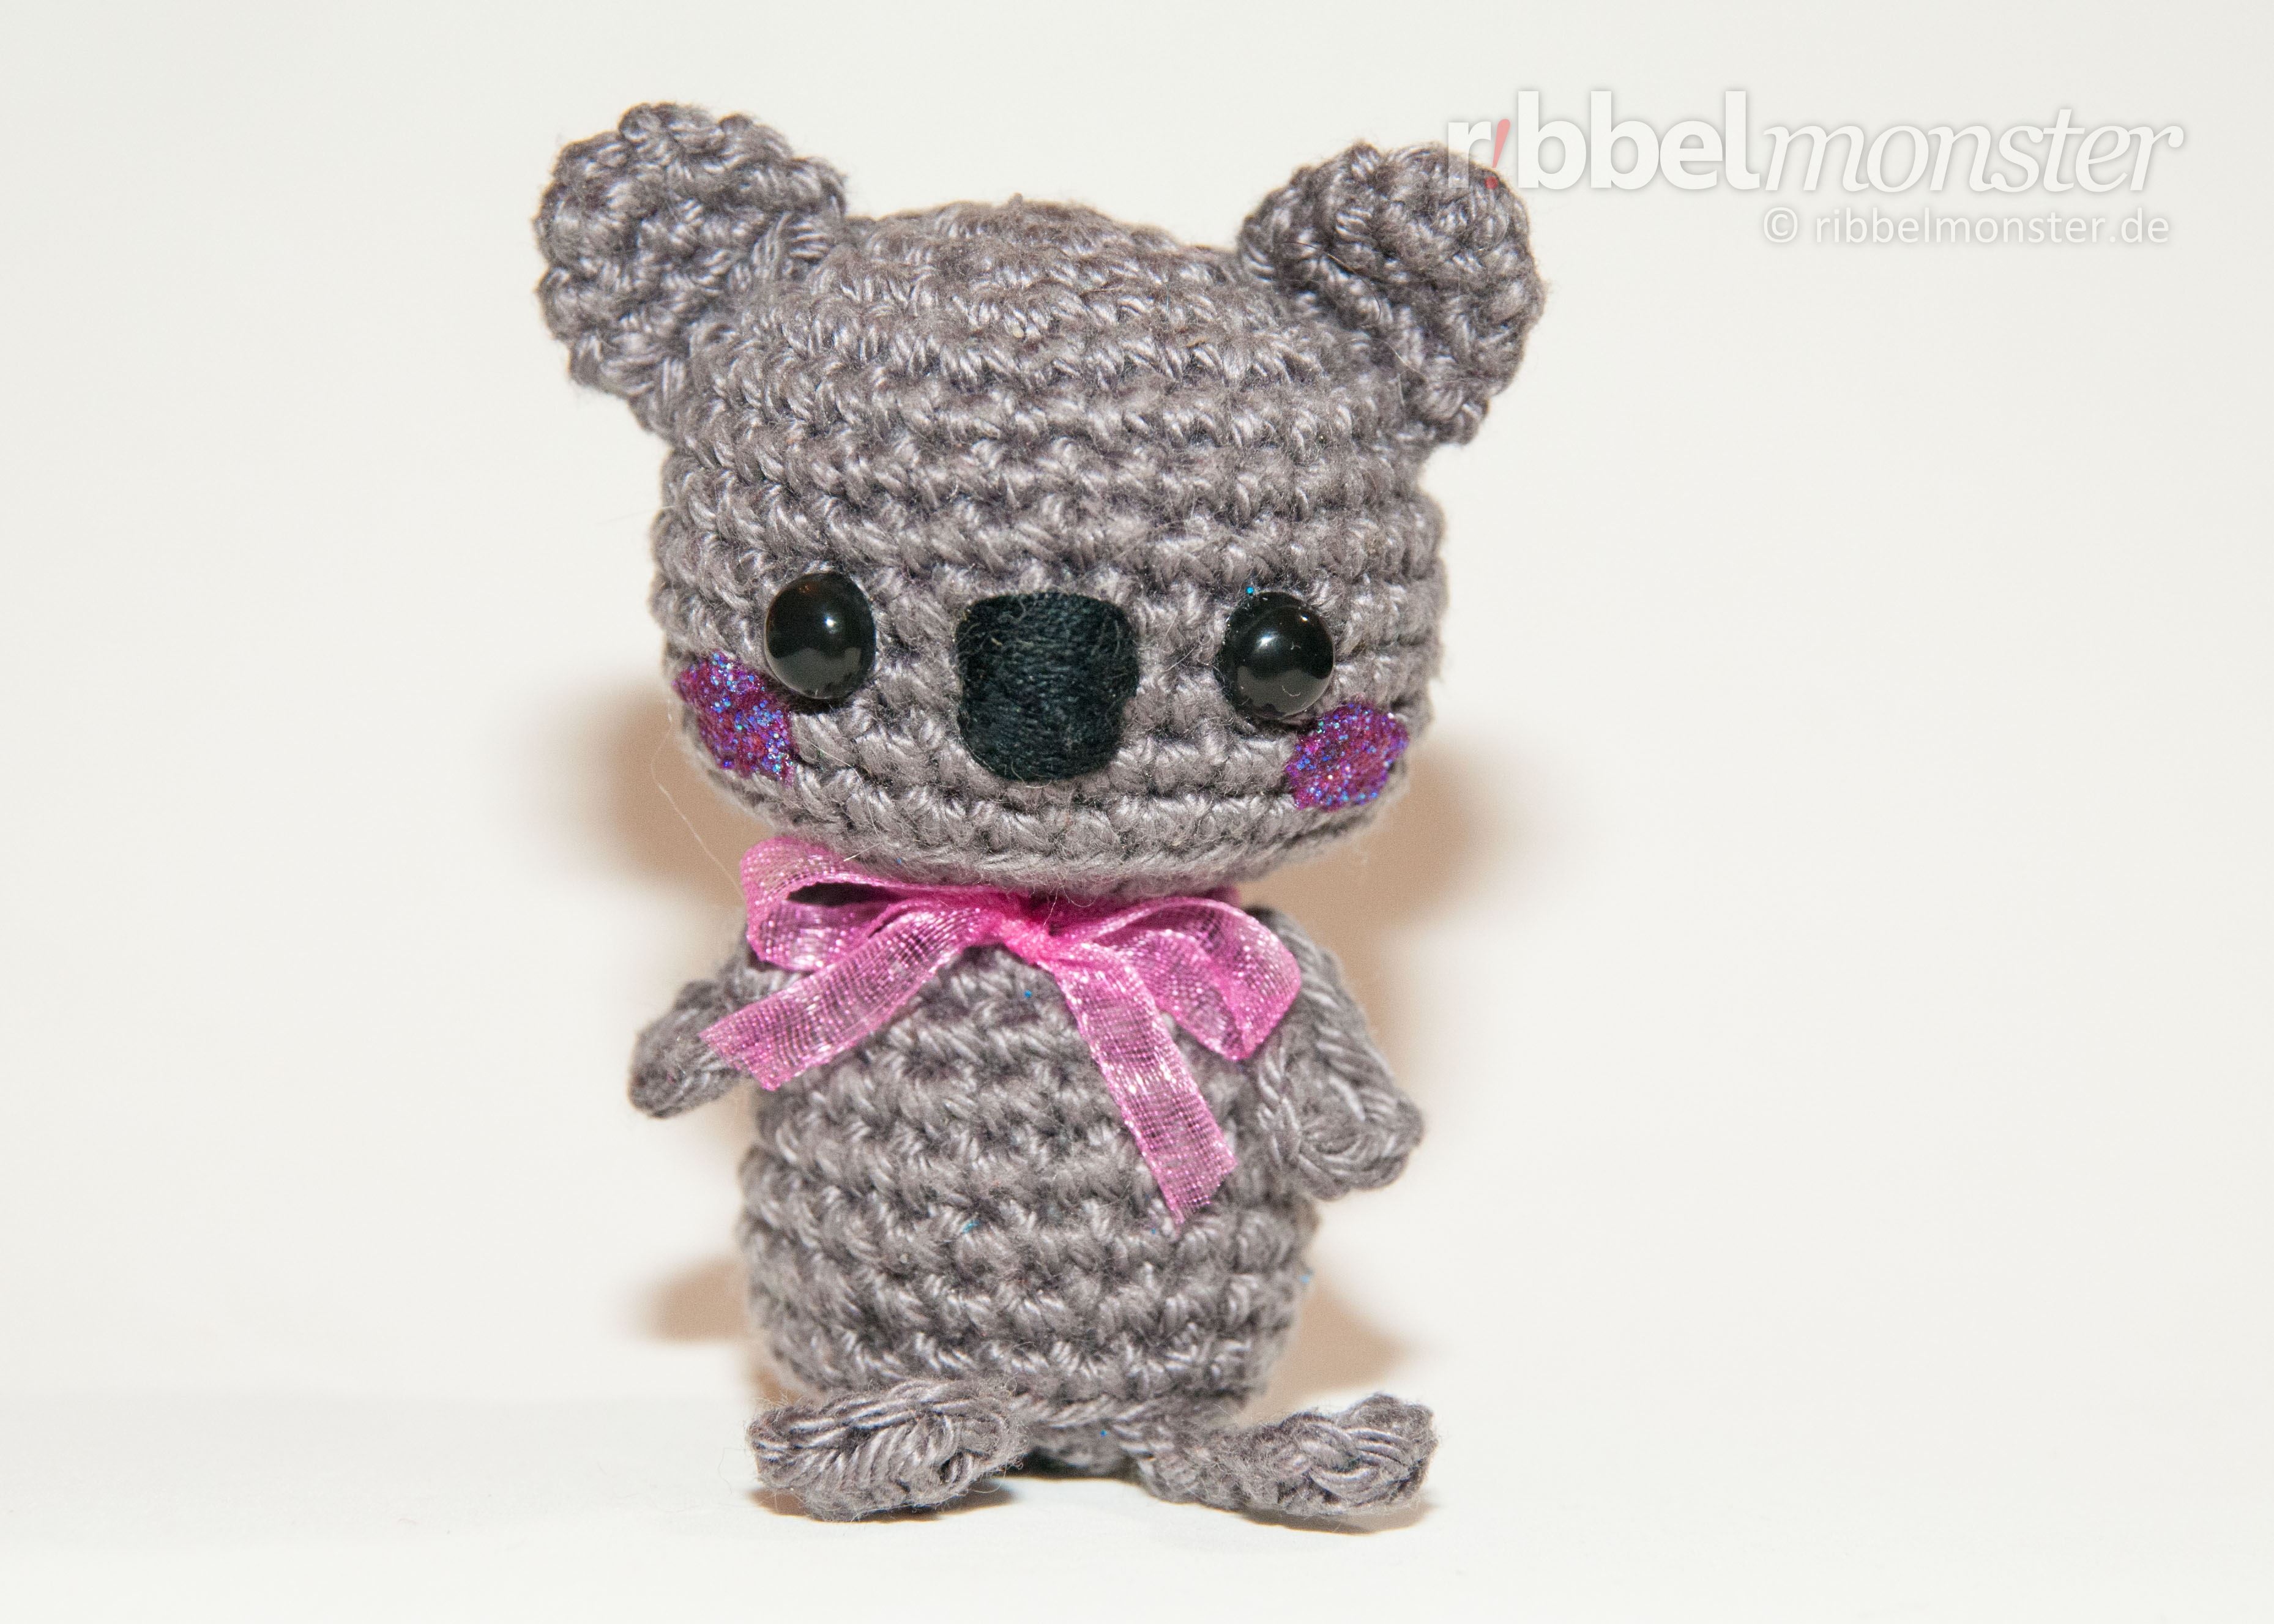
We crochet the little koala bear in one piece from top to bottom. Afterward, we crochet all the small parts, such as ears, tail, arms, and legs. Finally, everything is sewn together, and you can add a few embellishments. Let’s get started!
Crochet Head for Koala Bear (1x)
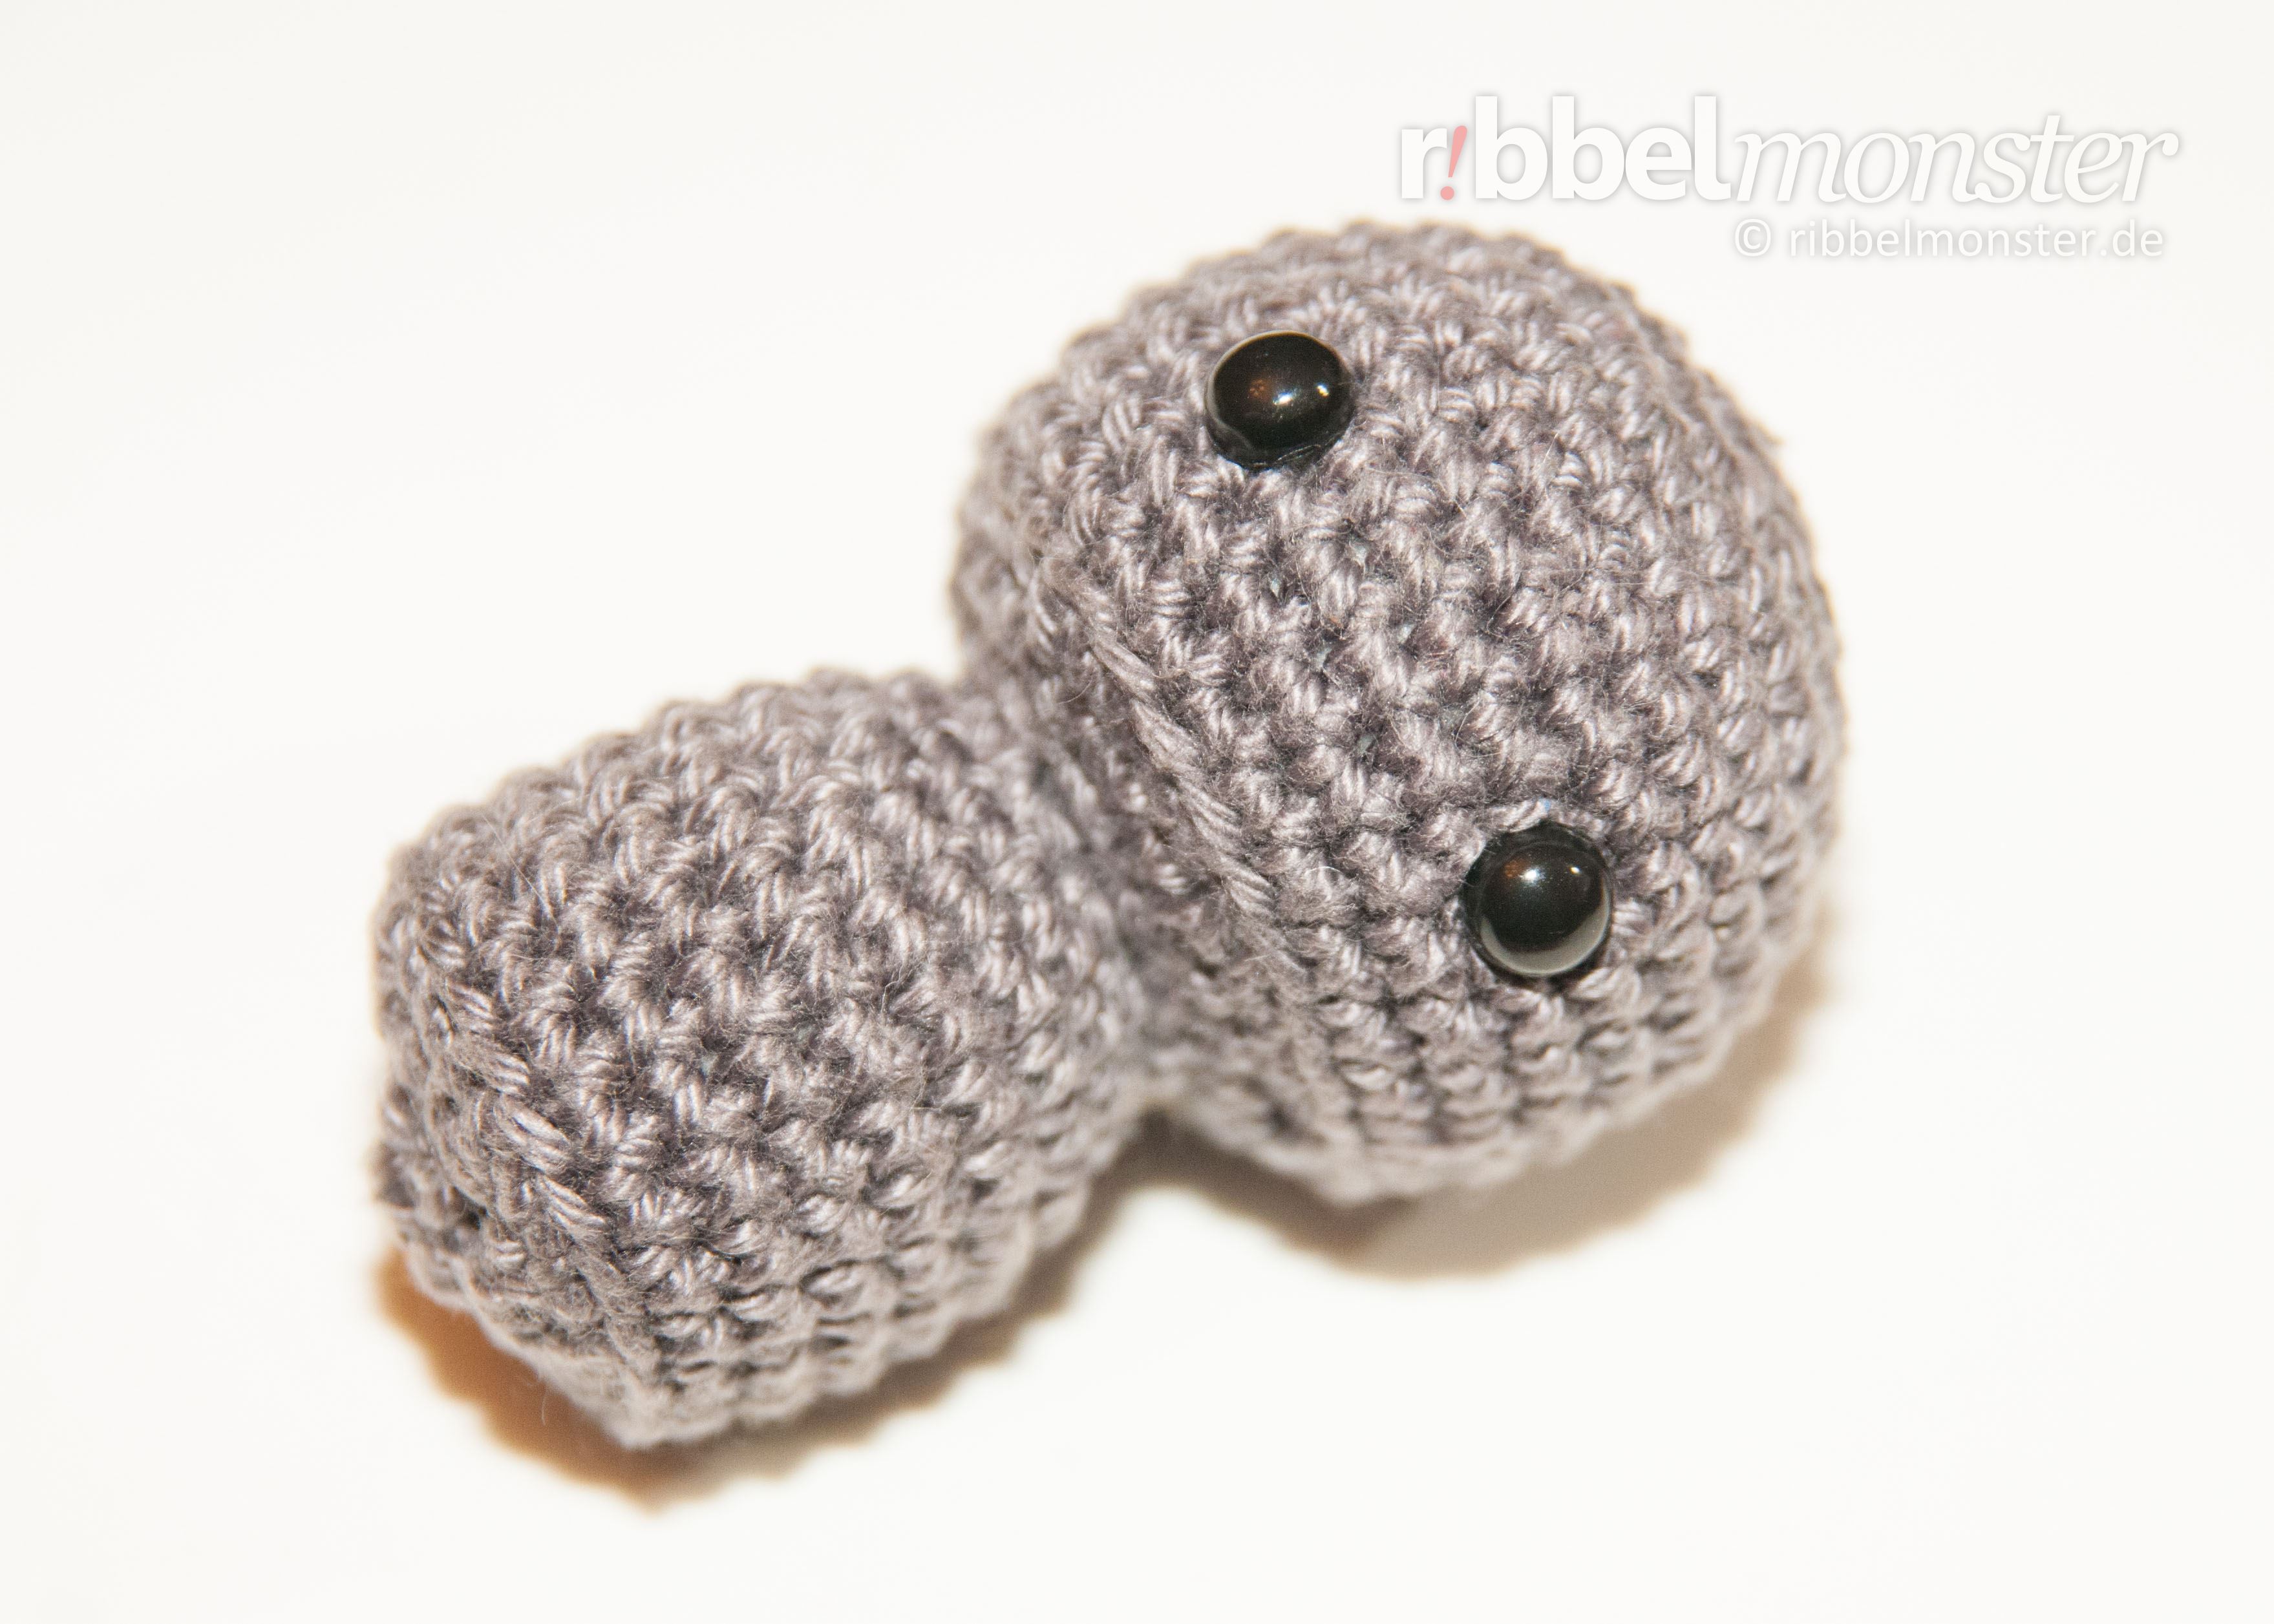
For the Amigurumi koala bear, we crochet the head and body in one go. We start by crocheting from the top with the head and work our way down in spiral rounds. Meanwhile, you can attach safety eyes if you prefer not to create other eyes. Of course, the head is completely filled and stuffed at the end. Do not cut the thread when the head is finished; instead, continue with the body right away.
Hinweis! Wenn du ein besonders schönes Ergebnis erhalten möchtest, kannst du die regelmäßigen Zunahmen und regelmäßigen Abnahmen durch Versetzen ein wenig verstecken. Du erkennst regelmäßige Zunahmen an der Formulierung “jede … Masche verdoppeln” und regelmäßige Abnahmen an der Formulierung “jede … und … Masche zusammen häkeln”. Dabei hilft dir vielleicht auch die Maschentabelle für Kugeln und Kreise. Außerdem kannst du hier auch noch eine besondere Häkeltechnik für unsichtbare Abnahmen anwenden.
- grey:
- 1st round:
- magic ring
- into the magic ring:
- 6 double crochet stitches (UK!)
- = 6 stitches
- 2nd round:
- double every stitch
- = 12 stitches
- 3rd round:
- double every 2nd stitch
- = 18 stitches
- 4th round:
- double every 3rd stitch
- = 24 stitches
- 5th round:
- double every 4th stitch
- = 30 stitches
- 6th – 12th round:
- (= 7 rounds)
- every stitch one stitch
- = 30 stitches
- 13th round:
- into the back loop only:
- crochet together every 4th and 5th stitch
- = 24 stitches
- into the back loop only:
- attach safety eyes, position:
- after the 9th round
- 5 stitches distance
- 14th round:
- crochet together every 3rd and 4th stitch
- = 18 stitches
- 15th round:
- crochet together every 2nd and 3rd stitch
- = 12 stitches
- fill and stuff completely
- do NOT cut yarn, continue with:
- body
Crochet Body for Koala Bear (1x)
As described earlier, we now crochet the body directly onto the head. If you accidentally cut the thread, you can simply continue as if you were starting with a new color.
Hinweis! Wenn du ein besonders schönes Ergebnis erhalten möchtest, kannst du die regelmäßigen Zunahmen und regelmäßigen Abnahmen durch Versetzen ein wenig verstecken. Du erkennst regelmäßige Zunahmen an der Formulierung “jede … Masche verdoppeln” und regelmäßige Abnahmen an der Formulierung “jede … und … Masche zusammen häkeln”. Dabei hilft dir vielleicht auch die Maschentabelle für Kugeln und Kreise. Außerdem kannst du hier auch noch eine besondere Häkeltechnik für unsichtbare Abnahmen anwenden.
- 16th round:
- double every 4th stitch
- = 15 stitches
- 17th round:
- double every 5th stitch
- = 18 stitches
- 18th round:
- double every 6th stitch
- = 21 stitches
- 19th round:
- double every 7th stitch
- = 24 stitches
- 20th – 23rd round:
- (= 4 rounds)
- every stitch one stitch
- = 24 stitches
- 24th round:
- into the back loop only:
- crochet together every 3rd and 4th stitch
- = 18 stitches
- into the back loop only:
- fill and stuff completely
- 25th round:
- crochet together every 2nd and 3rd stitch
- = 12 stitches
- 26th round:
- crochet together every 1st and 2nd stitch
- = 6 stitches
- cut yarn generously, pull through loop, close the remaining opening, secure and weave in the yarn end
Crochet Ears for Koala Bear (2x)
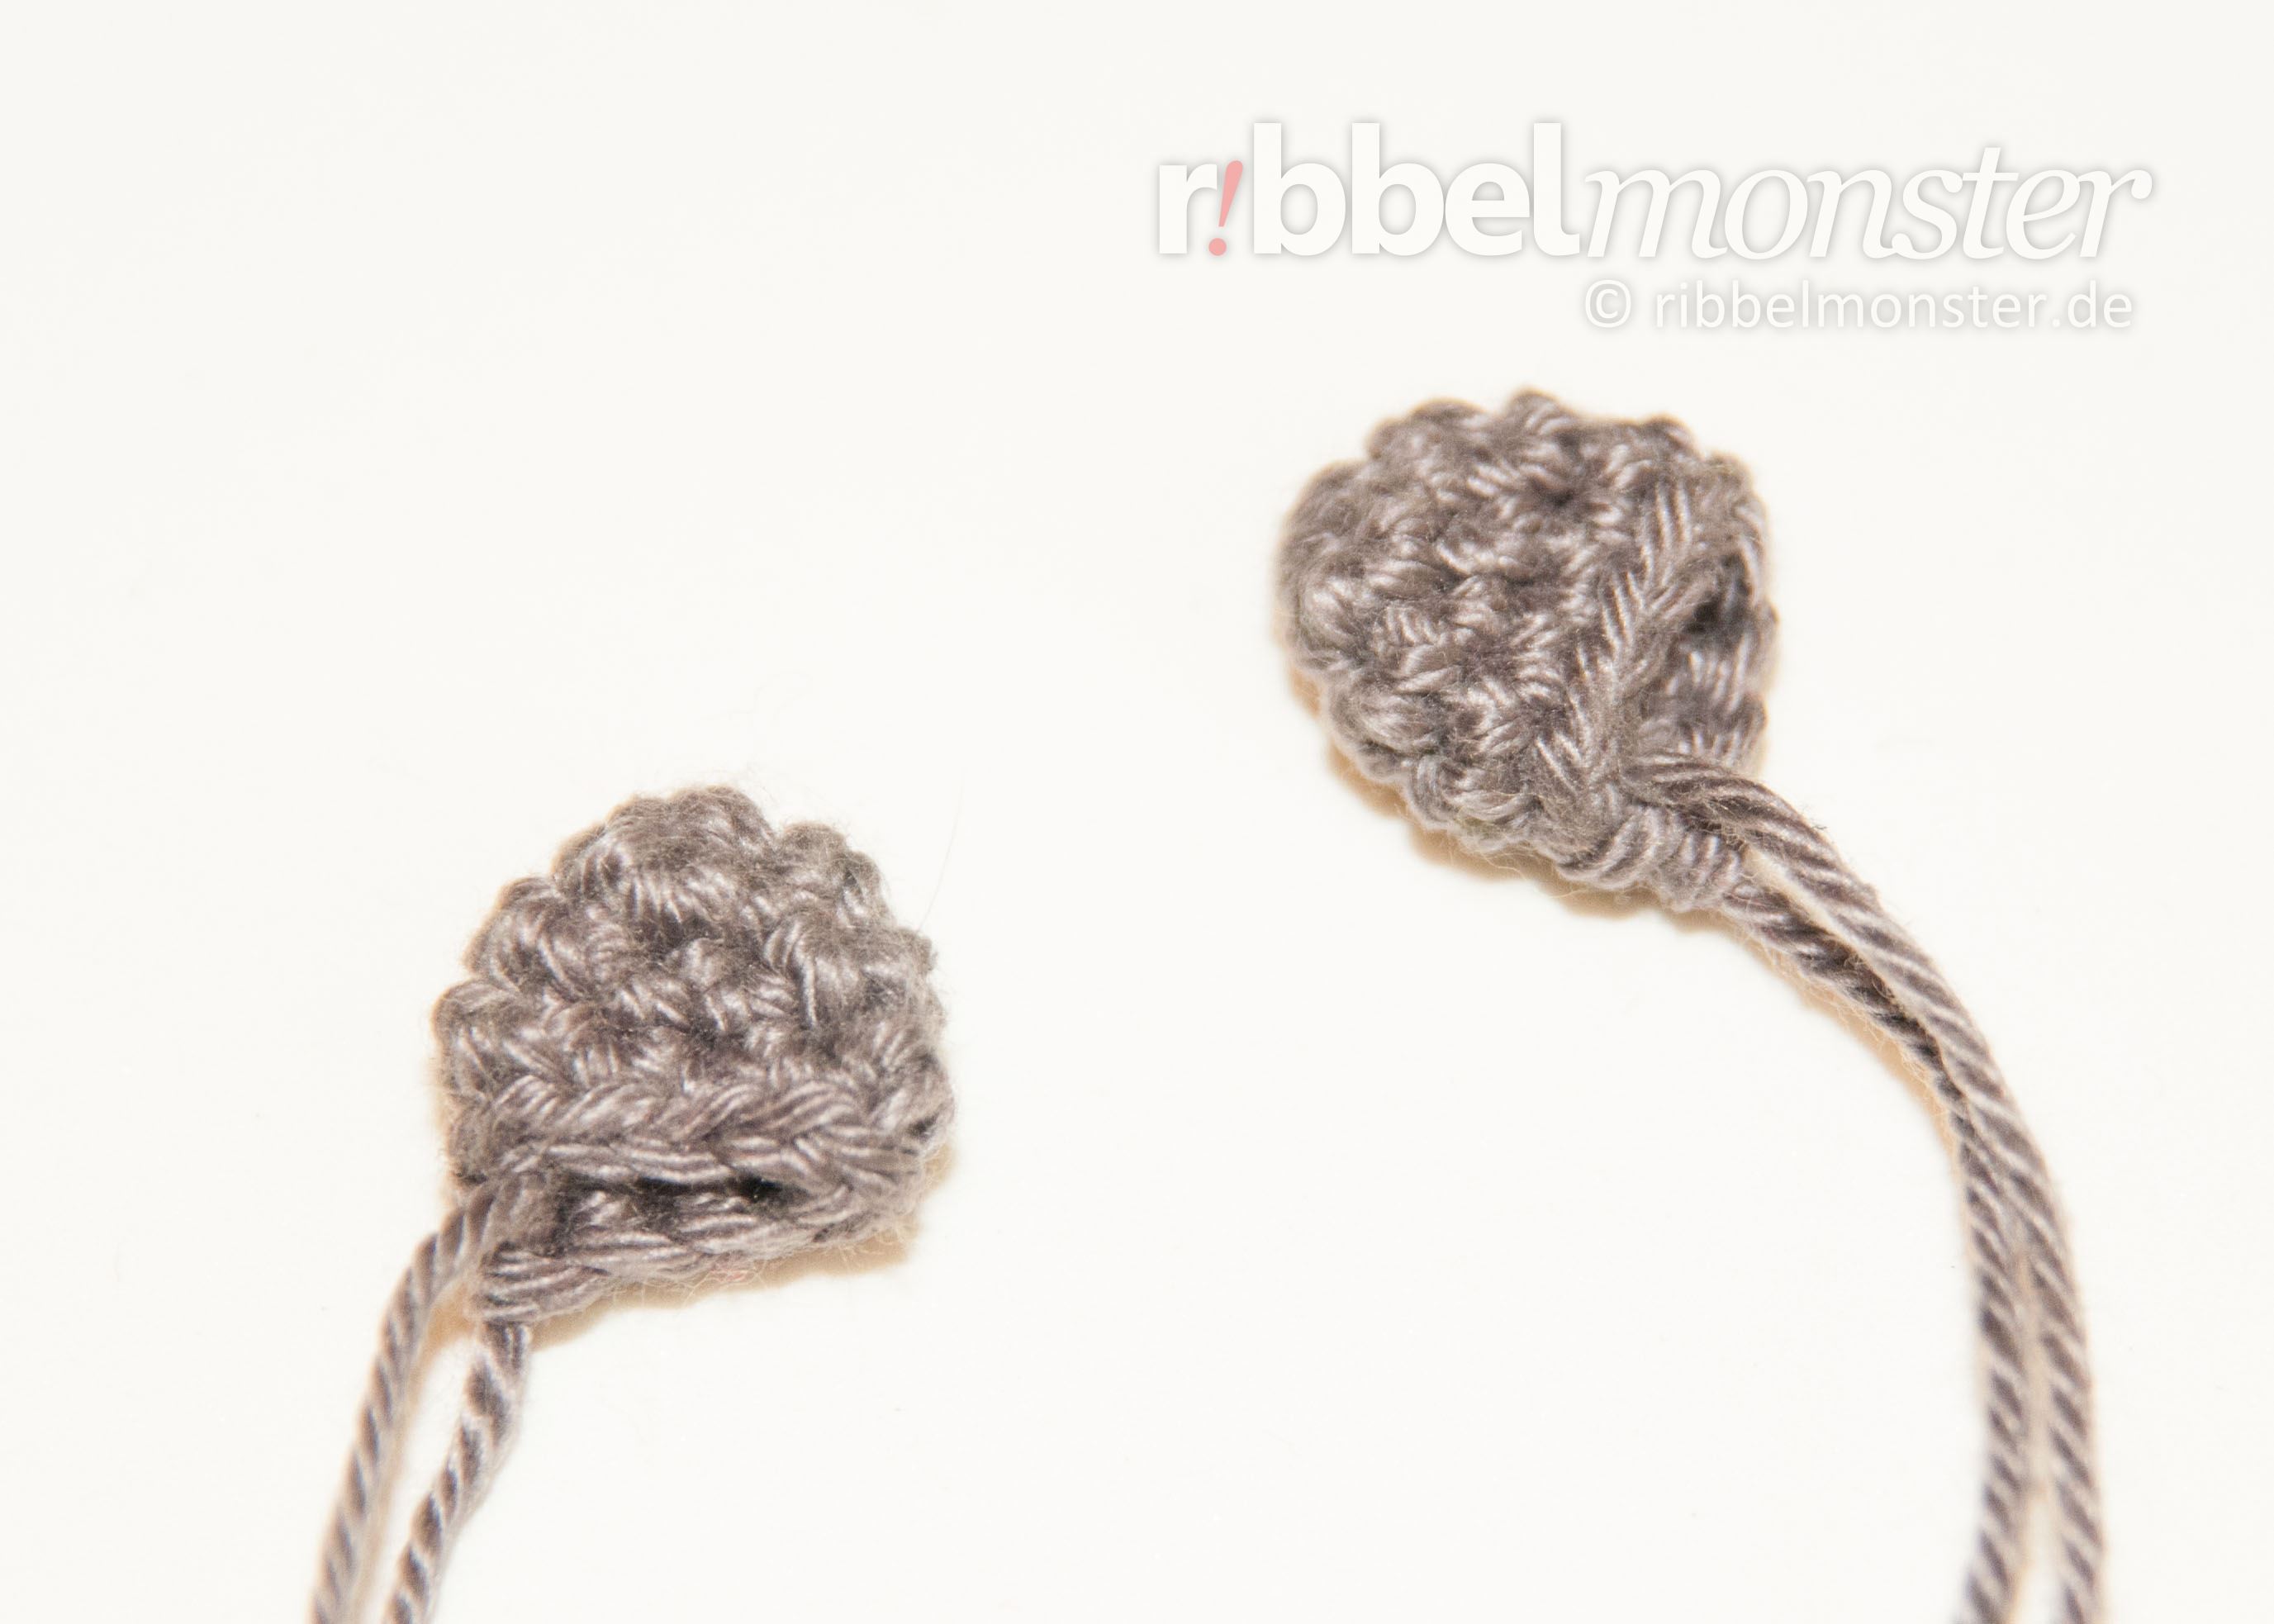
We crochet the ears for the koala bear from top to bottom in spiral rounds. The ears are not filled, only folded flat.
Tip: Wenn du ein besonders schönes Ergebnis erhalten möchtest, kannst du die regelmäßigen Zunahmen durch Versetzen ein wenig verstecken. Dazu verwendest du einfach die Maschentabelle für Kugeln und Kreise.
(Redaktion: Block ersetzen)
Hinweis! Wenn mehrere möglichst identische Teile entstehen sollen, ist es sinnvoll diese am selben Tag nacheinander zu arbeiten. Bei größeren Teilen ist es sogar empfehlenswert diese gleichzeitig in Etappen zu arbeiten. Wir arbeiten einfach nicht jeden Tag gleich fest oder locker und das kann zu sichtbaren Unterschieden führen.
- grey:
- 1st round:
- magic ring
- into the magic ring:
- 6 double crochet stitches (UK!)
- = 6 stitches
- 2nd round:
- double every 2nd stitch
- = 9 stitches
- 3rd – 4th round:
- (= 2 rounds)
- every stitch one stitch
- = 9 stitches
- cut yarn generously, pull through loop, do NOT cut the yarn end, it will be used later for sewing
Crochet Tail for Koala Bear (1x)
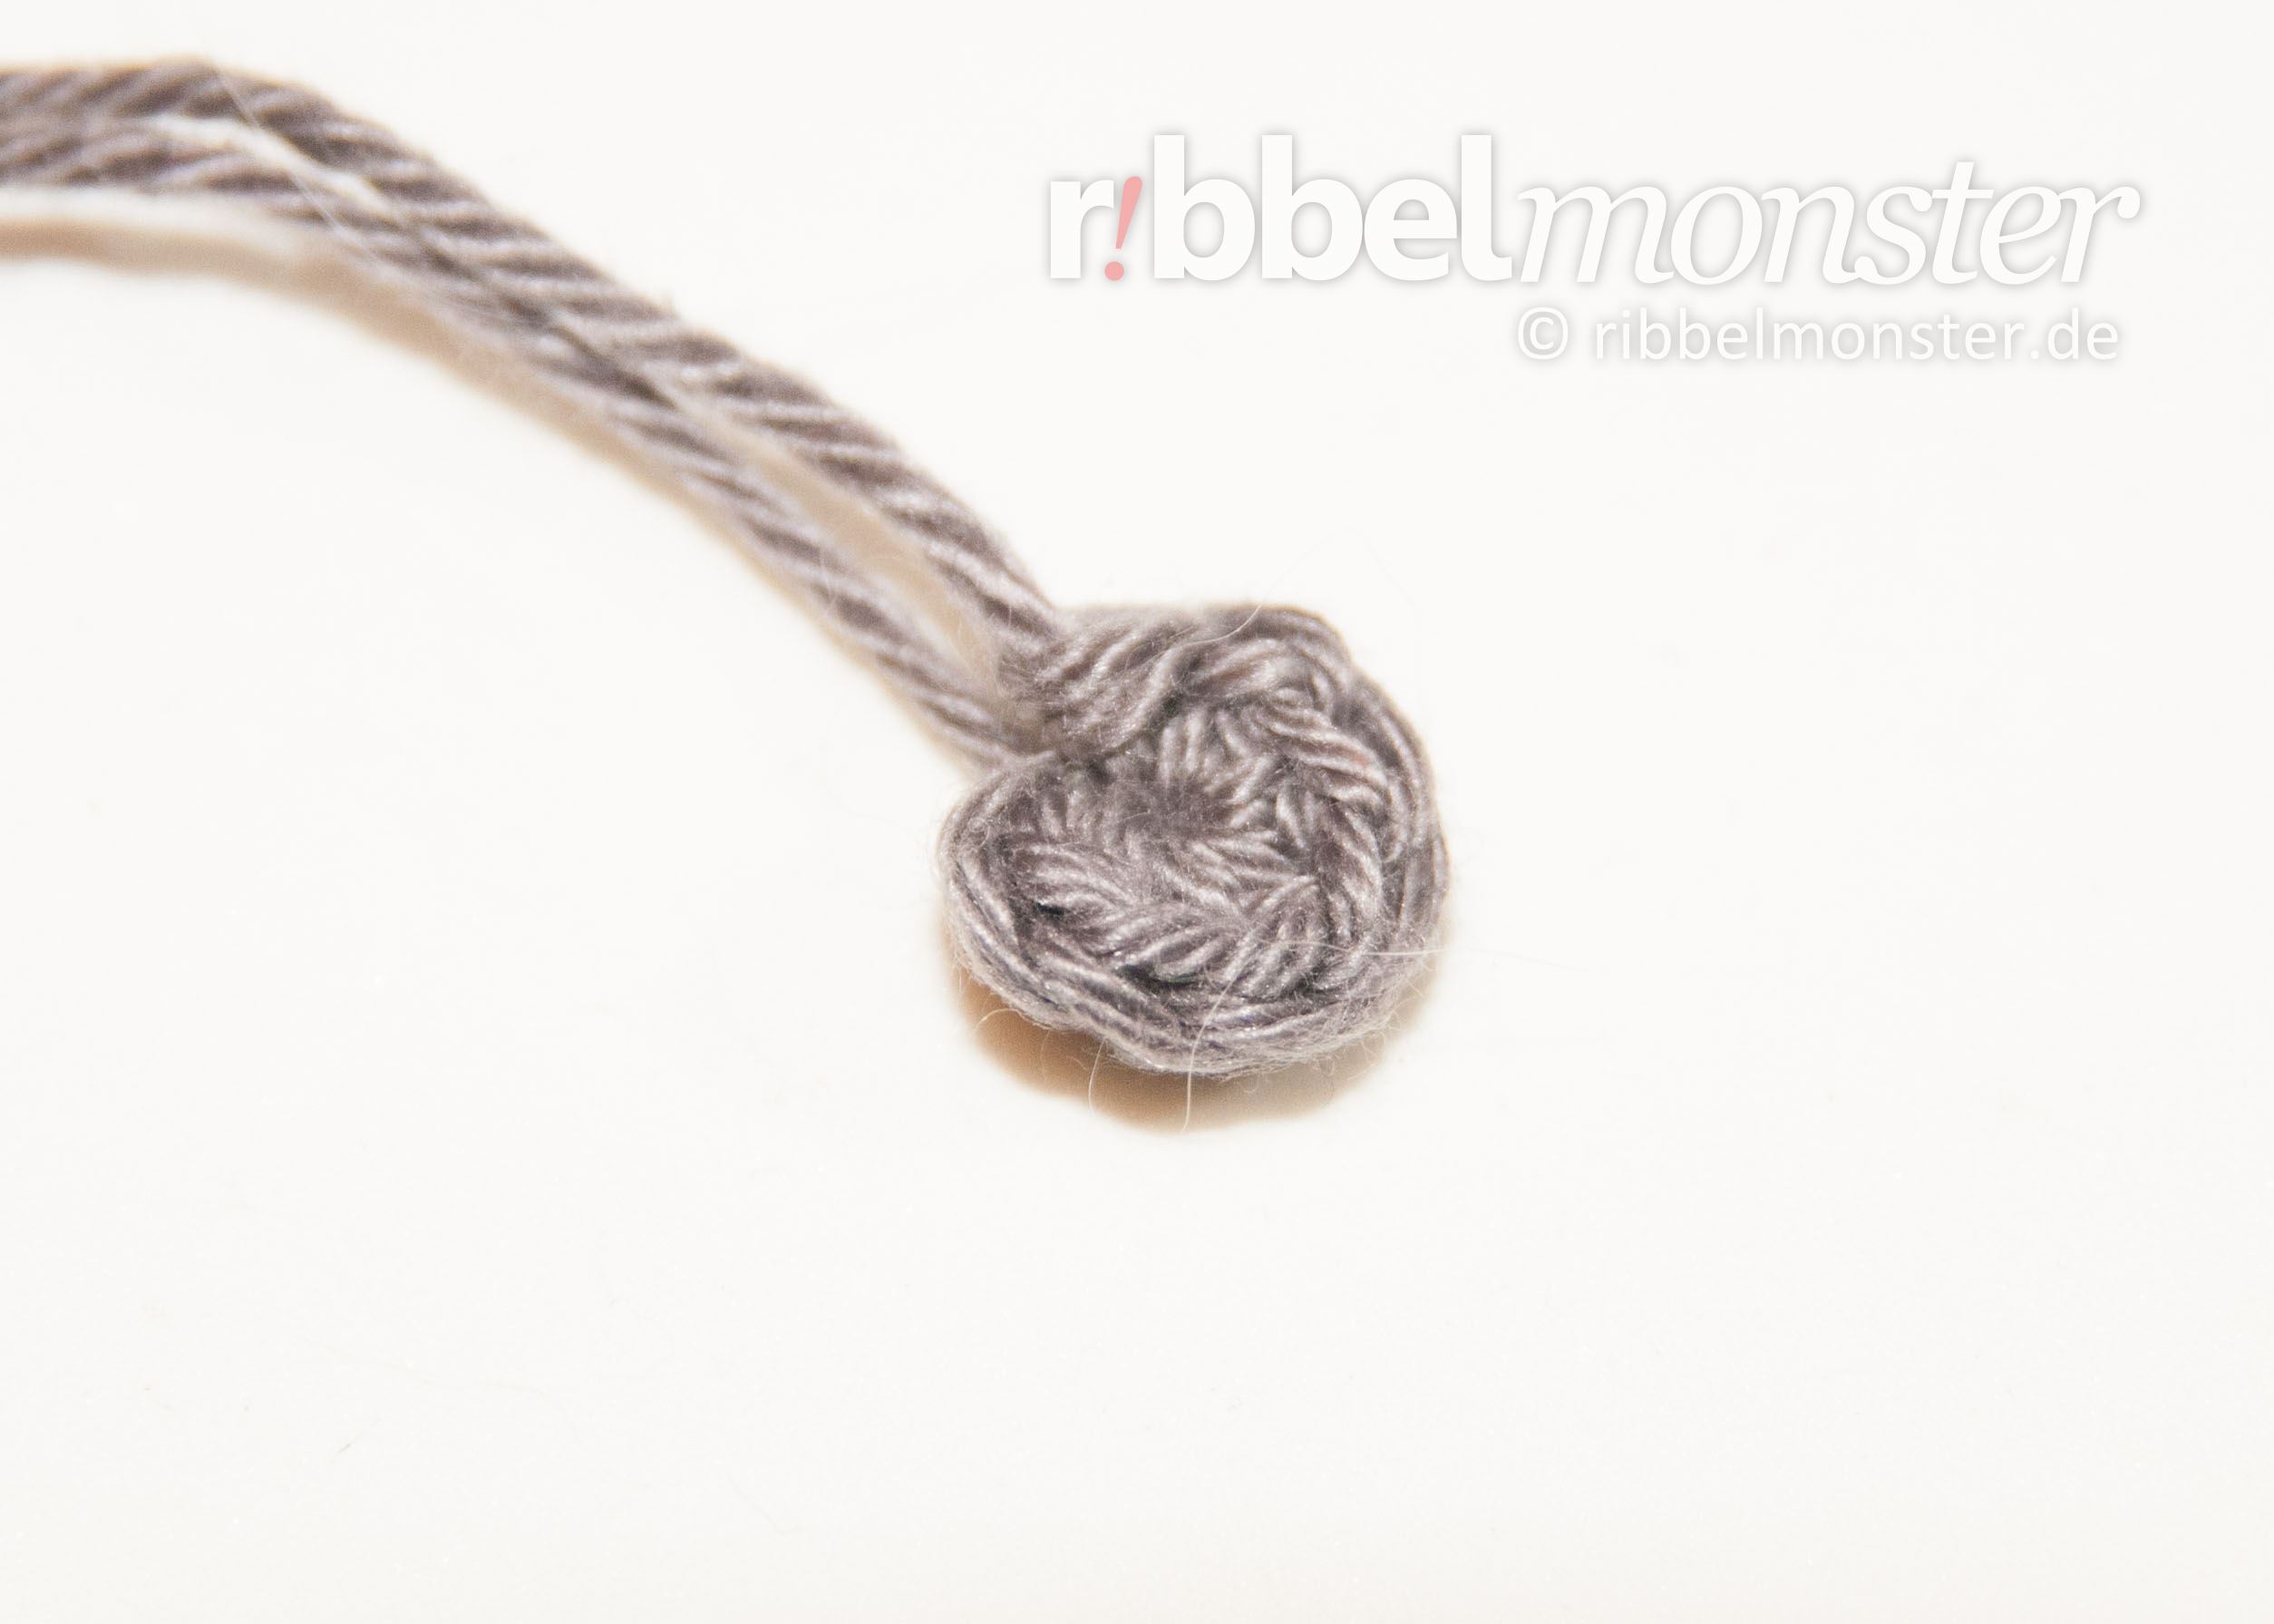
We crochet the tail for the koala bear in just one round with a magic ring.
- grey:
- 1st round:
- magic ring
- 1 turning chain stitch
- into the magic ring:
- 5 half treble crochet stitches (UK!)
- 1 turning chain stitch
- 1 slip stitch
- = 6 stitches
- cut yarn generously, pull through loop, do NOT cut the yarn end, it will be used later for sewing
Crochet Arms for Koala Bear (2x)
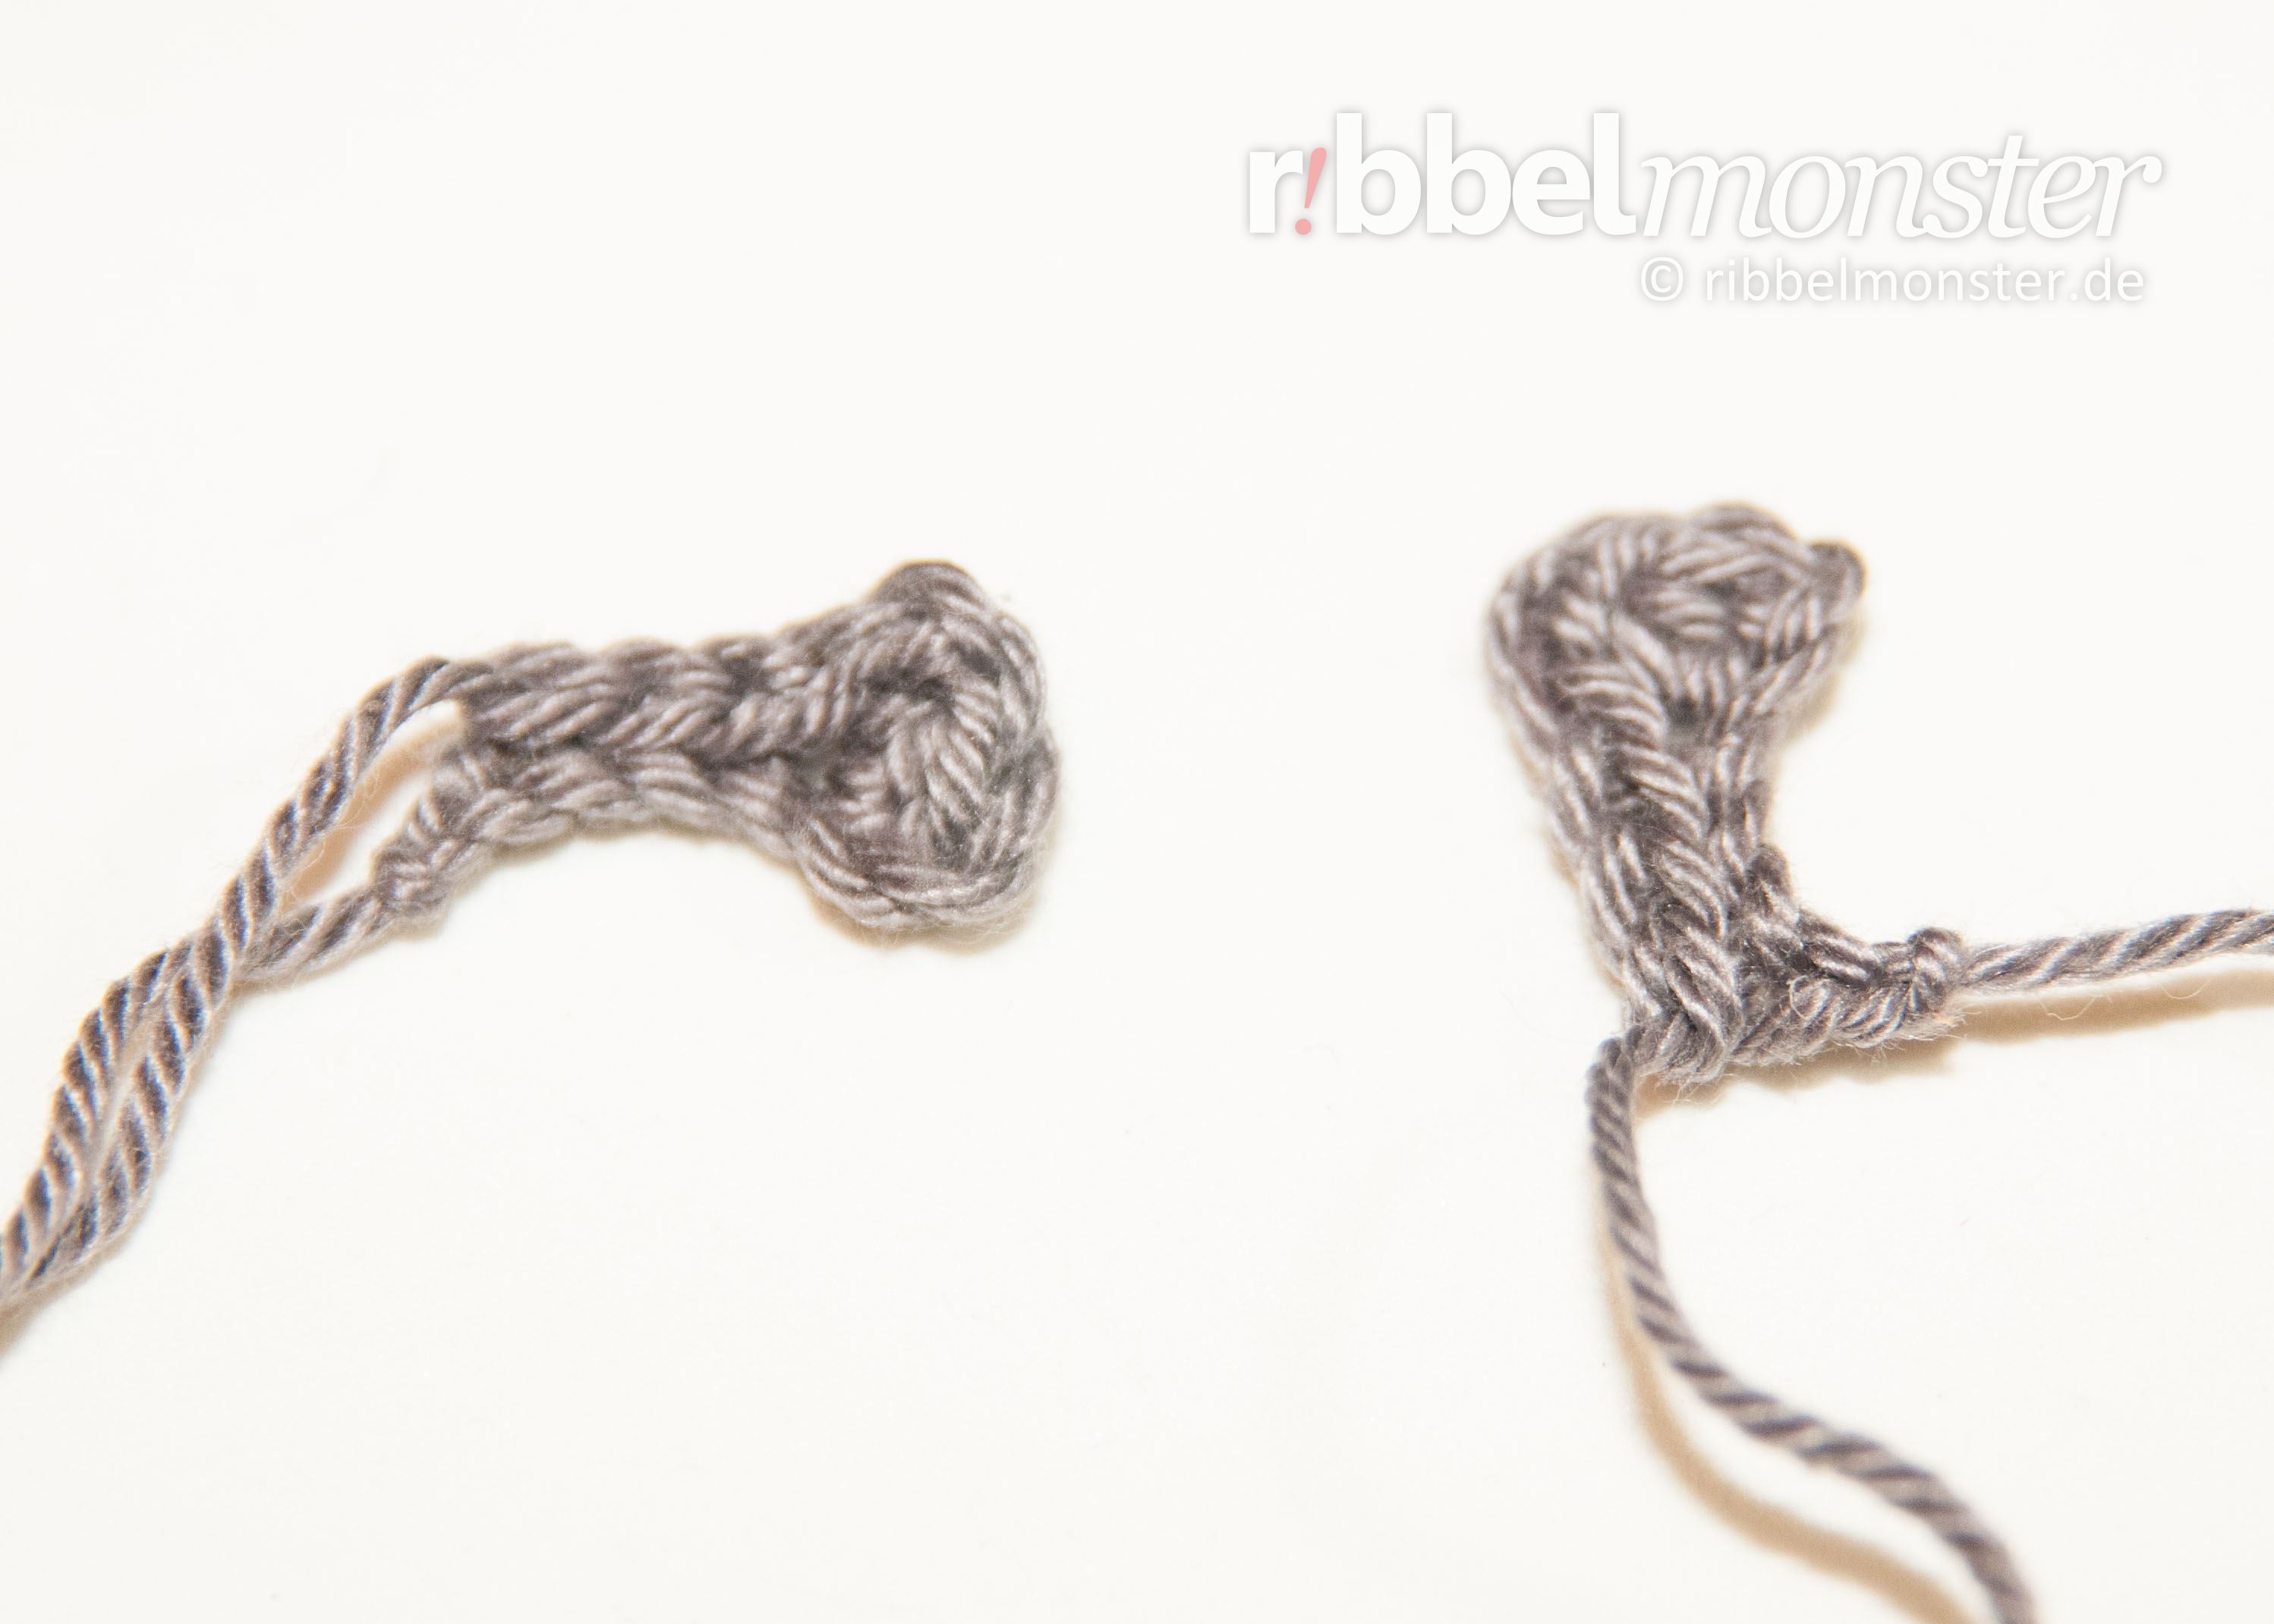
The arms for the koala bear are crocheted back and forth in two rows. Let the games begin!
Hinweis! Wenn mehrere möglichst identische Teile entstehen sollen, ist es sinnvoll diese am selben Tag nacheinander zu arbeiten. Bei größeren Teilen ist es sogar empfehlenswert diese gleichzeitig in Etappen zu arbeiten. Wir arbeiten einfach nicht jeden Tag gleich fest oder locker und das kann zu sichtbaren Unterschieden führen.
- grey:
- 1st row:
- 4 chain stitches
- 2 turning chain stitches
- = 4 stitches
- 2nd row:
- into one stitch:
- 1 half treble crochet stitch (UK!)
- 2 turning chain stitches
- 1 slip stitch
- 3x one slip stitch into one stitch
- = 5 stitches
- into one stitch:
- cut yarn generously, pull through loop, do NOT cut the yarn end, it will be used later for sewing
Crochet Legs for Koala Bear (2x)
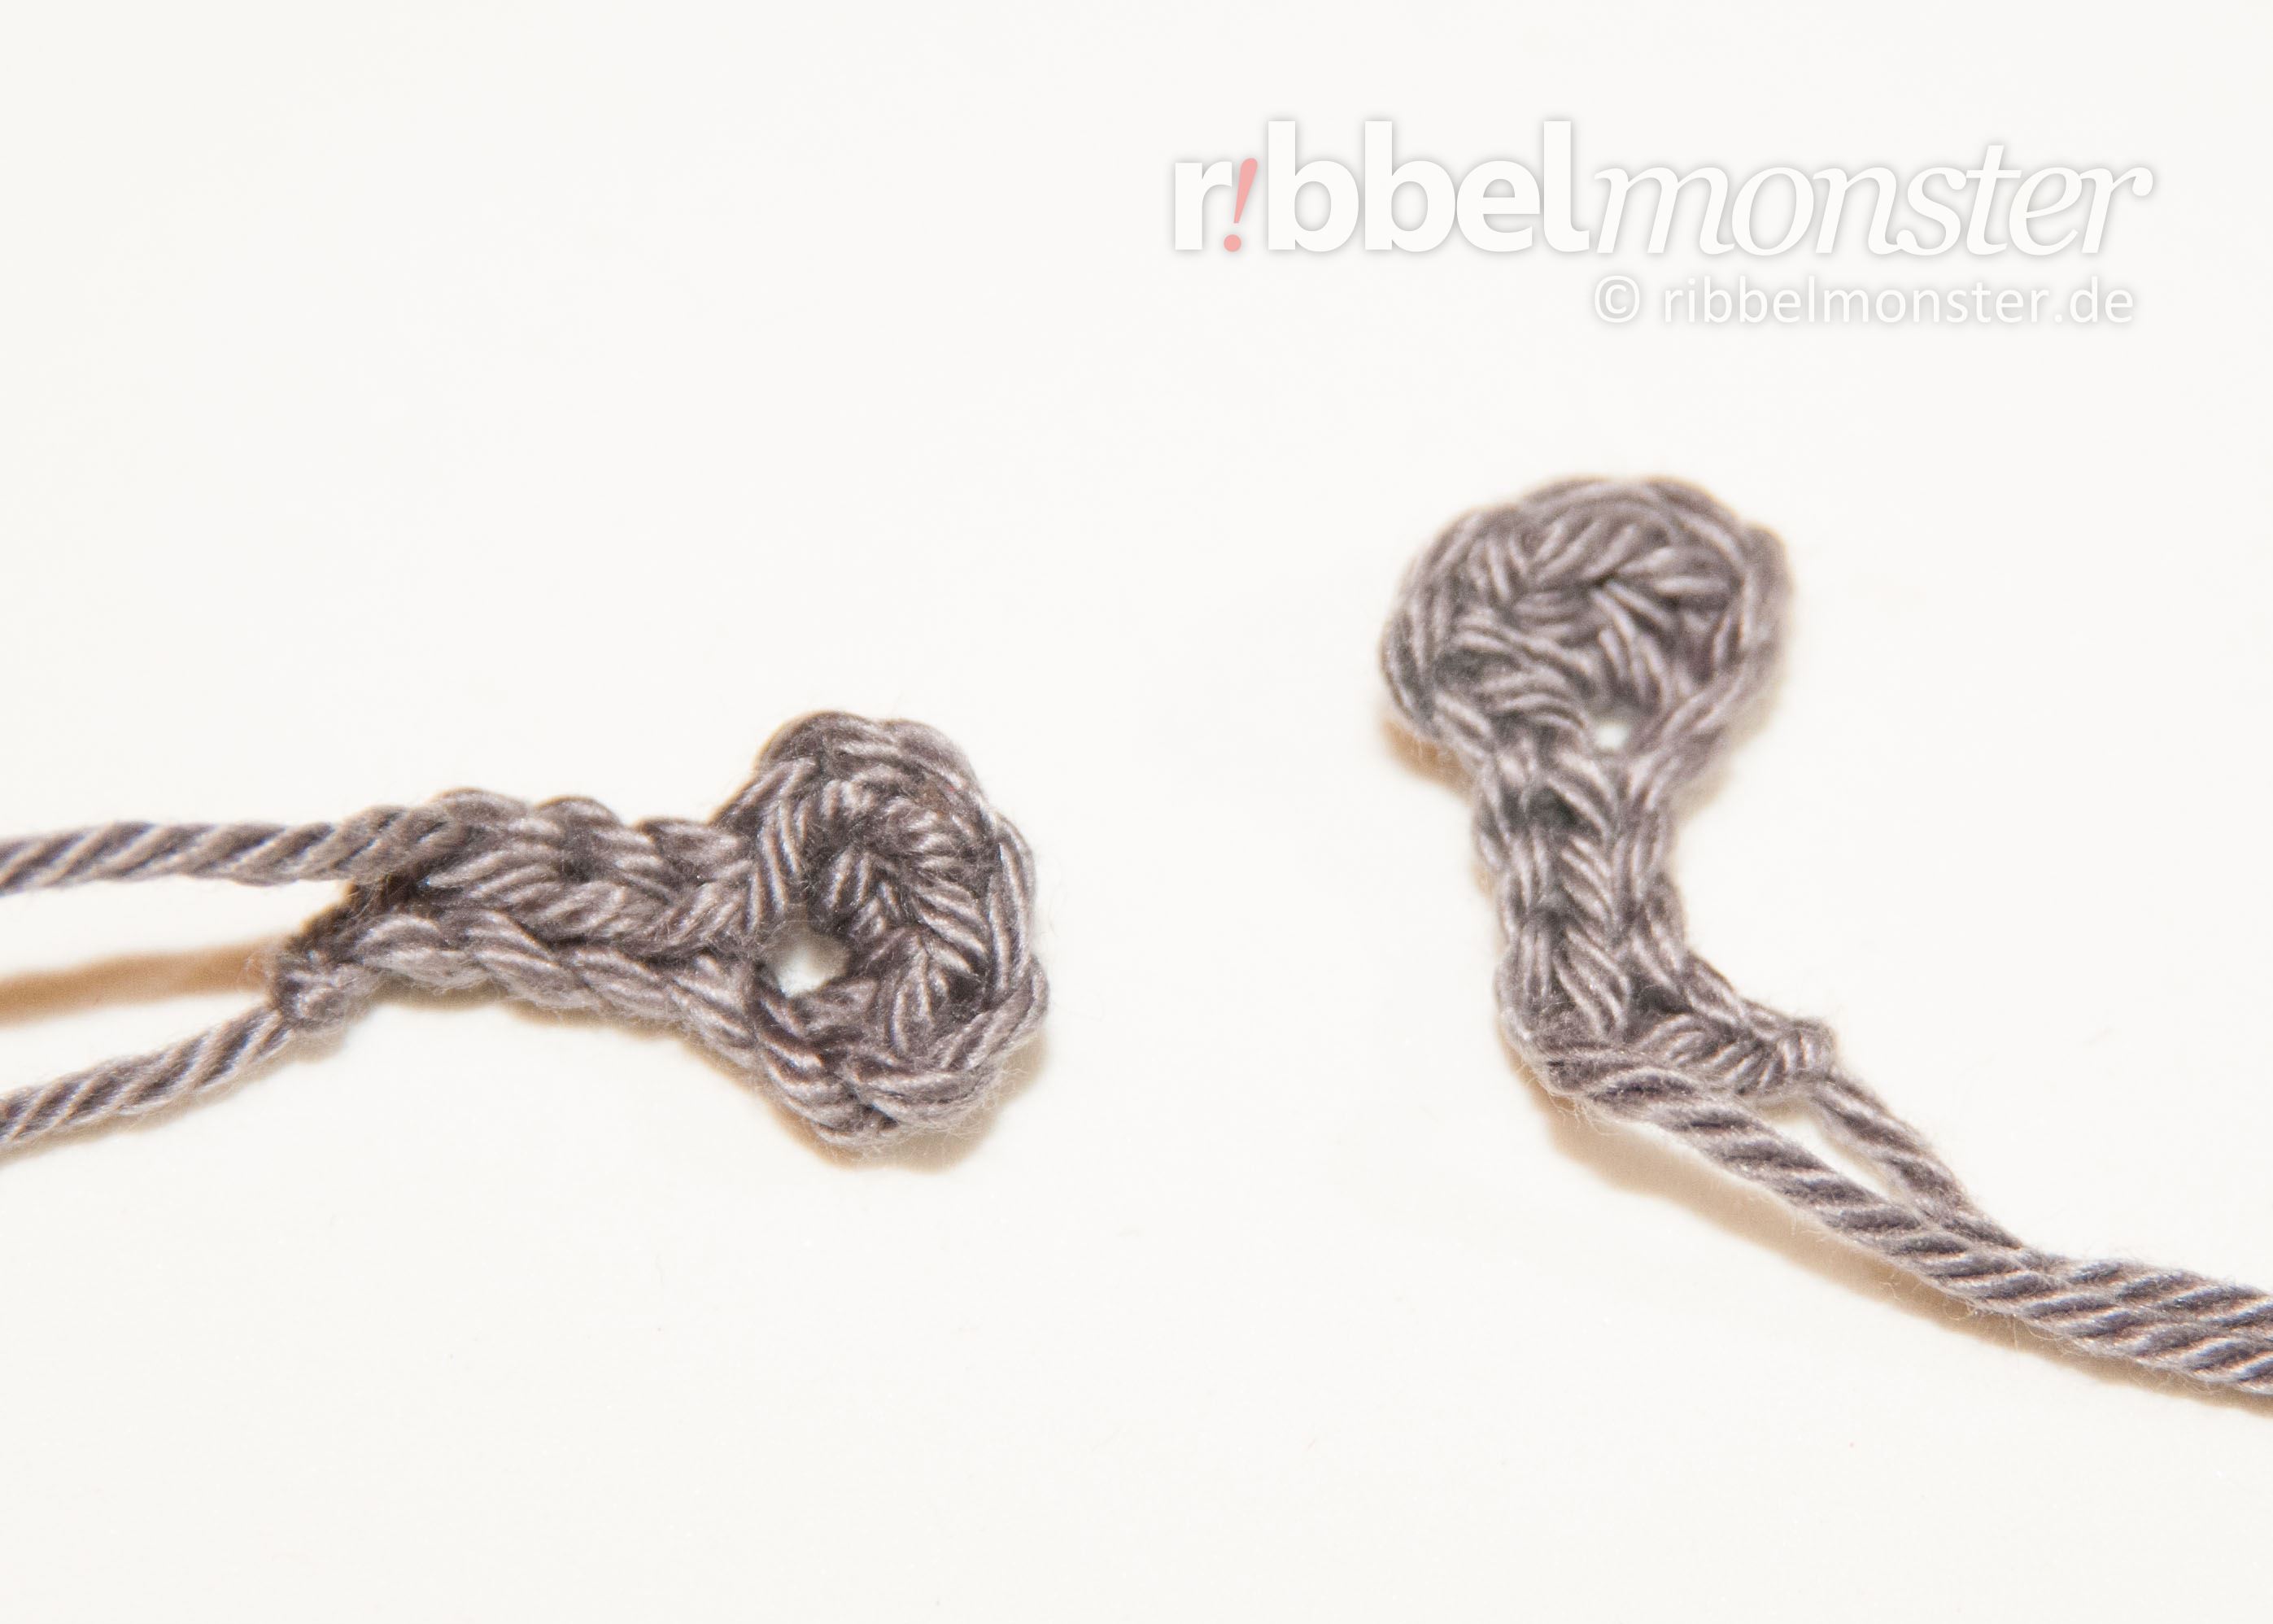
Once you’ve mastered the arms, the legs are no longer a problem. But be careful, there’s a small difference in the second row!
Hinweis! Wenn mehrere möglichst identische Teile entstehen sollen, ist es sinnvoll diese am selben Tag nacheinander zu arbeiten. Bei größeren Teilen ist es sogar empfehlenswert diese gleichzeitig in Etappen zu arbeiten. Wir arbeiten einfach nicht jeden Tag gleich fest oder locker und das kann zu sichtbaren Unterschieden führen.
- grey:
- 1st row:
- 4 chain stitches
- 2 turning chain stitches
- = 4 stitches
- 2nd row:
- into one stitch:
- 2 half treble crochet stitches (UK!)
- 2 turning chain stitches
- 1 slip stitch
- 3x one slip stitch into one stitch
- = 6 stitches
- into one stitch:
- cut yarn generously, pull through loop, do NOT cut the yarn end, it will be used later for sewing
Finish Minimee Koala Bear
Done! You have finished all individual parts and can now assemble everything. Pin all the parts with pins and examine the koala bear closely. Now you can see if the positions are correct and if you want to make any changes.
Sew Ears to Head
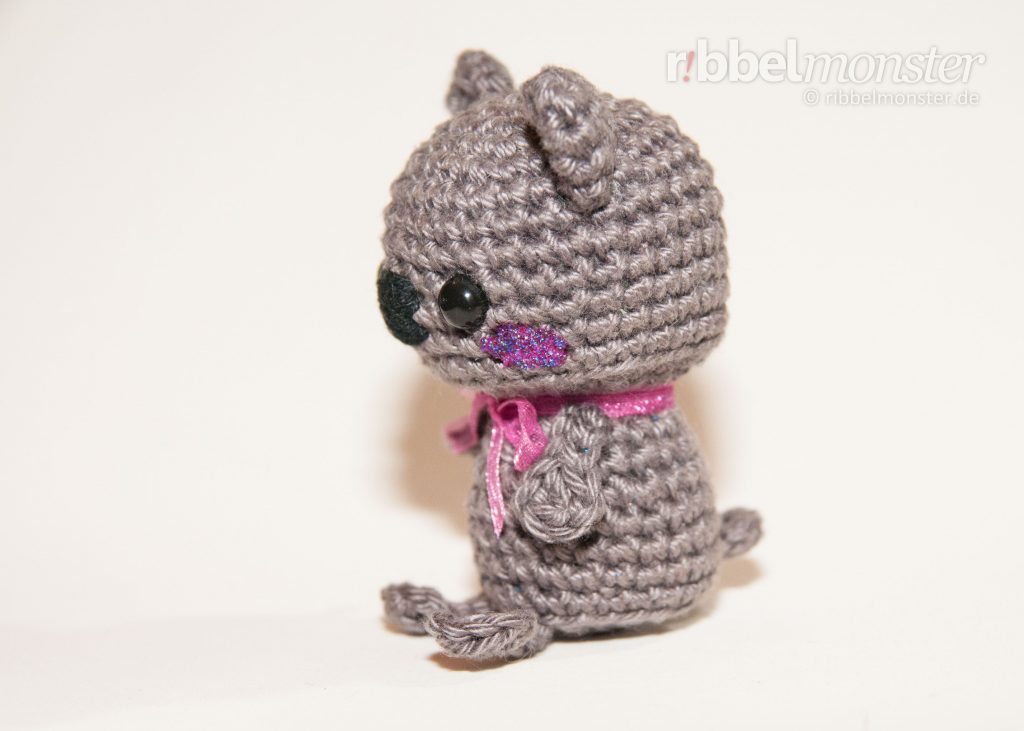
First, we sew the ears to the head of the Amigurumi koala bear. The two ears are not filled, only folded flat. They sit with the straight side on the top of the head, on the right and left sides of the center. Seen from above, they form a line through the middle of the head parallel to the eyes.
Attach Arms, Legs, and Tail
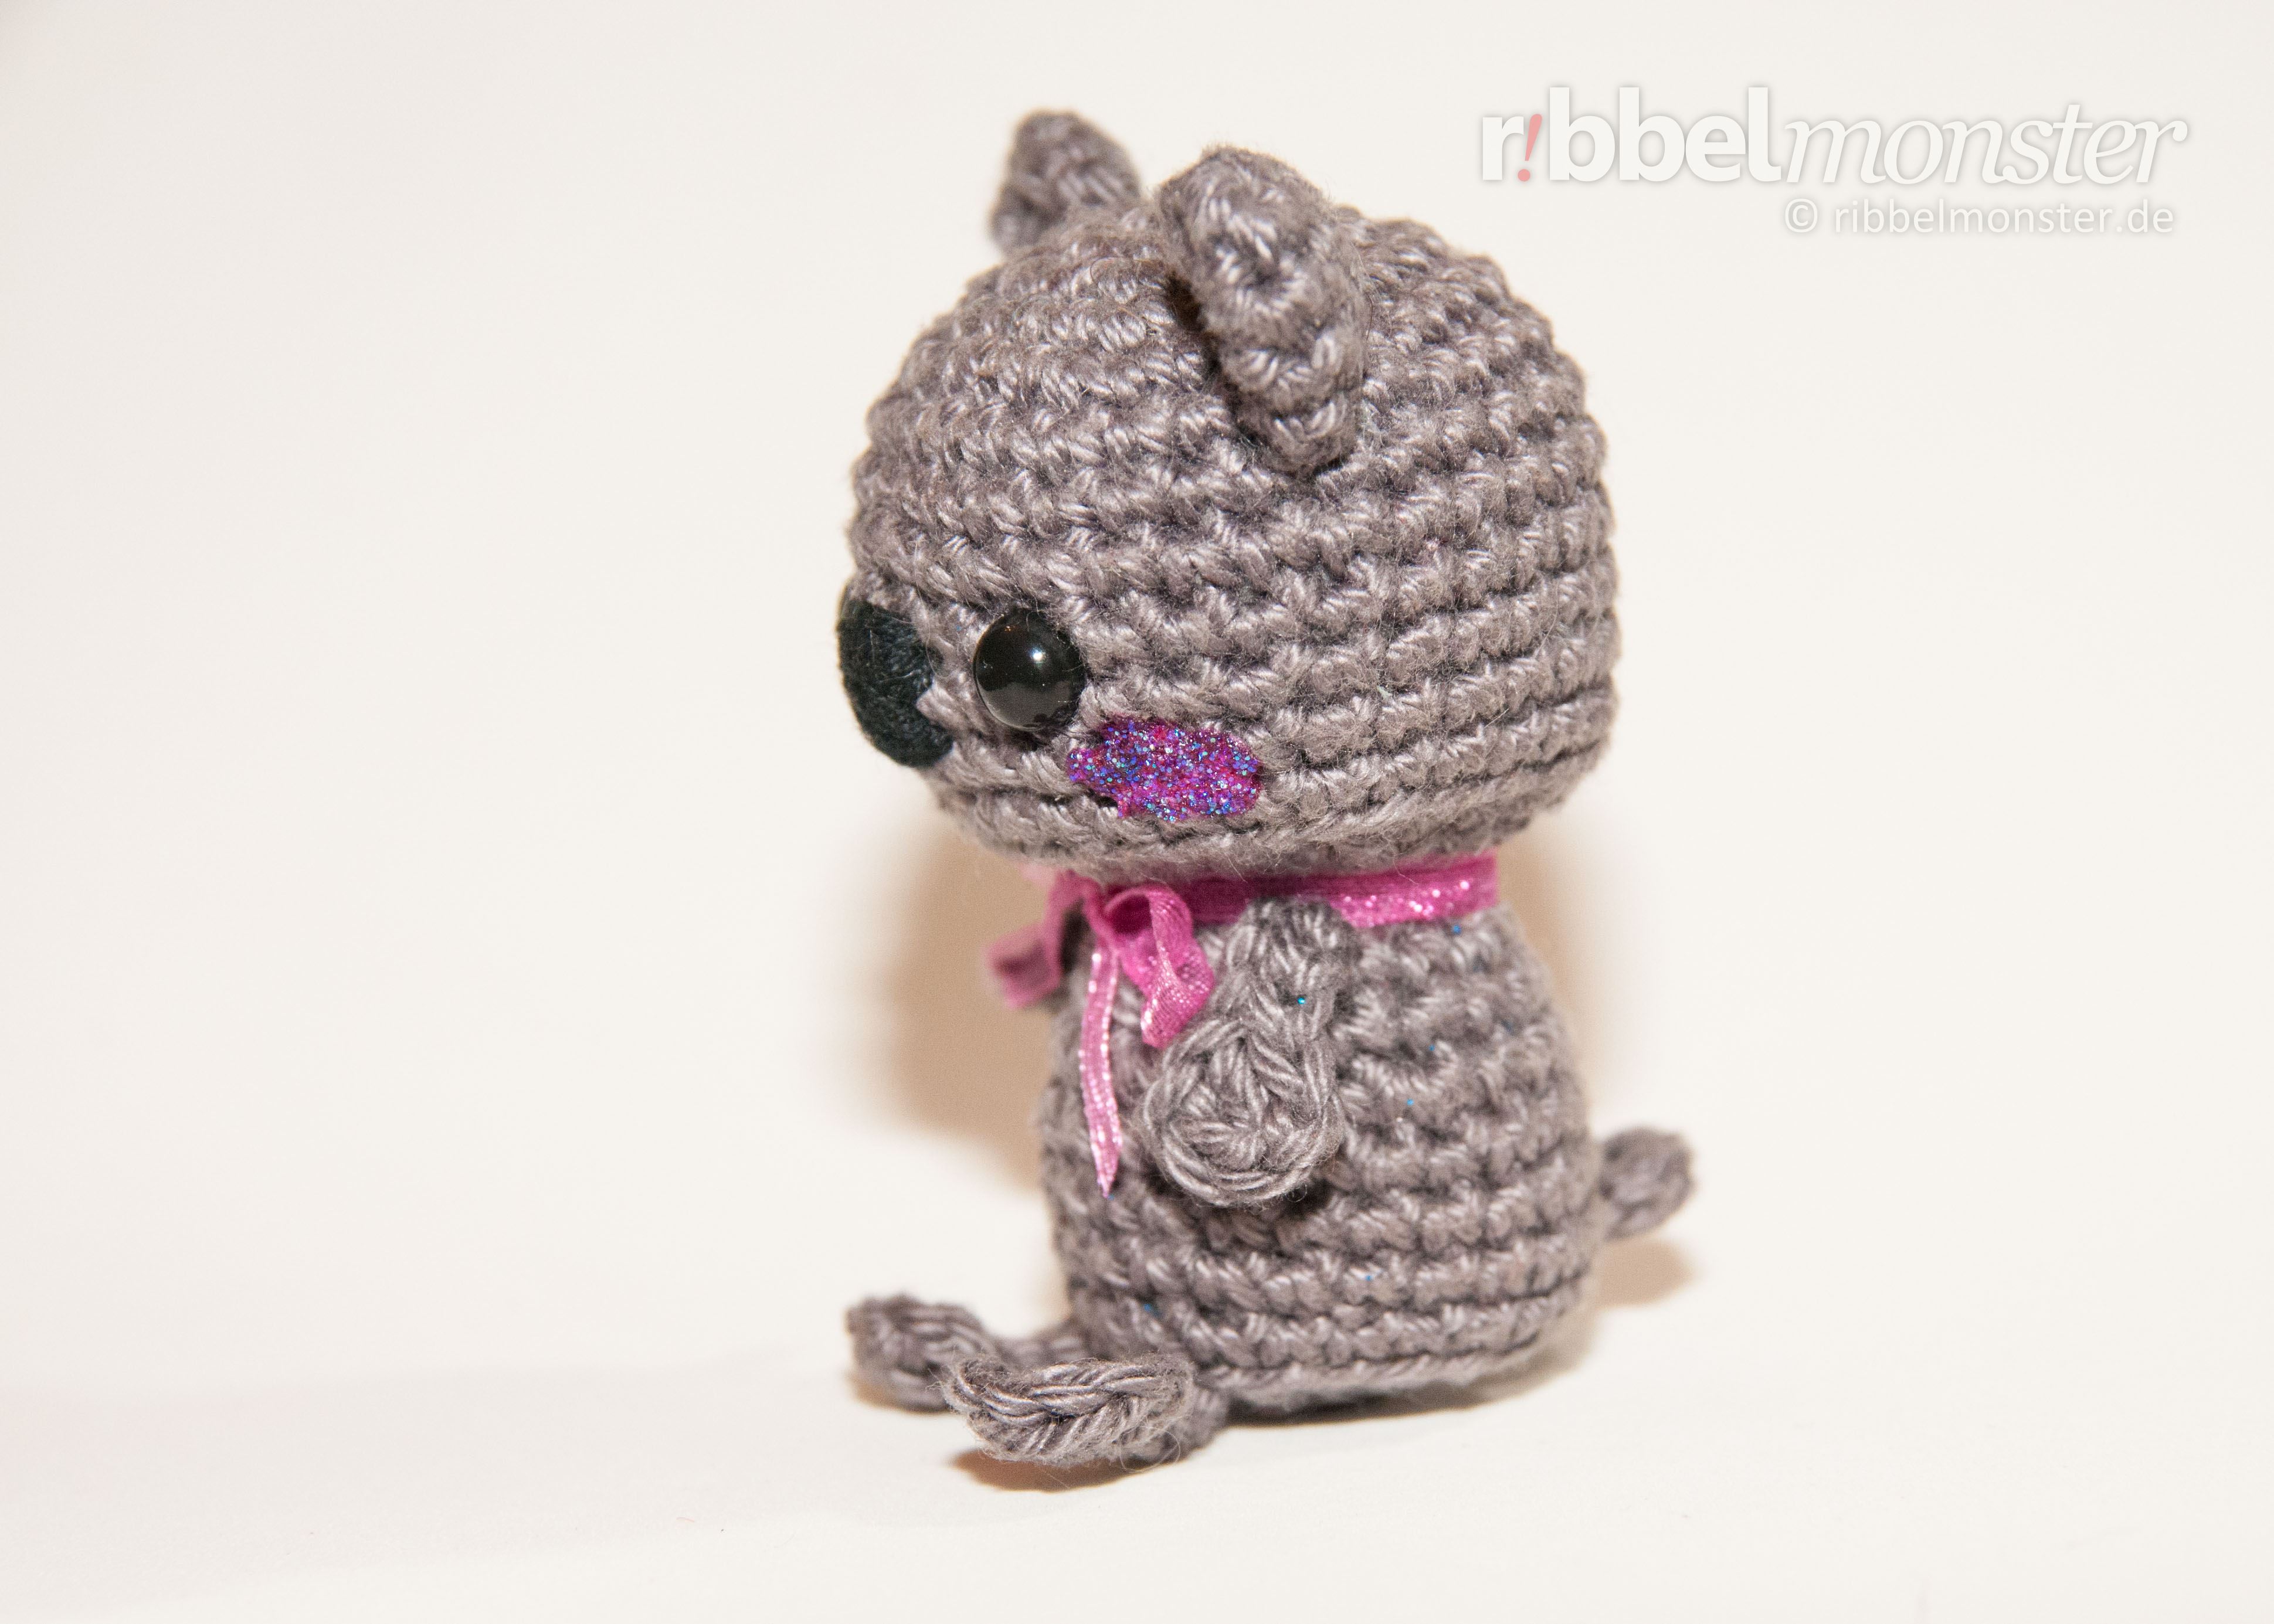
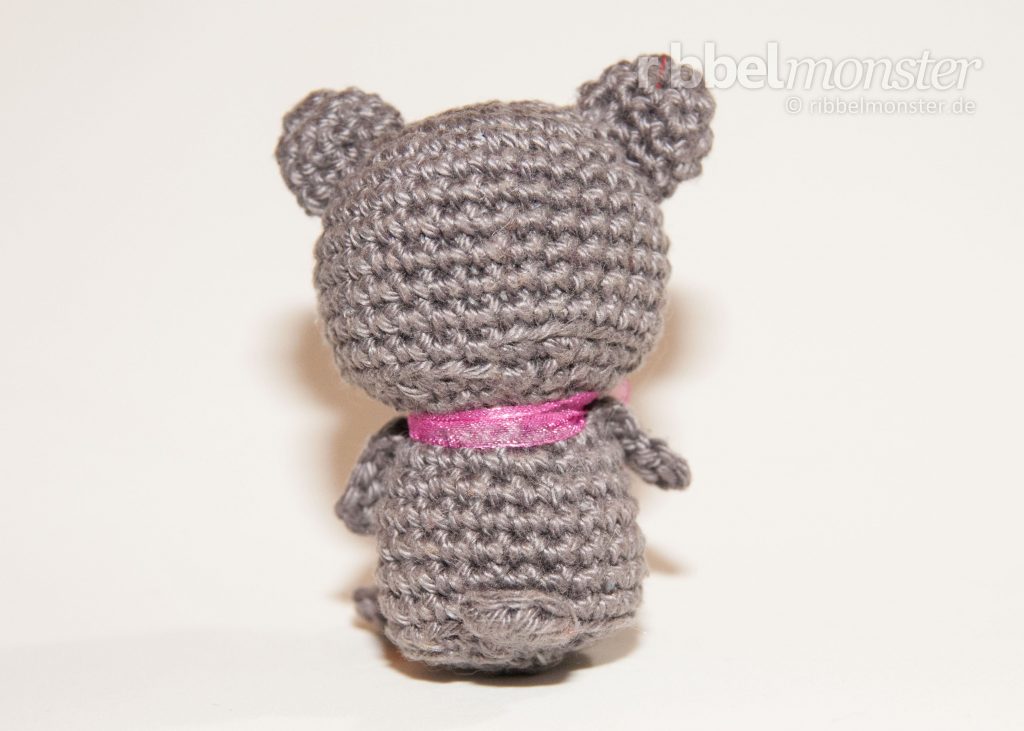
Now we attach the arms, legs, and tail to the body. The arms are attached after the 16th round with a distance of 4 stitches, and the legs after the 23rd round below the small stitch edge with only 3 stitches apart. The tail sits on the back exactly in the middle above the small stitch edge.
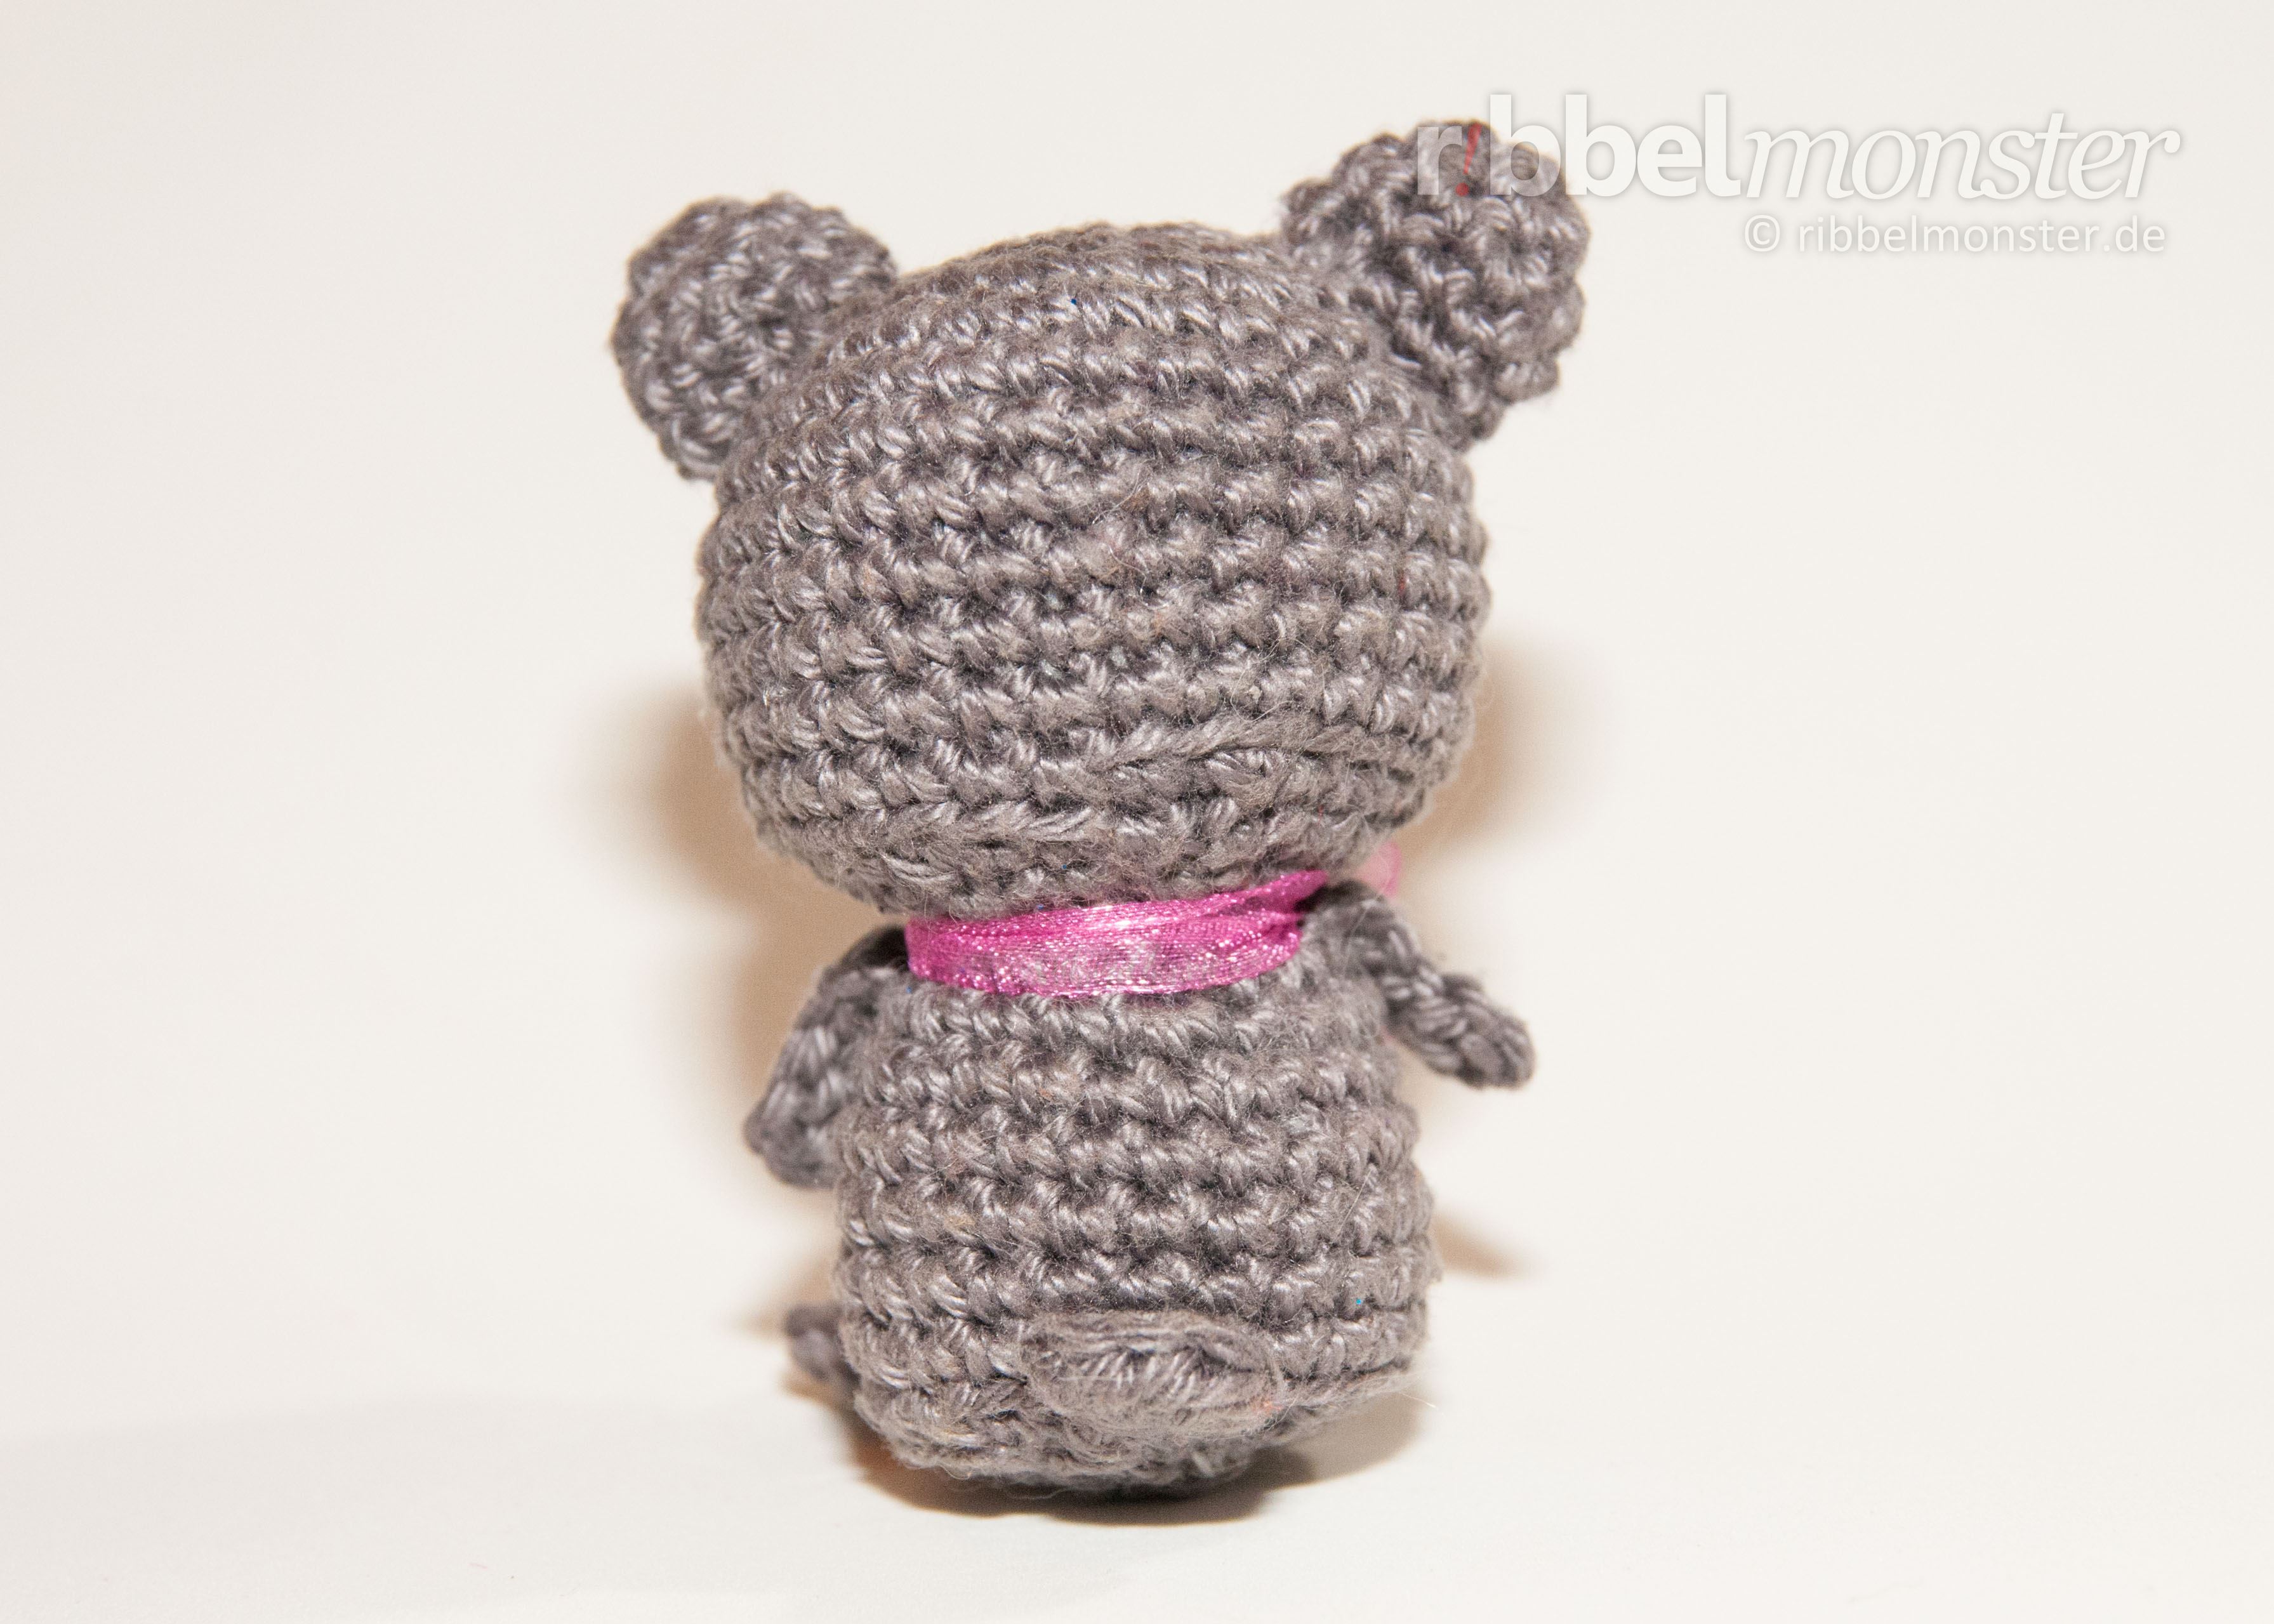
It will help if you first find the center based on the eyes. Then you can attach arms and legs to the right and left of it. It is more important to maintain the same distance to the center than to hit the exact stitch distance. Perhaps the tutorial on attaching small Amigurumi parts will be a good help.
Embroider a Nose
Next, we want to embroider a nice nose on the koala bear. Use the black embroidery thread and embroider as many horizontal stitches over two stitches of the round between the eyes and below until the nose has the desired volume.
Create Details
Finally, you can give your koala bear its own character. I drew red cheeks on it and tied a red scarf around its neck. But there are many other ways to embellish the little koala bear, so feel free to experiment!
Done!
Wonderful, your crocheted Amigurumi koala bear is already finished. As you can see, it wasn’t that difficult.
Vielleicht hast du Lust auch noch die anderen Amigurumis der Minimee Serie zu häkeln, schau dir doch einfach mal die Anleitungen an.
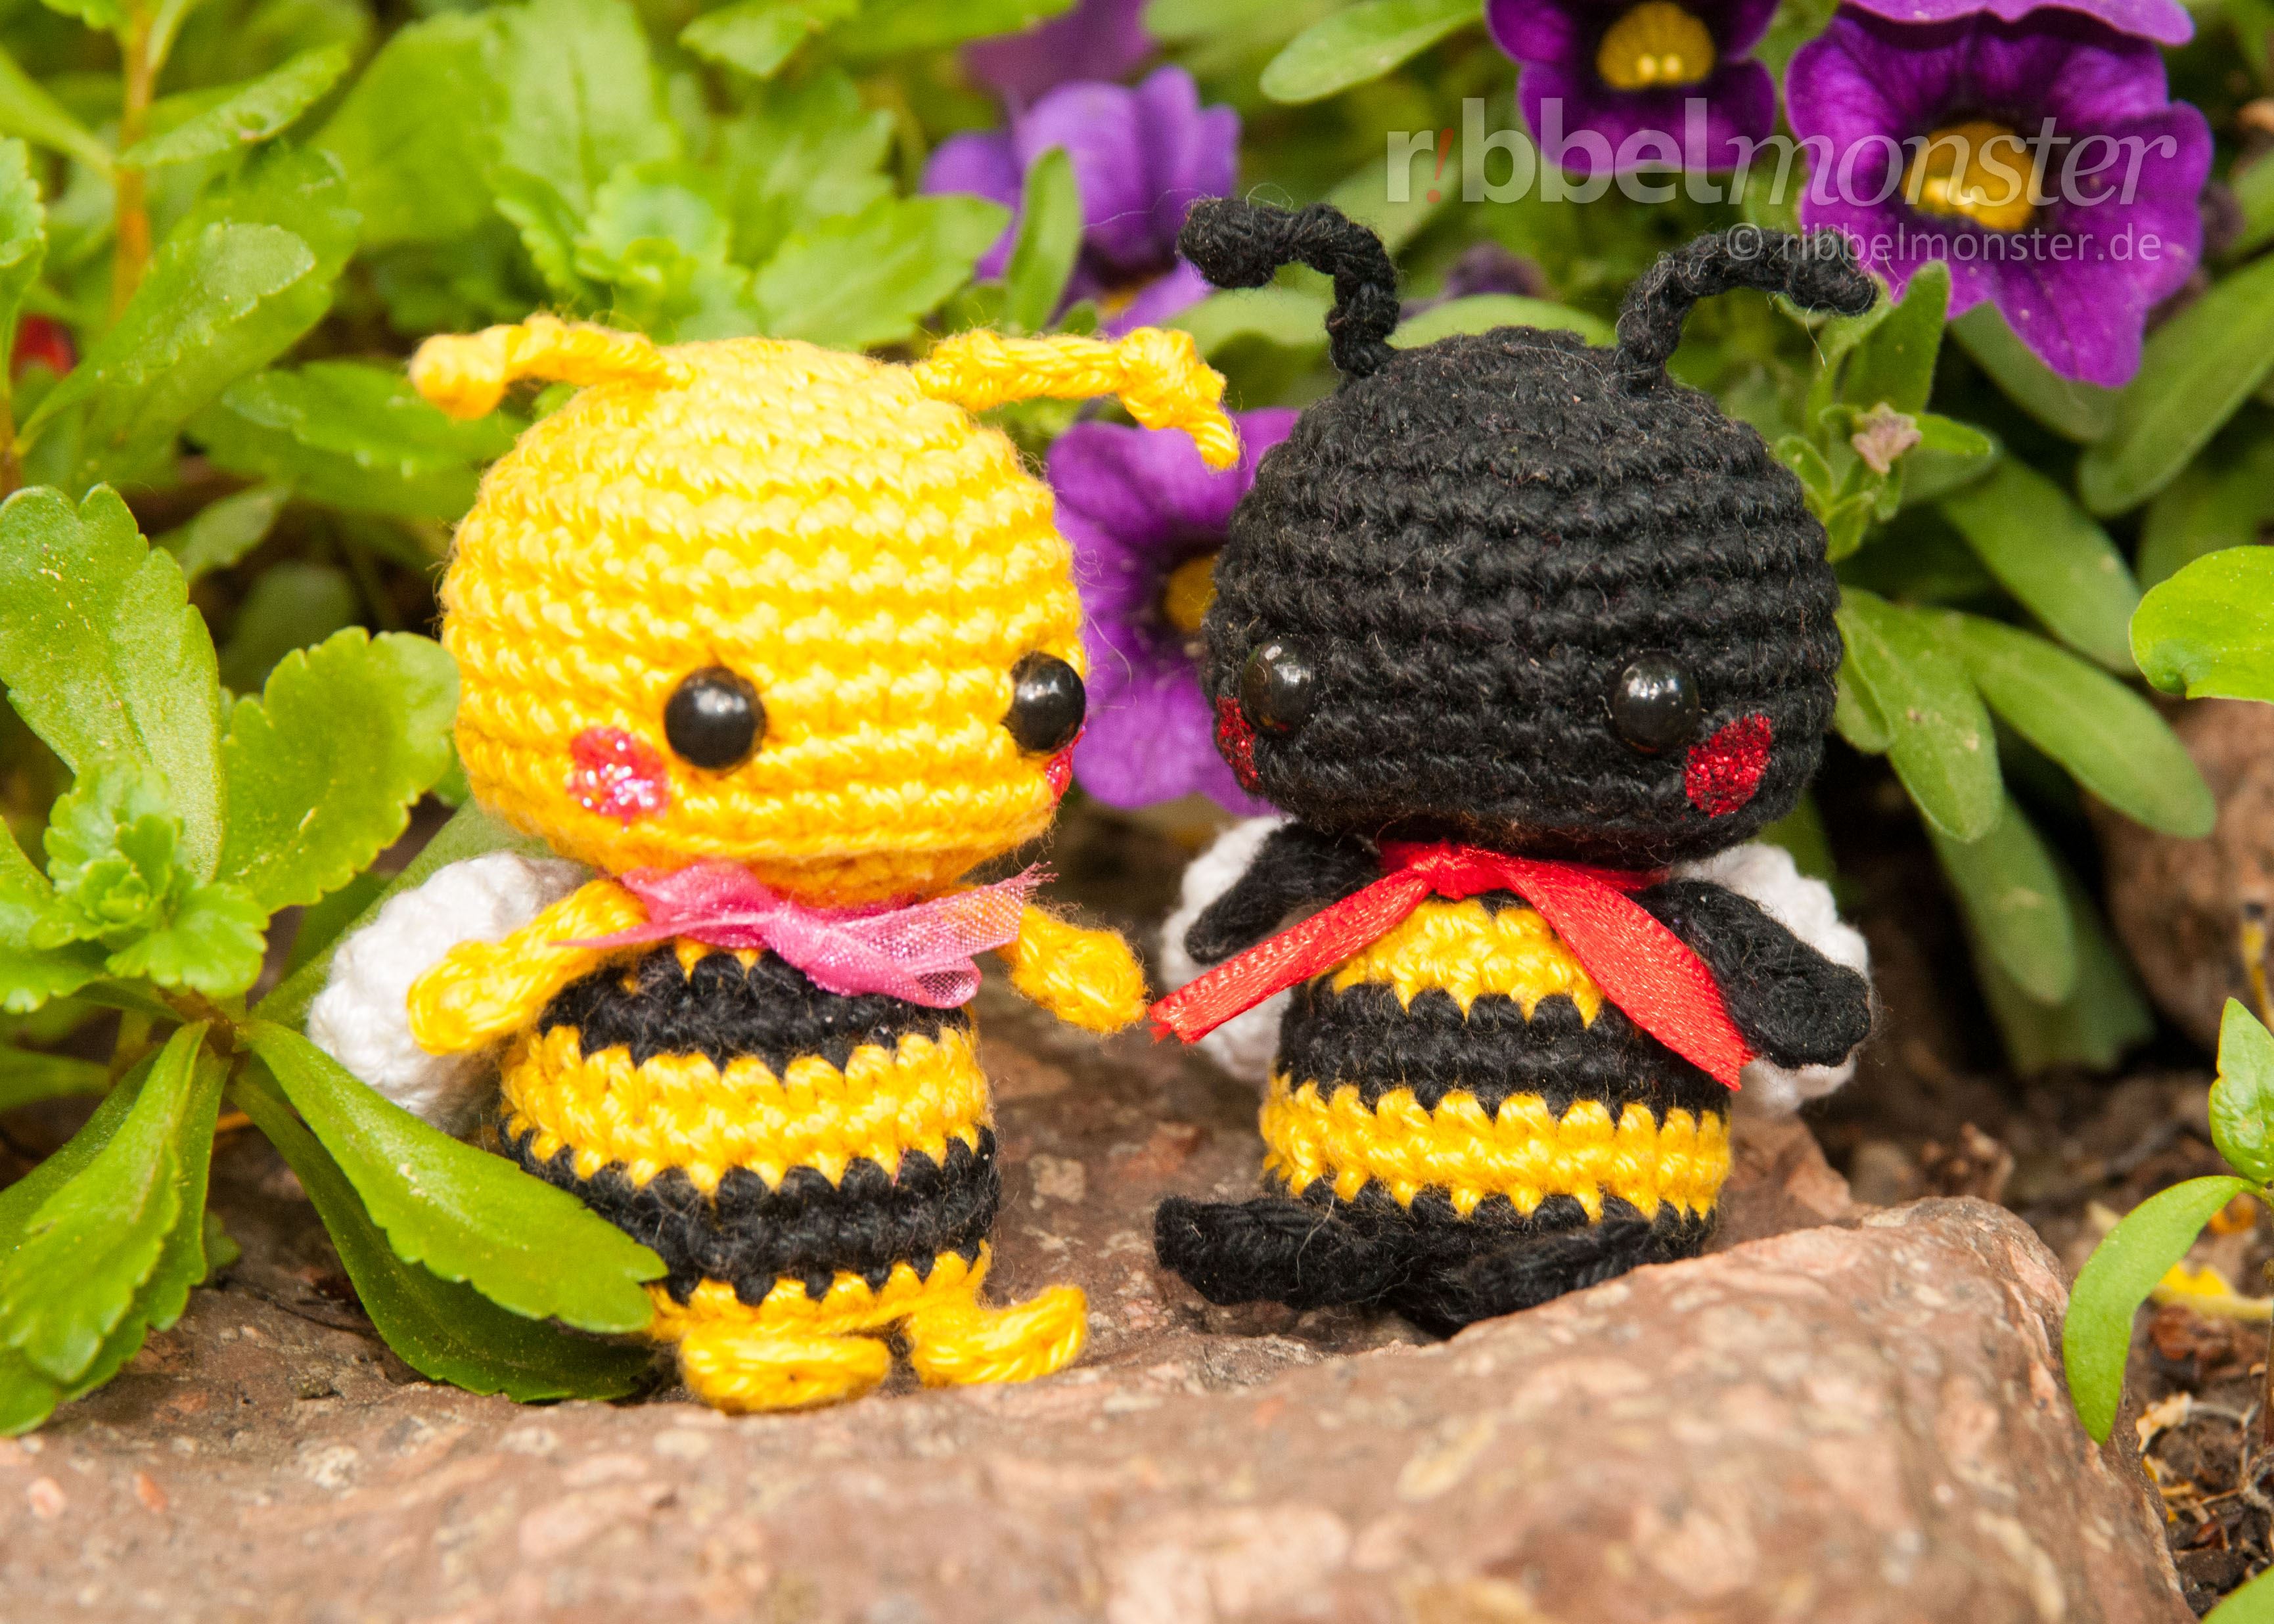
Hast du Lust diese beiden fleißigen Freunde zu häkeln? Du findest hier eine Anleitung für die Amigurumi Biene Mika und eine Anleitung für die Amiguumi Hummel Malo.
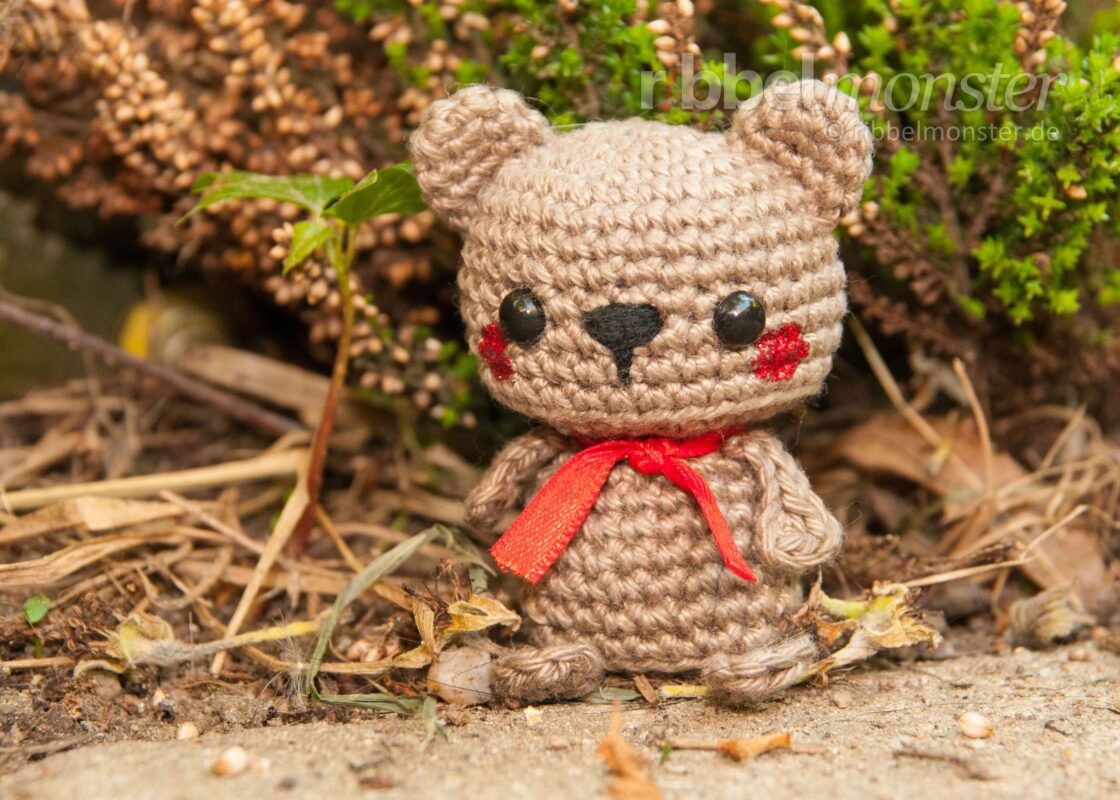
Wenn du gern im Wald spazieren gehst, hätte ich da noch eine tolle Begleitung für dich. Der Amigurumi Braunbär Balu ist wirklich schnell gehäkelt.
Sollte dein Bett manchmal viel zu leer sein, würde da auch sehr gern diese kleine gehäkelte Amigurumi Wanze ein paar Nächte verbringen.
Falls du noch Käse übrig hast, könnte ihn auch die süße Amigurumi Maus Lina für dich verputzen, nur damit er nicht schlecht wird.
Ein richtig gruseliges Paar findest du hier auch. Probier doch mal die Anleitungen für das Zombie Mädchen Ouka und den Zombie Jungen Ouk aus.
Außerdem suchen wir noch dringend ein kühles Plätzchen für unseren charmanten Amigurumi Schneemann Erik.
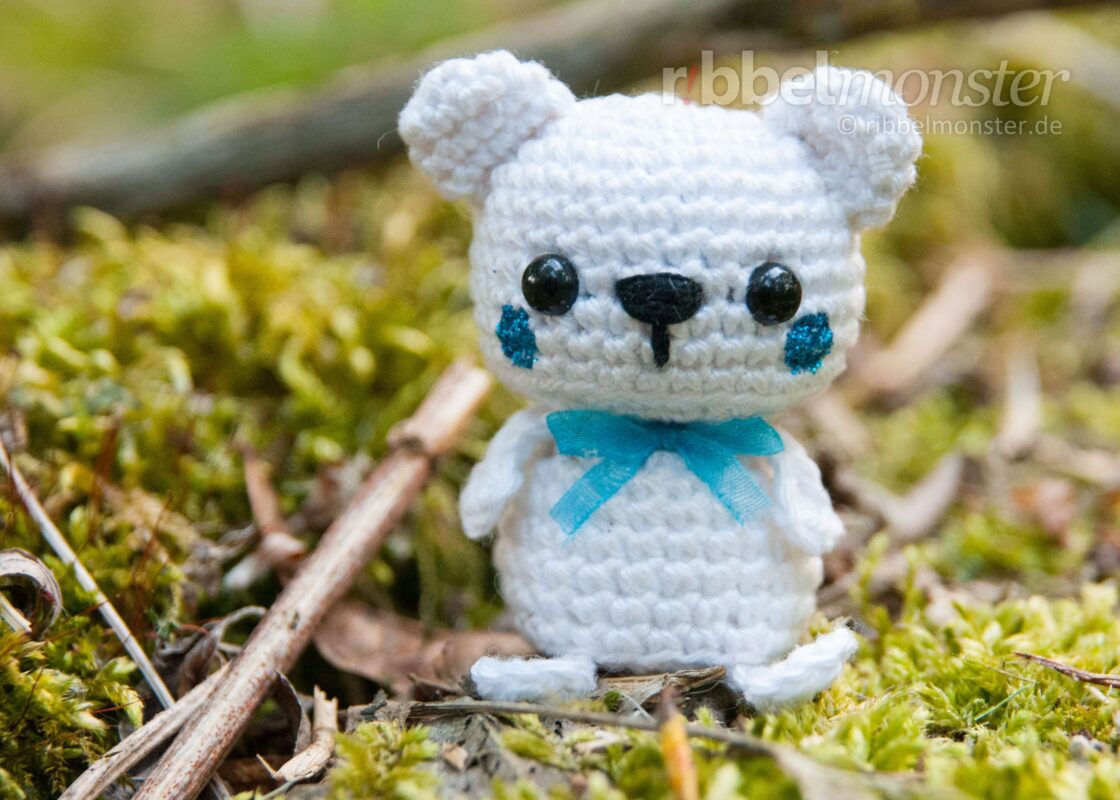
Unser kleiner Amigurumi Eisbär Ole sucht dringend jemanden zum Kuscheln in der kalten Jahreszeit. Weißt du da jemanden?
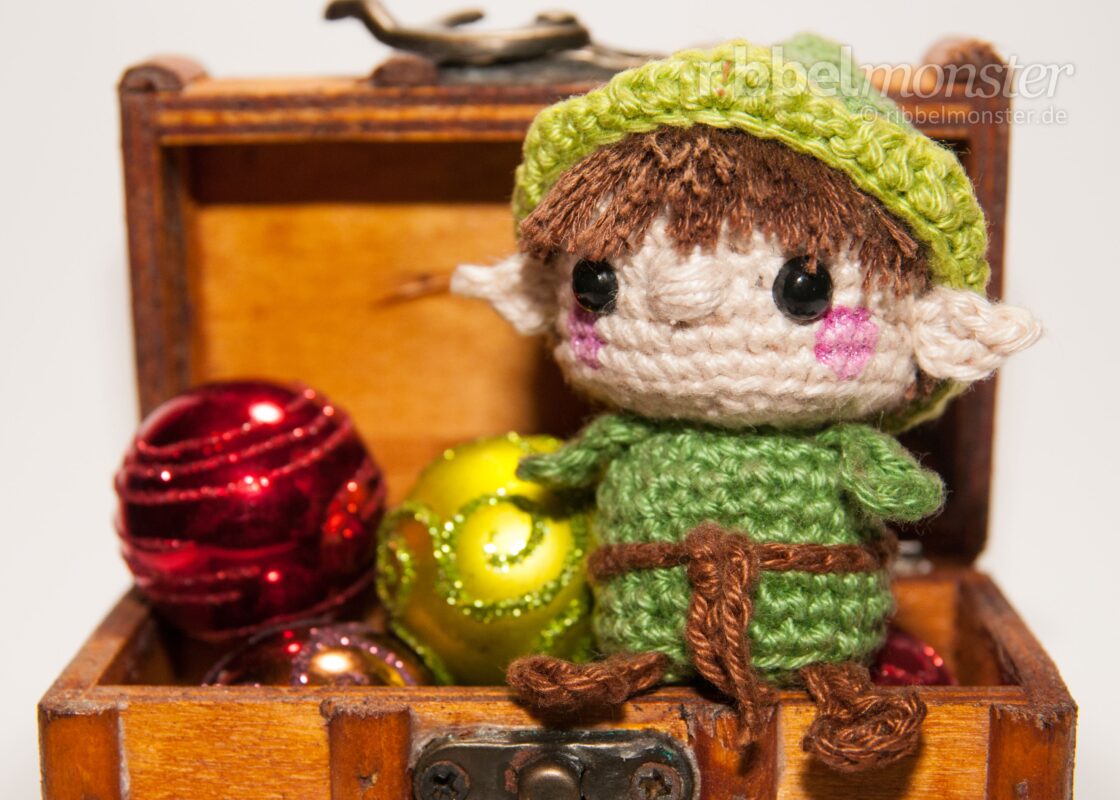
Mit dieser einfachen Häkelanleitung für einen Amigurumi Elfen hast du bald ganz bestimmt viel weniger Arbeit im Haushalt!
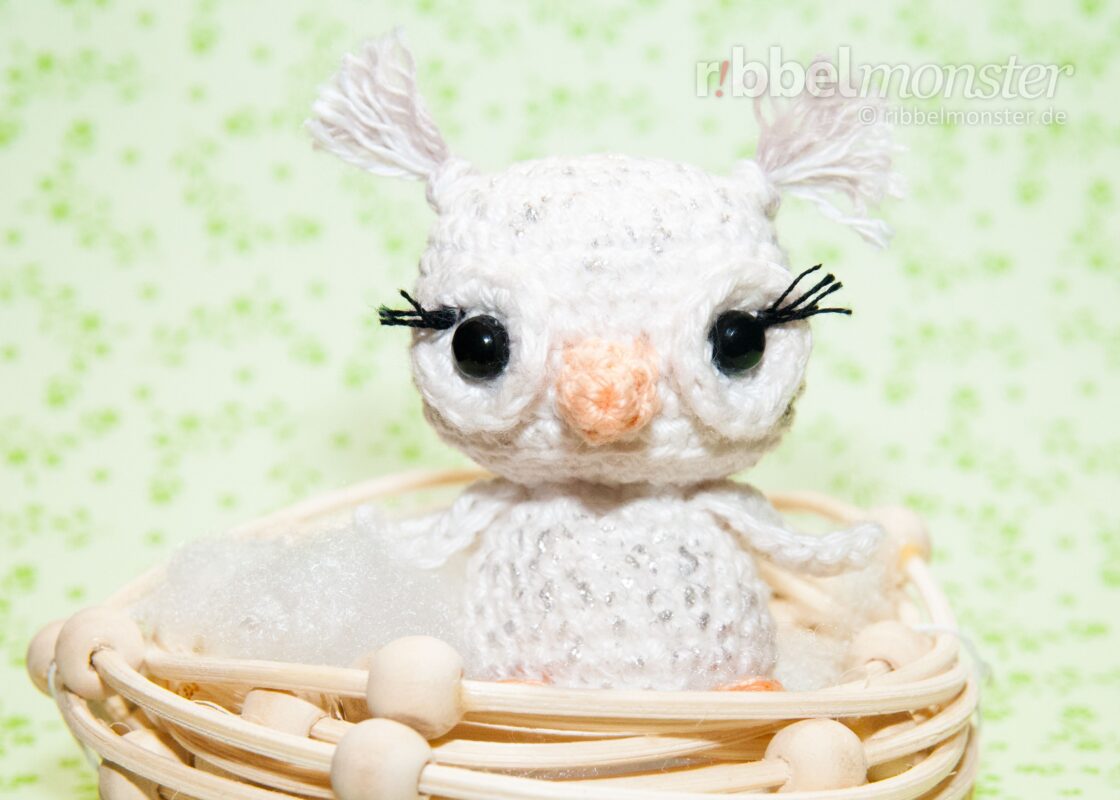
Schneeeulen sind schon ziemlich selten, aber wir haben sehr emsig gesucht und diese tolle Anleitung für eine Amigurumi Schneeeule für dich gefunden.
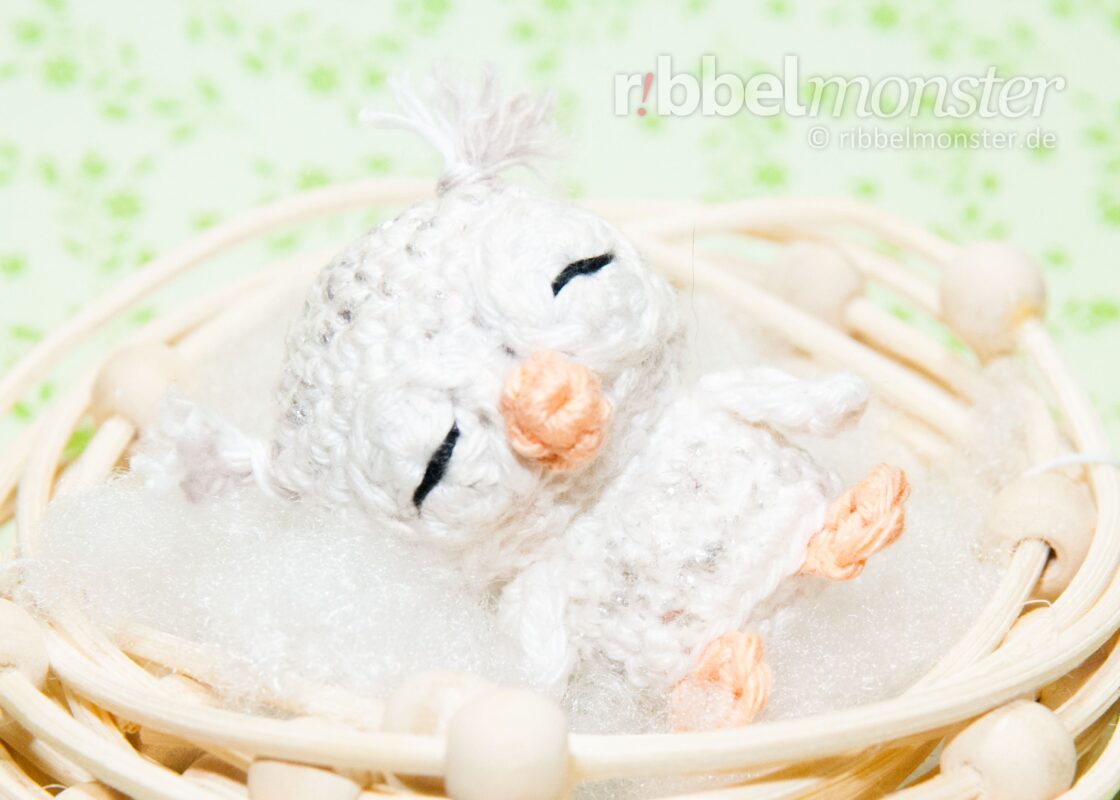
Oh wie süß! Ich glaube da ist gerade eine ganz niedliche kleine Baby Schneeeule geschlüpft. Die musst du dir unbedingt ein wenig genauer ansehen.
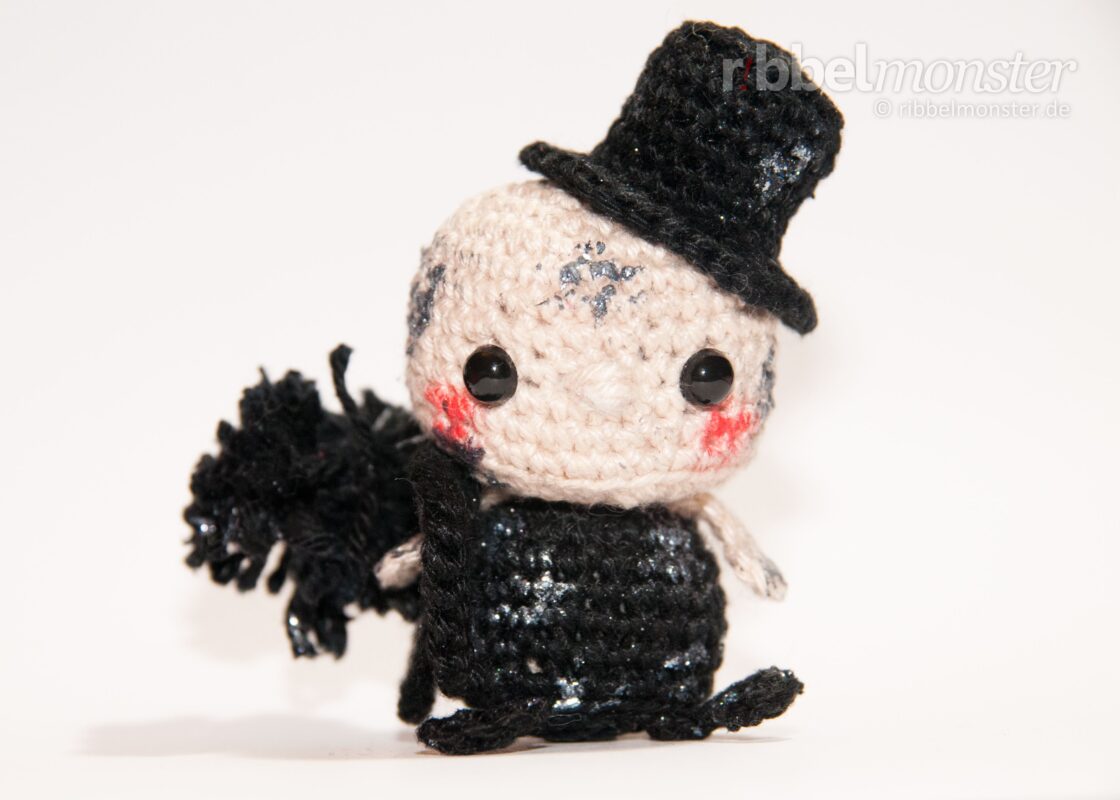
Solltest du dringend ein wenig mehr Glück brauchen, dann kannst du ja einfach mal unserem Amigurumi Schornsteinfeger die Hand schütteln.
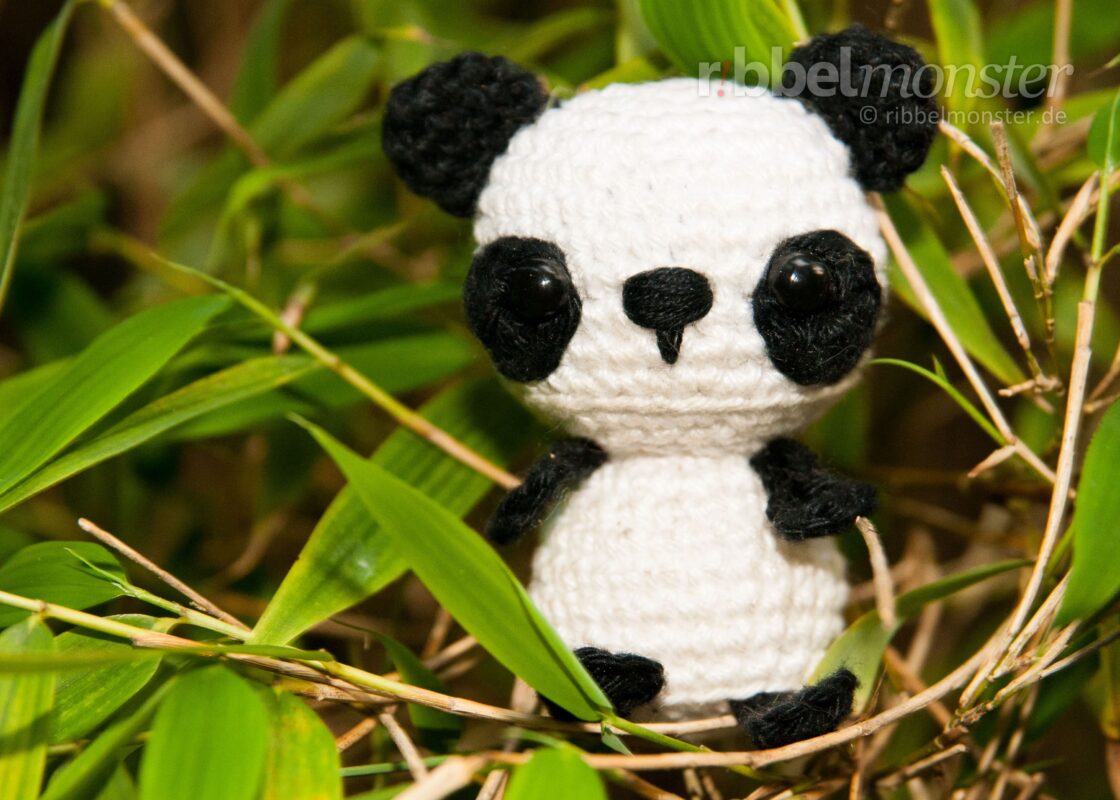
Hättest du einen Platz in deinem Bambus frei? Unser kleiner Amigurumi Pandabär sucht noch dringend ein neues Zuhause.
Vielleicht passt auch noch ein niedlicher Koalabär in deinen Hauseigenen Dschungel? Mit dieser einfachen Häkelanleitung kannst du den Amigurumi Koalabäre Sina häkeln.
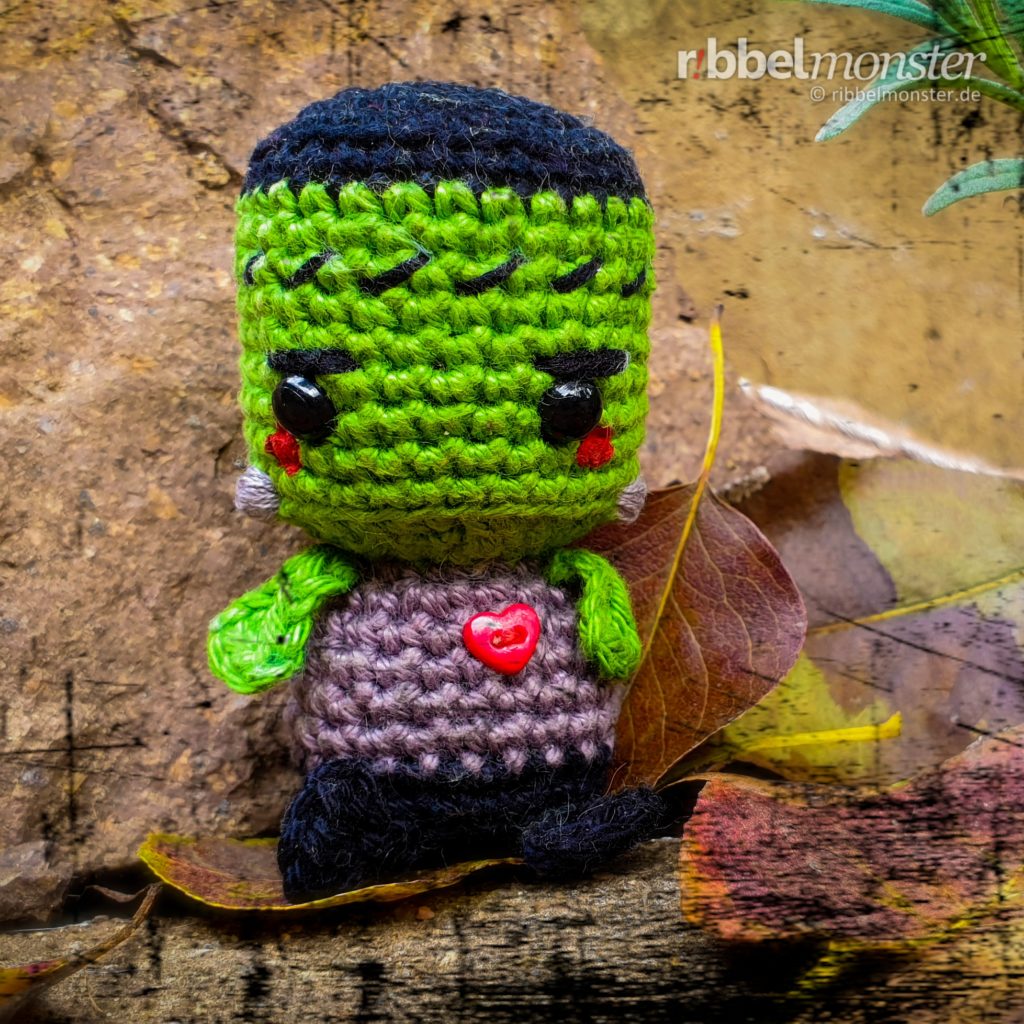
Wenn du gerade Lust auf ein paar Schauergeschichten hast, dann könnte dir ein schrecklicher Amigurumi Frankenstein von seinen Erlebnissen berichtigen.