
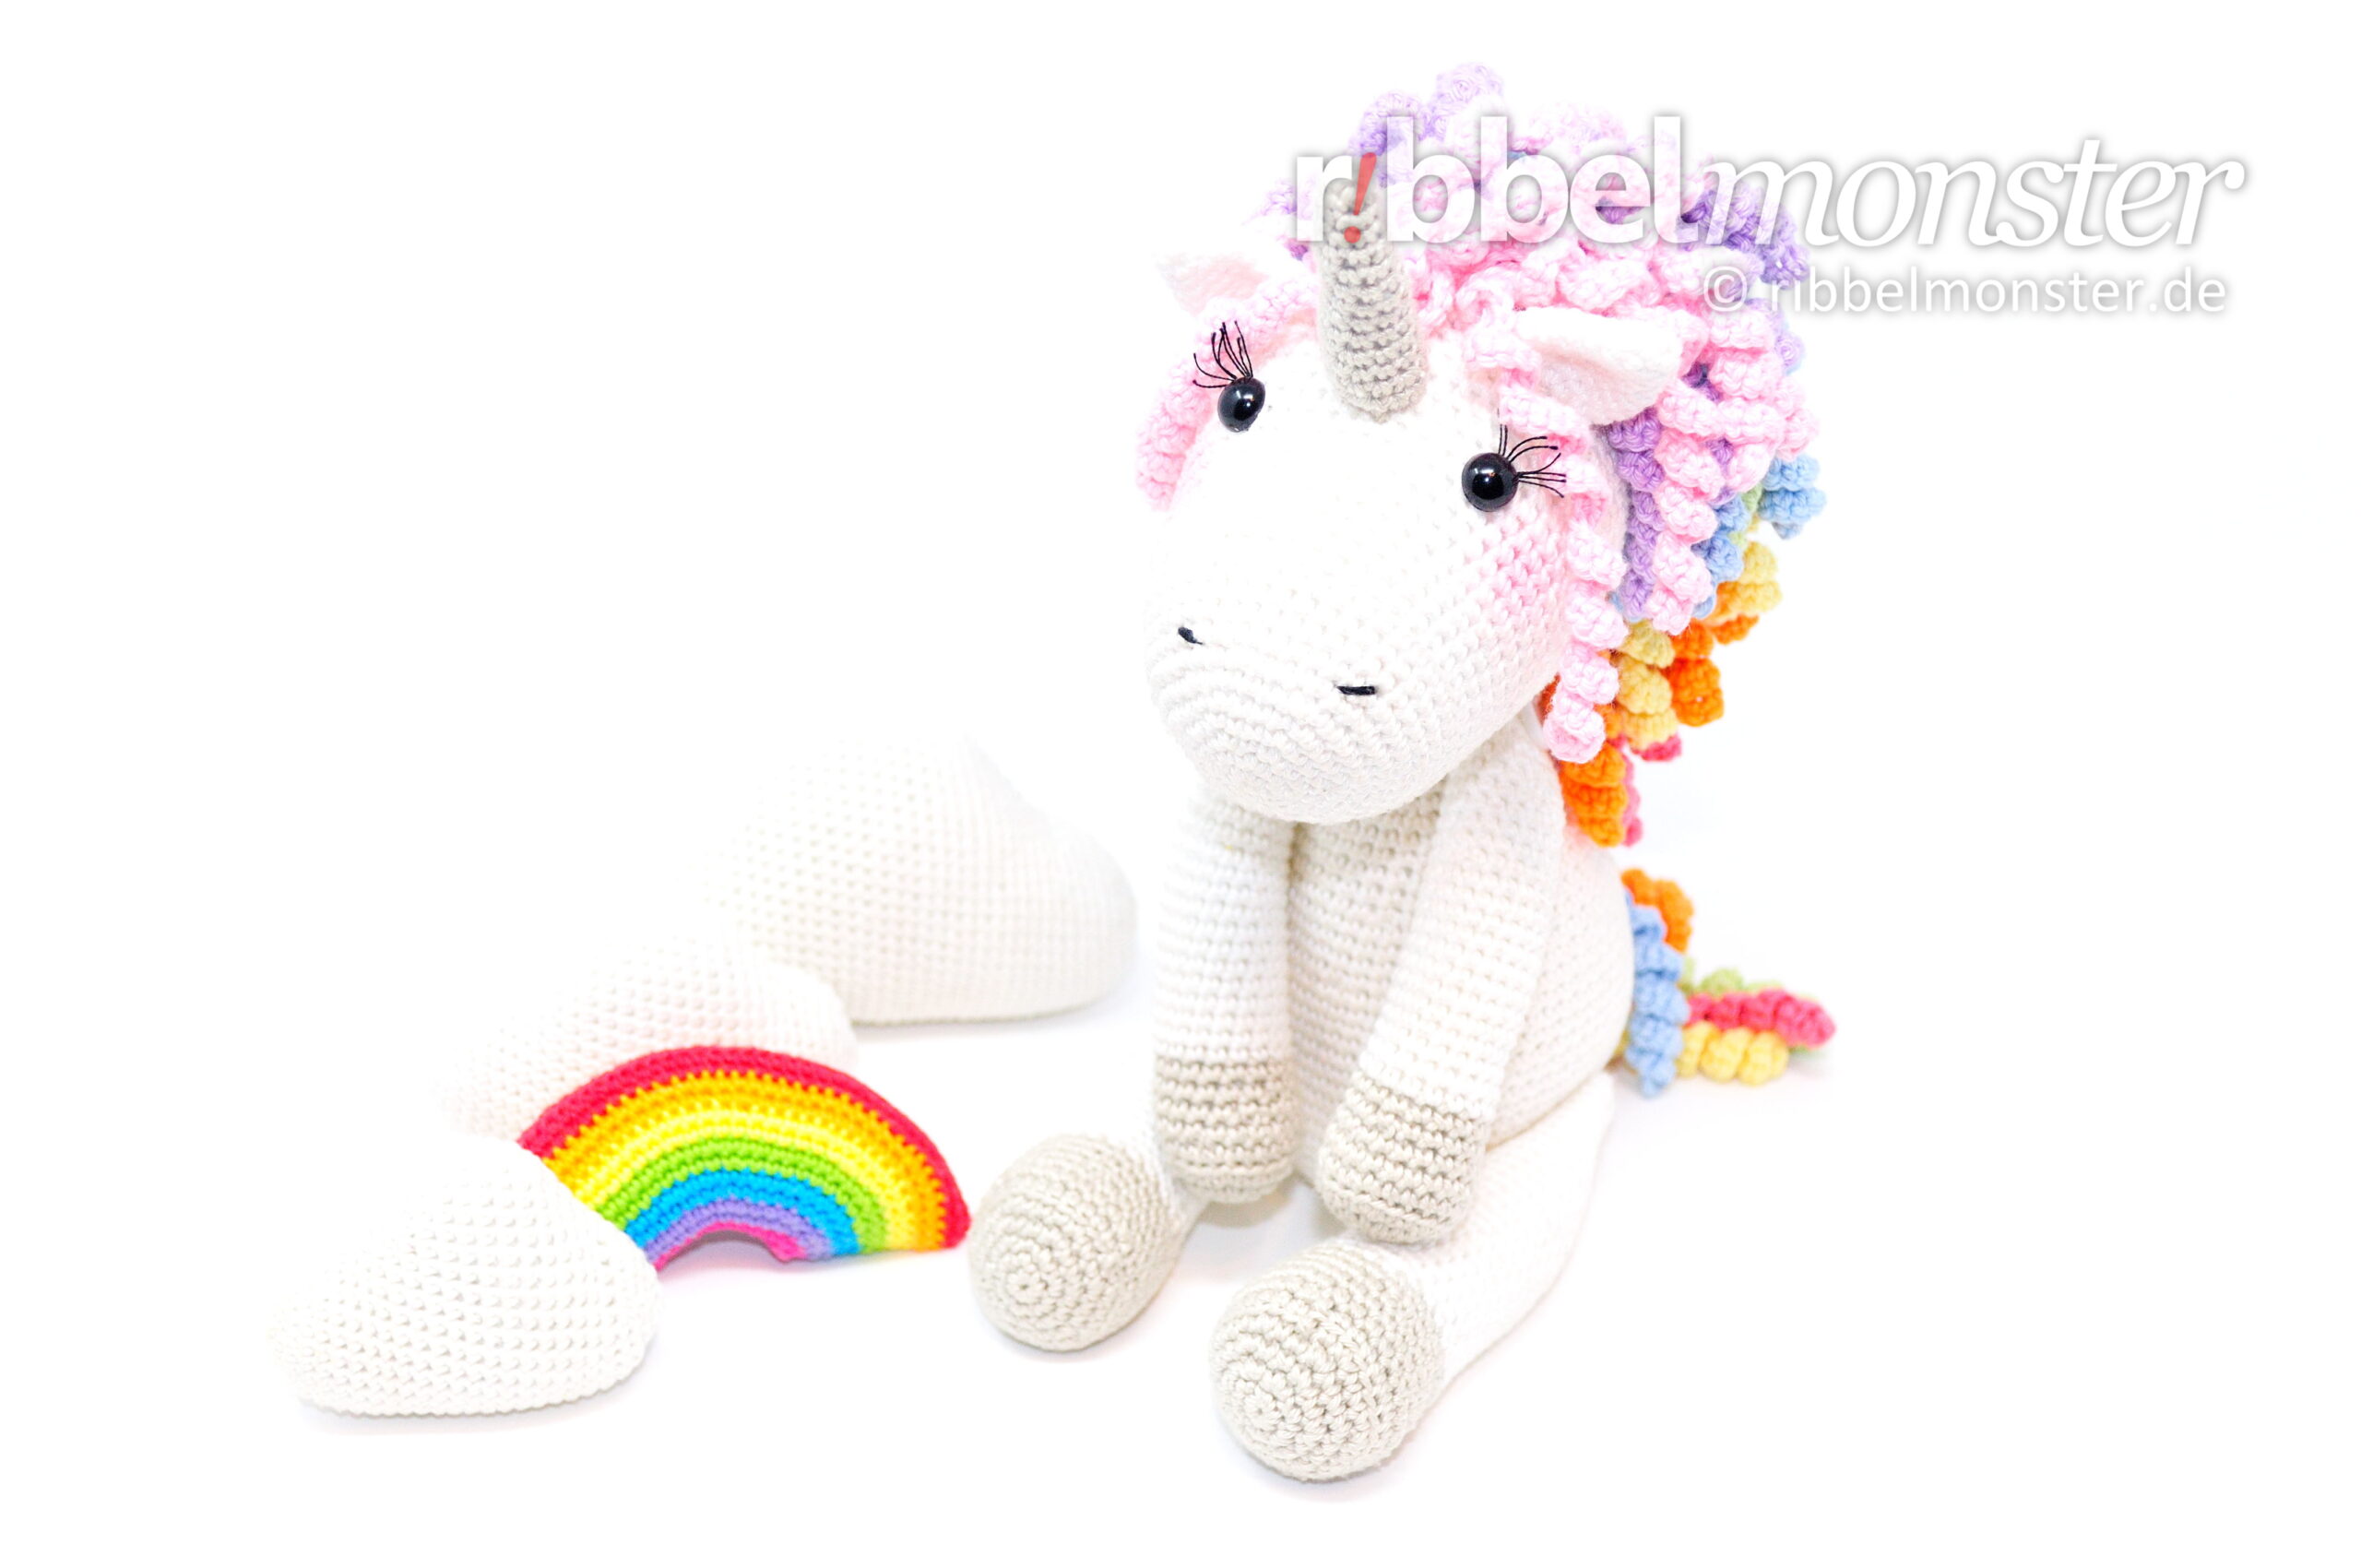
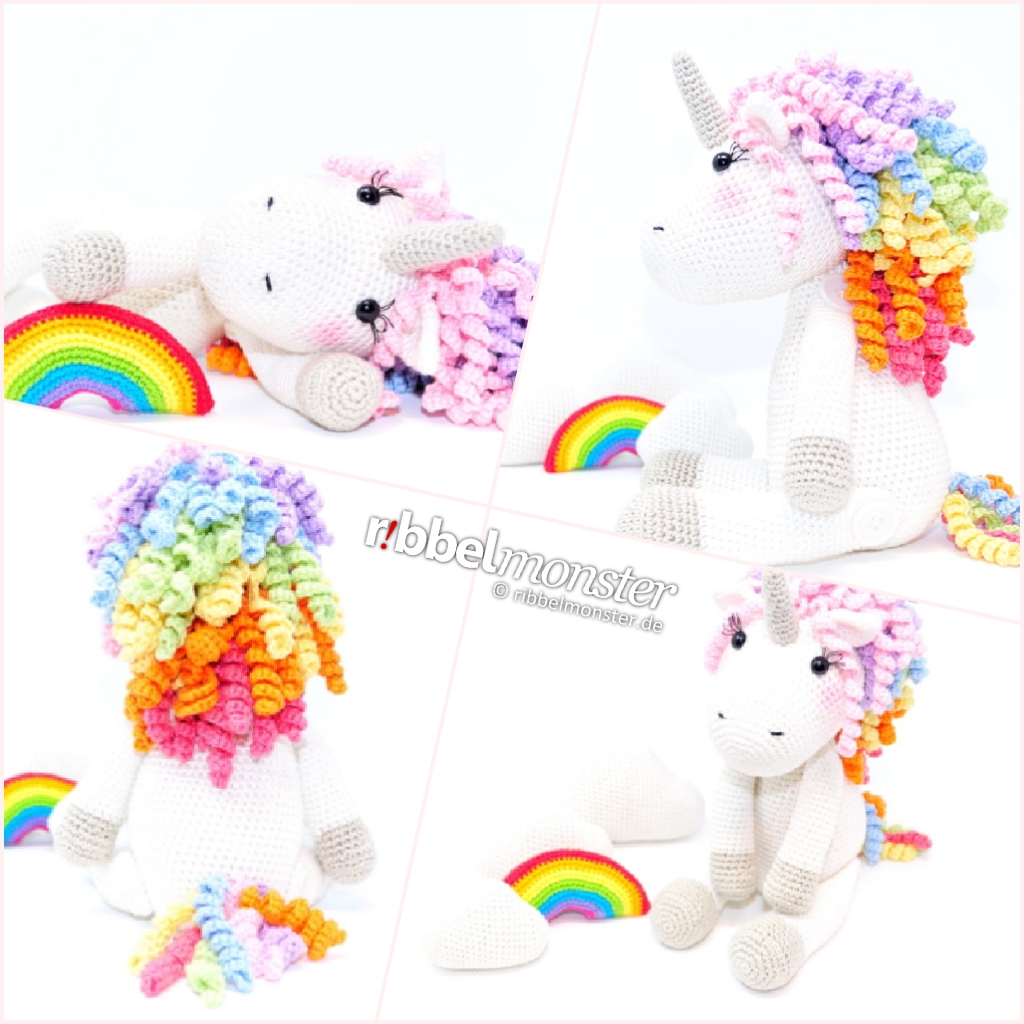
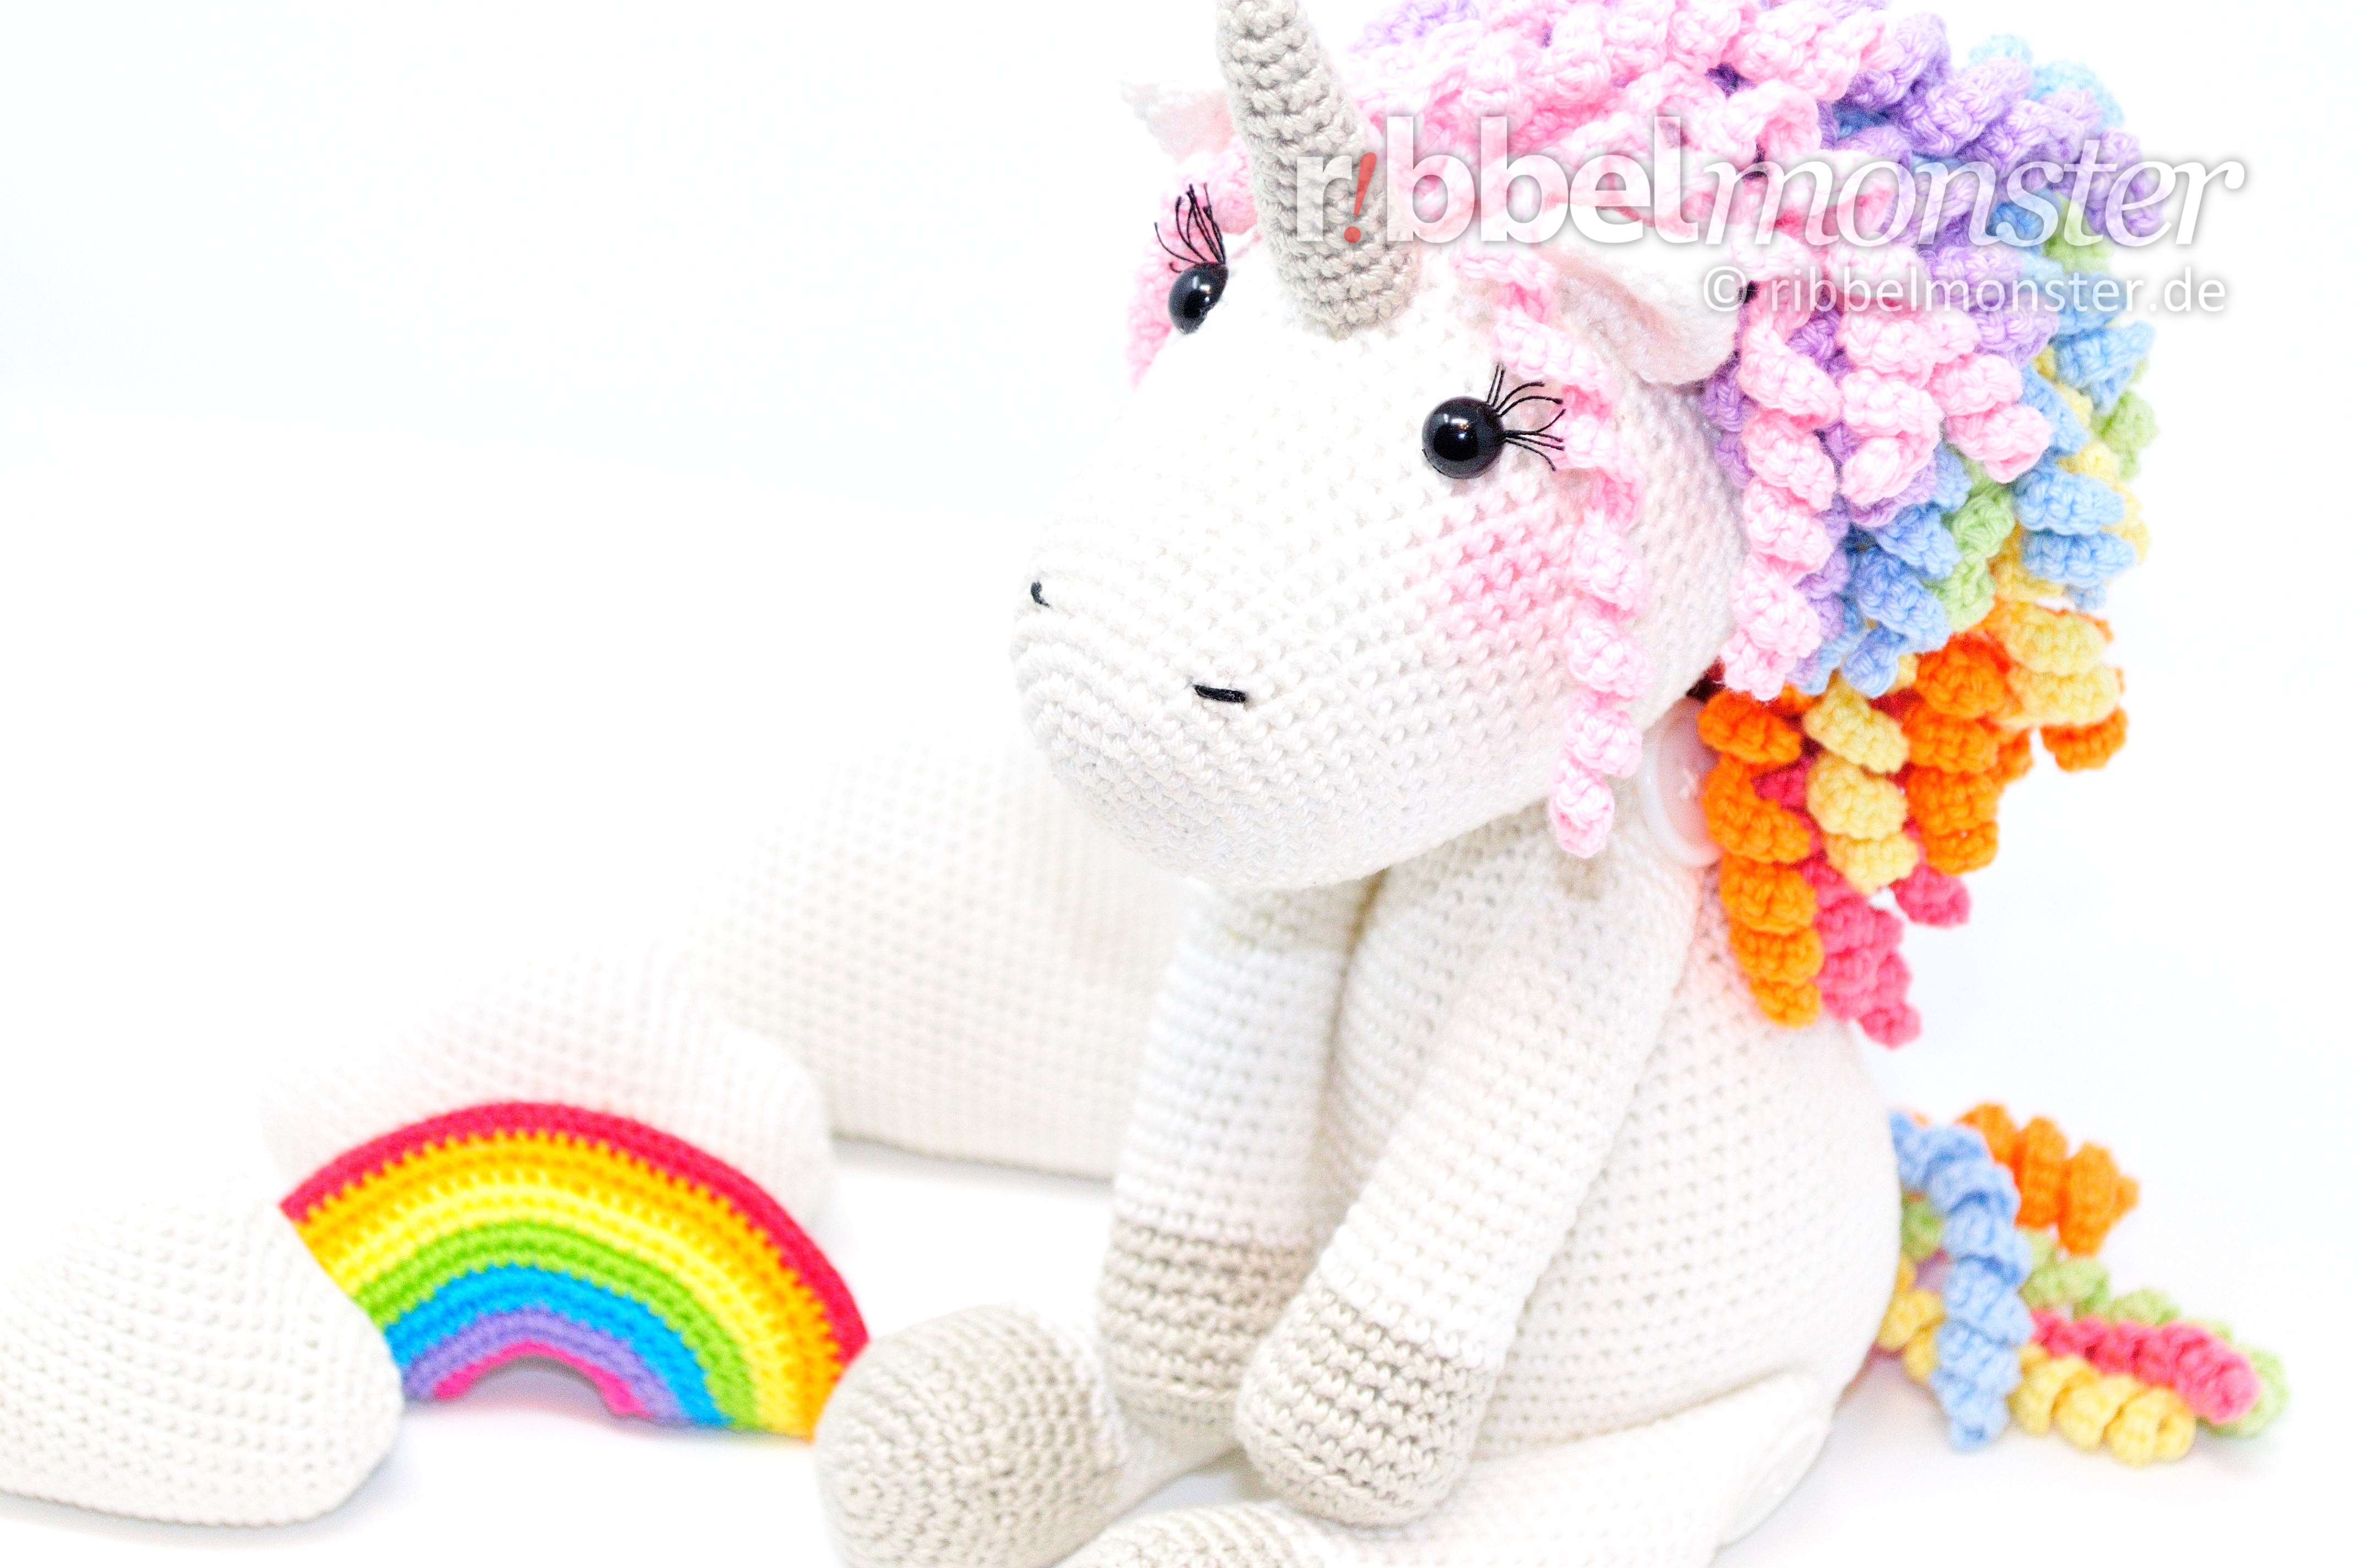
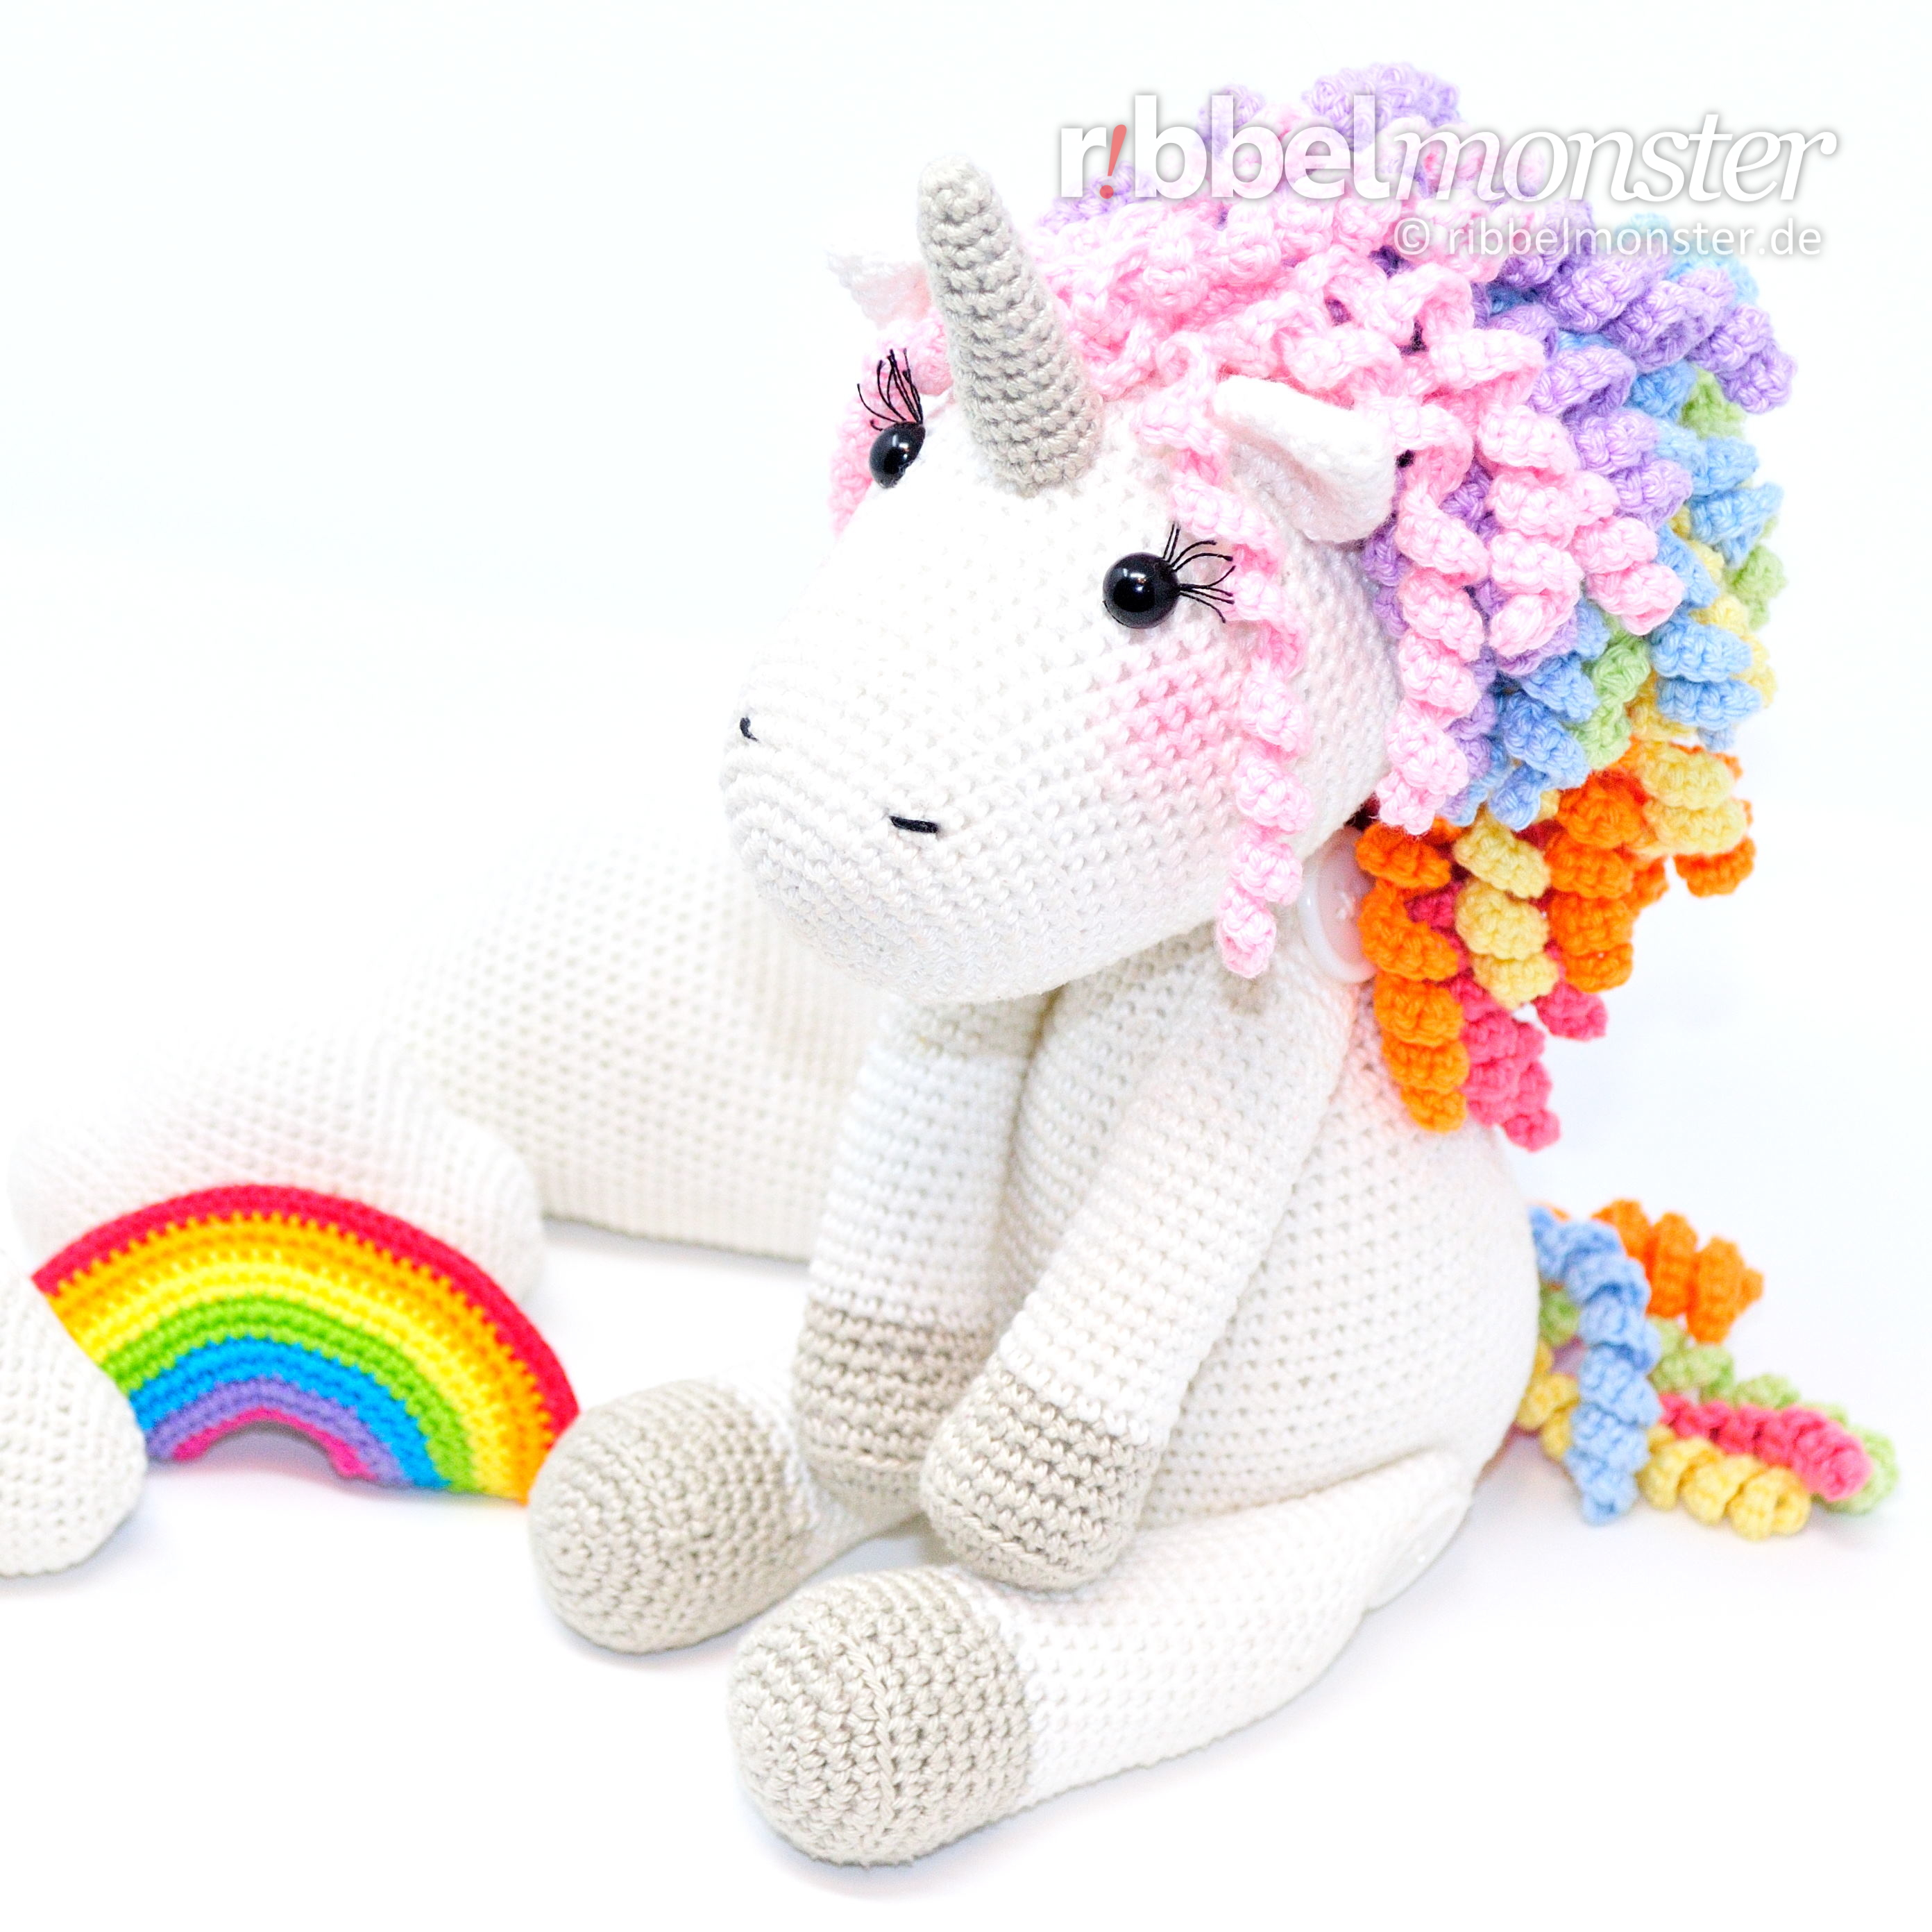
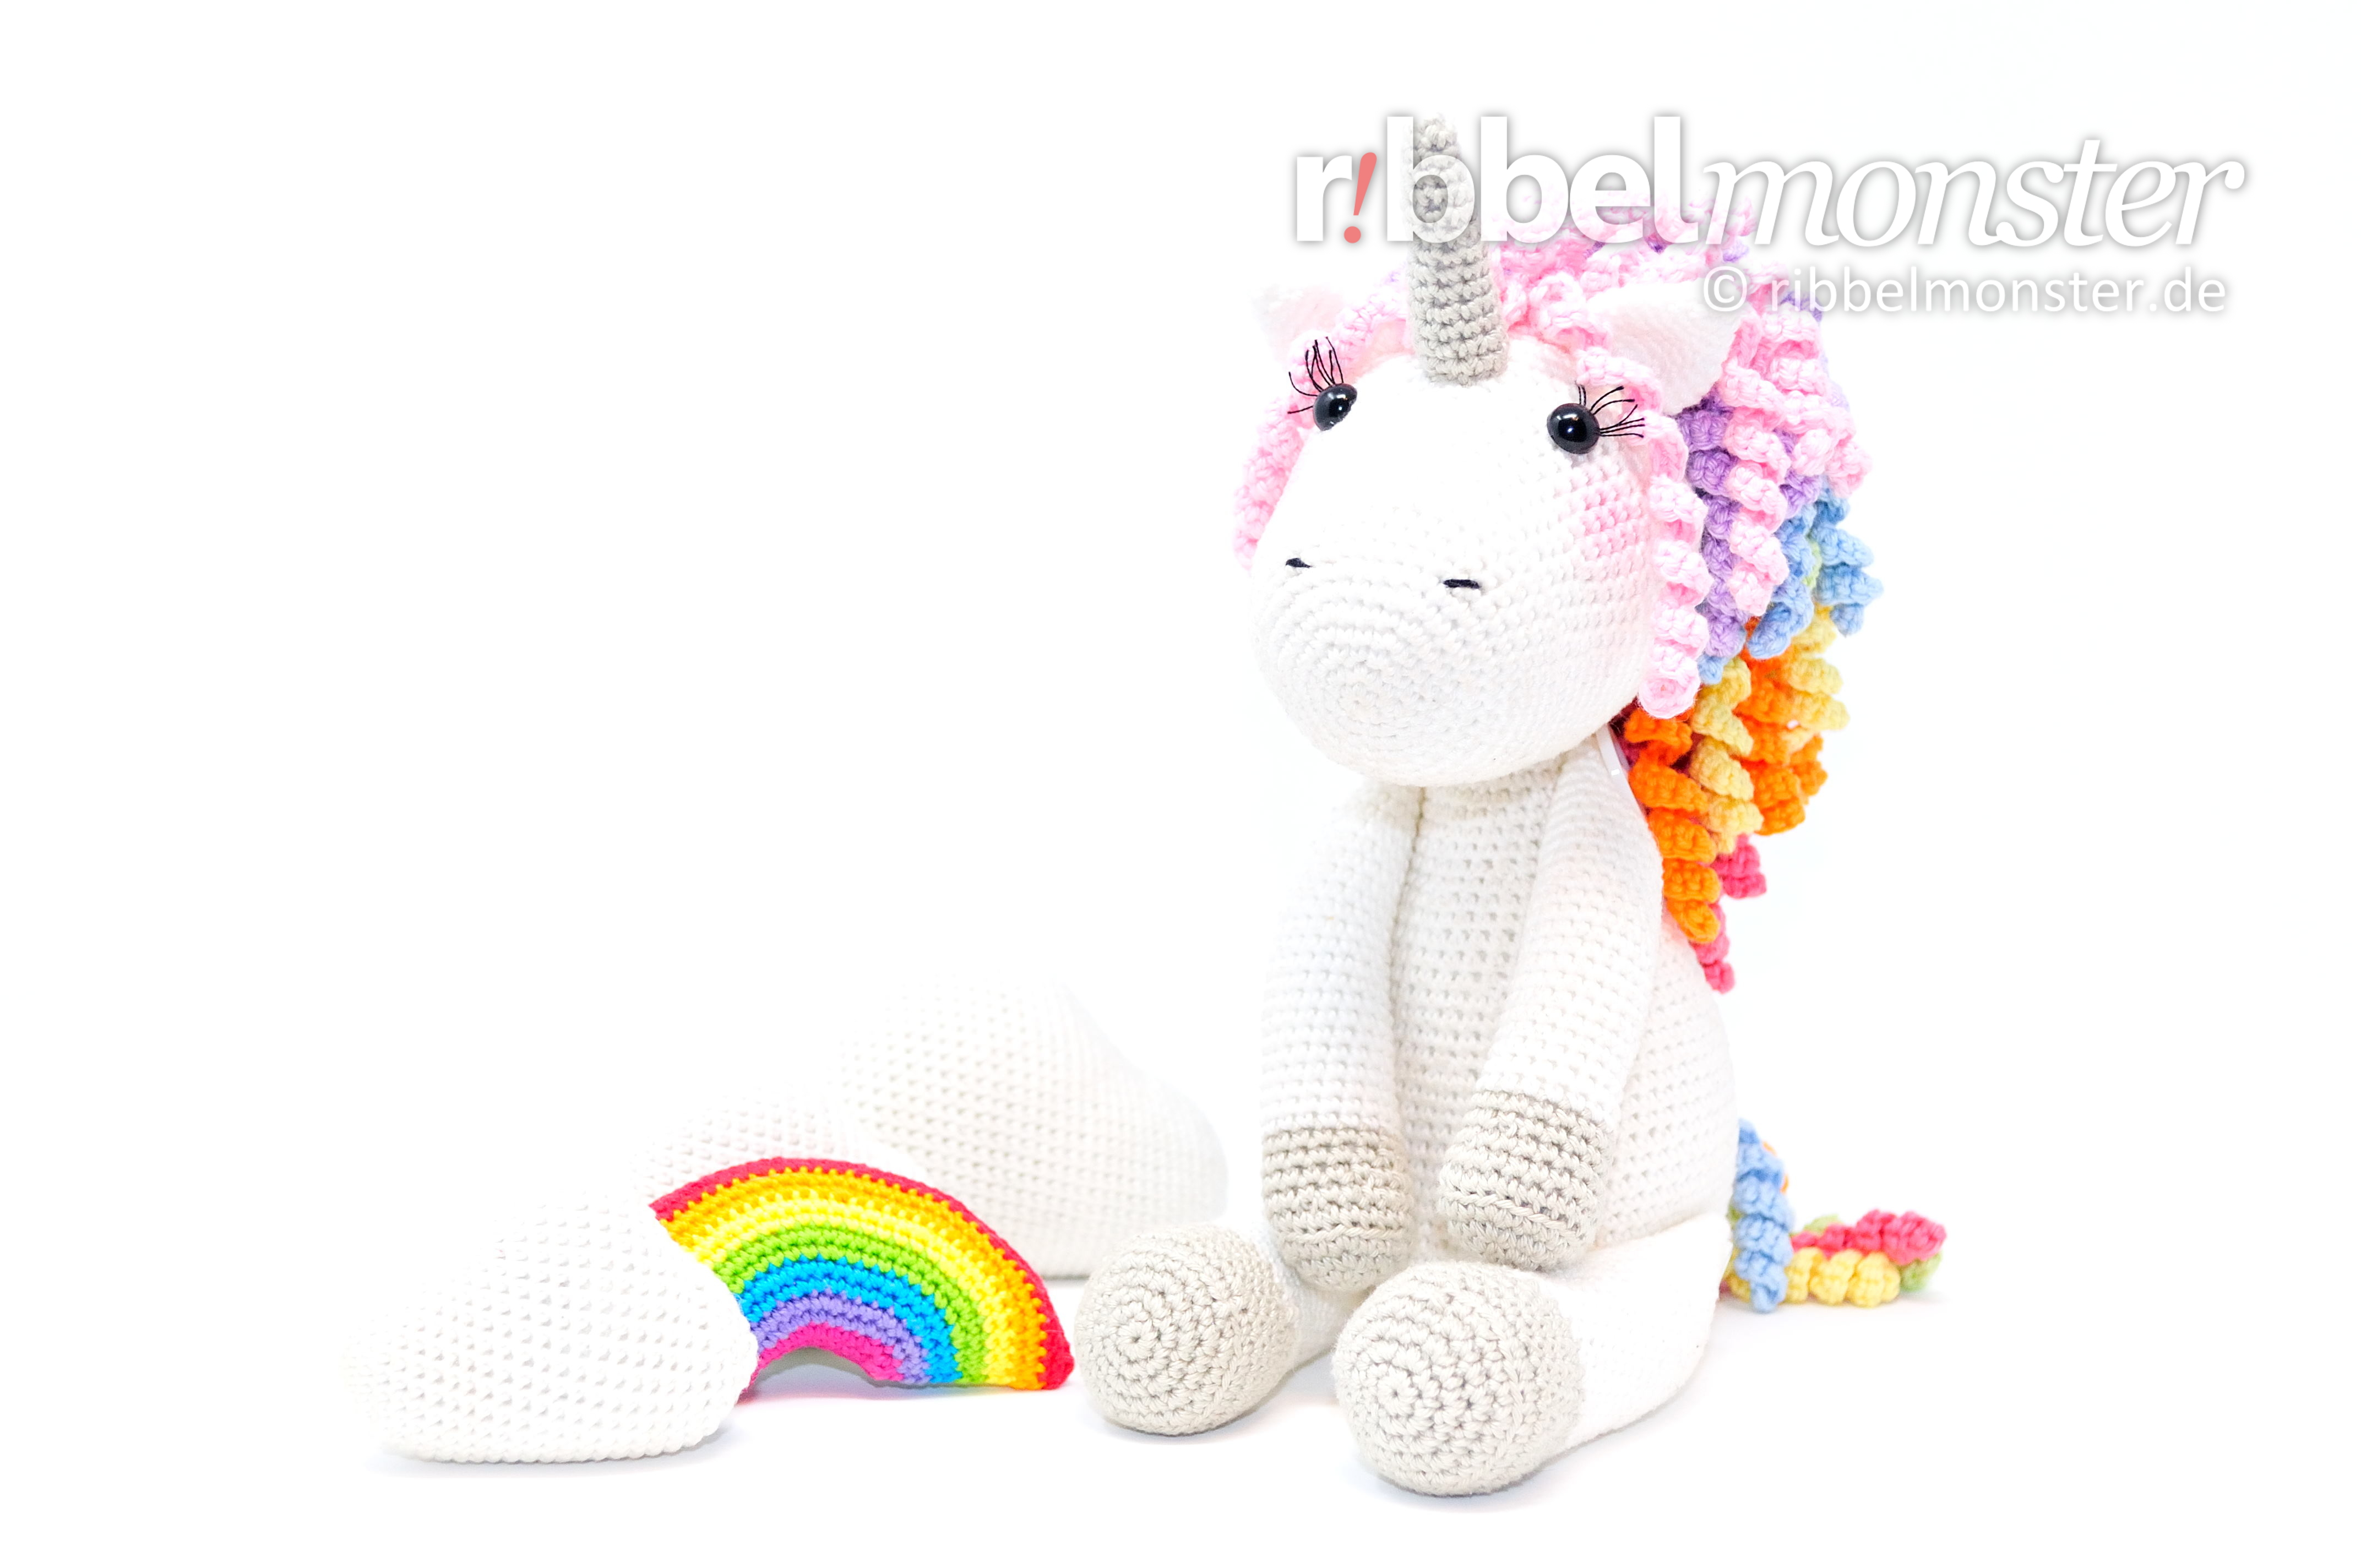
With this simple crochet pattern you can crochet an Amigurumi unicorn. The cocheted Amigurumi unicorn “Hoppala” is a great plushie for big and small children. This crochet unicorn can be made with button joints what gives a great nostalgic look and makes it particularly movable.
Introduction: Amigurumi – Crochet Unicorn “Hoppala”
You have to understand one thing,
Not everyone can see unicorns.
Poor beings without imagination,
never meet Hoppala!
Knowledge: Amigurumi – Crochet Unicorn “Hoppala”
- Double Crochet Stitches (UK!)
- Half Treble Crochet Stitches (UK!)
- Magic Ring
- Slip Stitches
- Spiral Rounds
- Treble Crochet Stitches (UK!)
Supplies: Amigurumi – Crochet Unicorn “Hoppala”
Note: The Amigurumis of the Zamzarak series can be made with or without button joints. What button joints are and how to make them you can read in the tutorial for button joints. If you decide to make button joints you also need 4 buttons whose size should fit exactly so you should choose them after crocheting.
Crochet Hook
You will need a crochet hook with a size of 12 (british). For converting to other sizes, the crochet hook size converter will help you. I have selected some great crochet hooks for you here.
Darning Yarn
I have used darning yarn in the shade of black here. If you cannot find a suitable darning yarn in your supplies, I have already selected some for you.
Filling
For filling, I used synthetic filling made of 100% polyester. However, there are numerous alternatives for filling material. If you’ve run out of filling, I’ve prepared a refill for you here.
Paint
I used acrylic paint in the shade of pink here. This paint is non-toxic, water-dilutable, waterproof, and adheres to almost any surface. I found a great set of acrylic paints for you to try out here.
Pins
You’ll also need a few pins. The more colorful your collection, the better. If you need more, I’ve found something for you.
Safety Eyes
I used 2 safety eyes with a diameter of 1/2 inches. The eyes are completely black. However, there are countless alternatives for amigurumi eyes. You might prefer other safety eyes as well.
Scissors – any
You’ll need any scissors. It’s best to use your most beautiful scissors because it brings you joy. If you don’t have really nice scissors, I’ve picked out some lovely ones for you.
Wool Needle
You’ll need a wool needle with a blunt tip. The thickness of the wool needle should match the thickness of your yarn. You might like the set of wool needles I’ve picked out for you.
Yarn – Schachenmayr – Catania – 106 – weiß
I used yarn in the shade White. The material is 100% cotton. The yardage is 137 yds / 1.75 oz. If you want to replenish your supply, I’ve already picked out the matching yarn for you here.
Yarn – Schachenmayr – Catania – 172 – silber (hellgrau)
I used yarn in the shade Silver. The material is 100% cotton. The yardage is 137 yds / 1.75 oz. If you want to replenish your supply, I’ve already picked out the matching yarn for you here.
Yarn – Schachenmayr – Catania – 173 – hellblau
I used yarn in the shade Light Blue. The material is 100% cotton. The yardage is 137 yds / 1.75 oz. If you want to replenish your supply, I’ve already picked out the matching yarn for you here.
Yarn – Schachenmayr – Catania – 246 – rosa (hellrosa)
I used yarn in the shade Pink. The material is 100% cotton. The yardage is 137 yds / 1.75 oz. If you want to replenish your supply, I’ve already picked out the matching yarn for you here.
Yarn – Schachenmayr – Catania – 392 – gelbgrün (hellgrün)
I used yarn in the shade Yellow Green. The material is 100% cotton. The yardage is 137 yds / 1.75 oz. If you want to replenish your supply, I’ve already picked out the matching yarn for you here.
Yarn – Schachenmayr – Catania – 401 – aprikose (hellorange)
I used yarn in the shade Apricot. The material is 100% cotton. The yardage is 137 yds / 1.75 oz. If you want to replenish your supply, I’ve already picked out the matching yarn for you here.
Yarn – Schachenmayr – Catania – 403 – vanille (hellgelb)
I used yarn in the shade Vanilla. The material is 100% cotton. The yardage is 137 yds / 1.75 oz. If you want to replenish your supply, I’ve already picked out the matching yarn for you here.
Yarn – Schachenmayr – Catania – 409 – dahlie (hellrot)
I used yarn in the shade Dahlia. The material is 100% cotton. The yardage is 137 yds / 1.75 oz. If you want to replenish your supply, I’ve already picked out the matching yarn for you here.
Yarn – Schachenmayr – Catania – 422 – lavendel
I used yarn in the shade Lavender. The material is 100% cotton. The yardage is 137 yds / 1.75 oz. If you want to replenish your supply, I’ve already picked out the matching yarn for you here.
Size: Amigurumi – Crochet Unicorn “Hoppala”
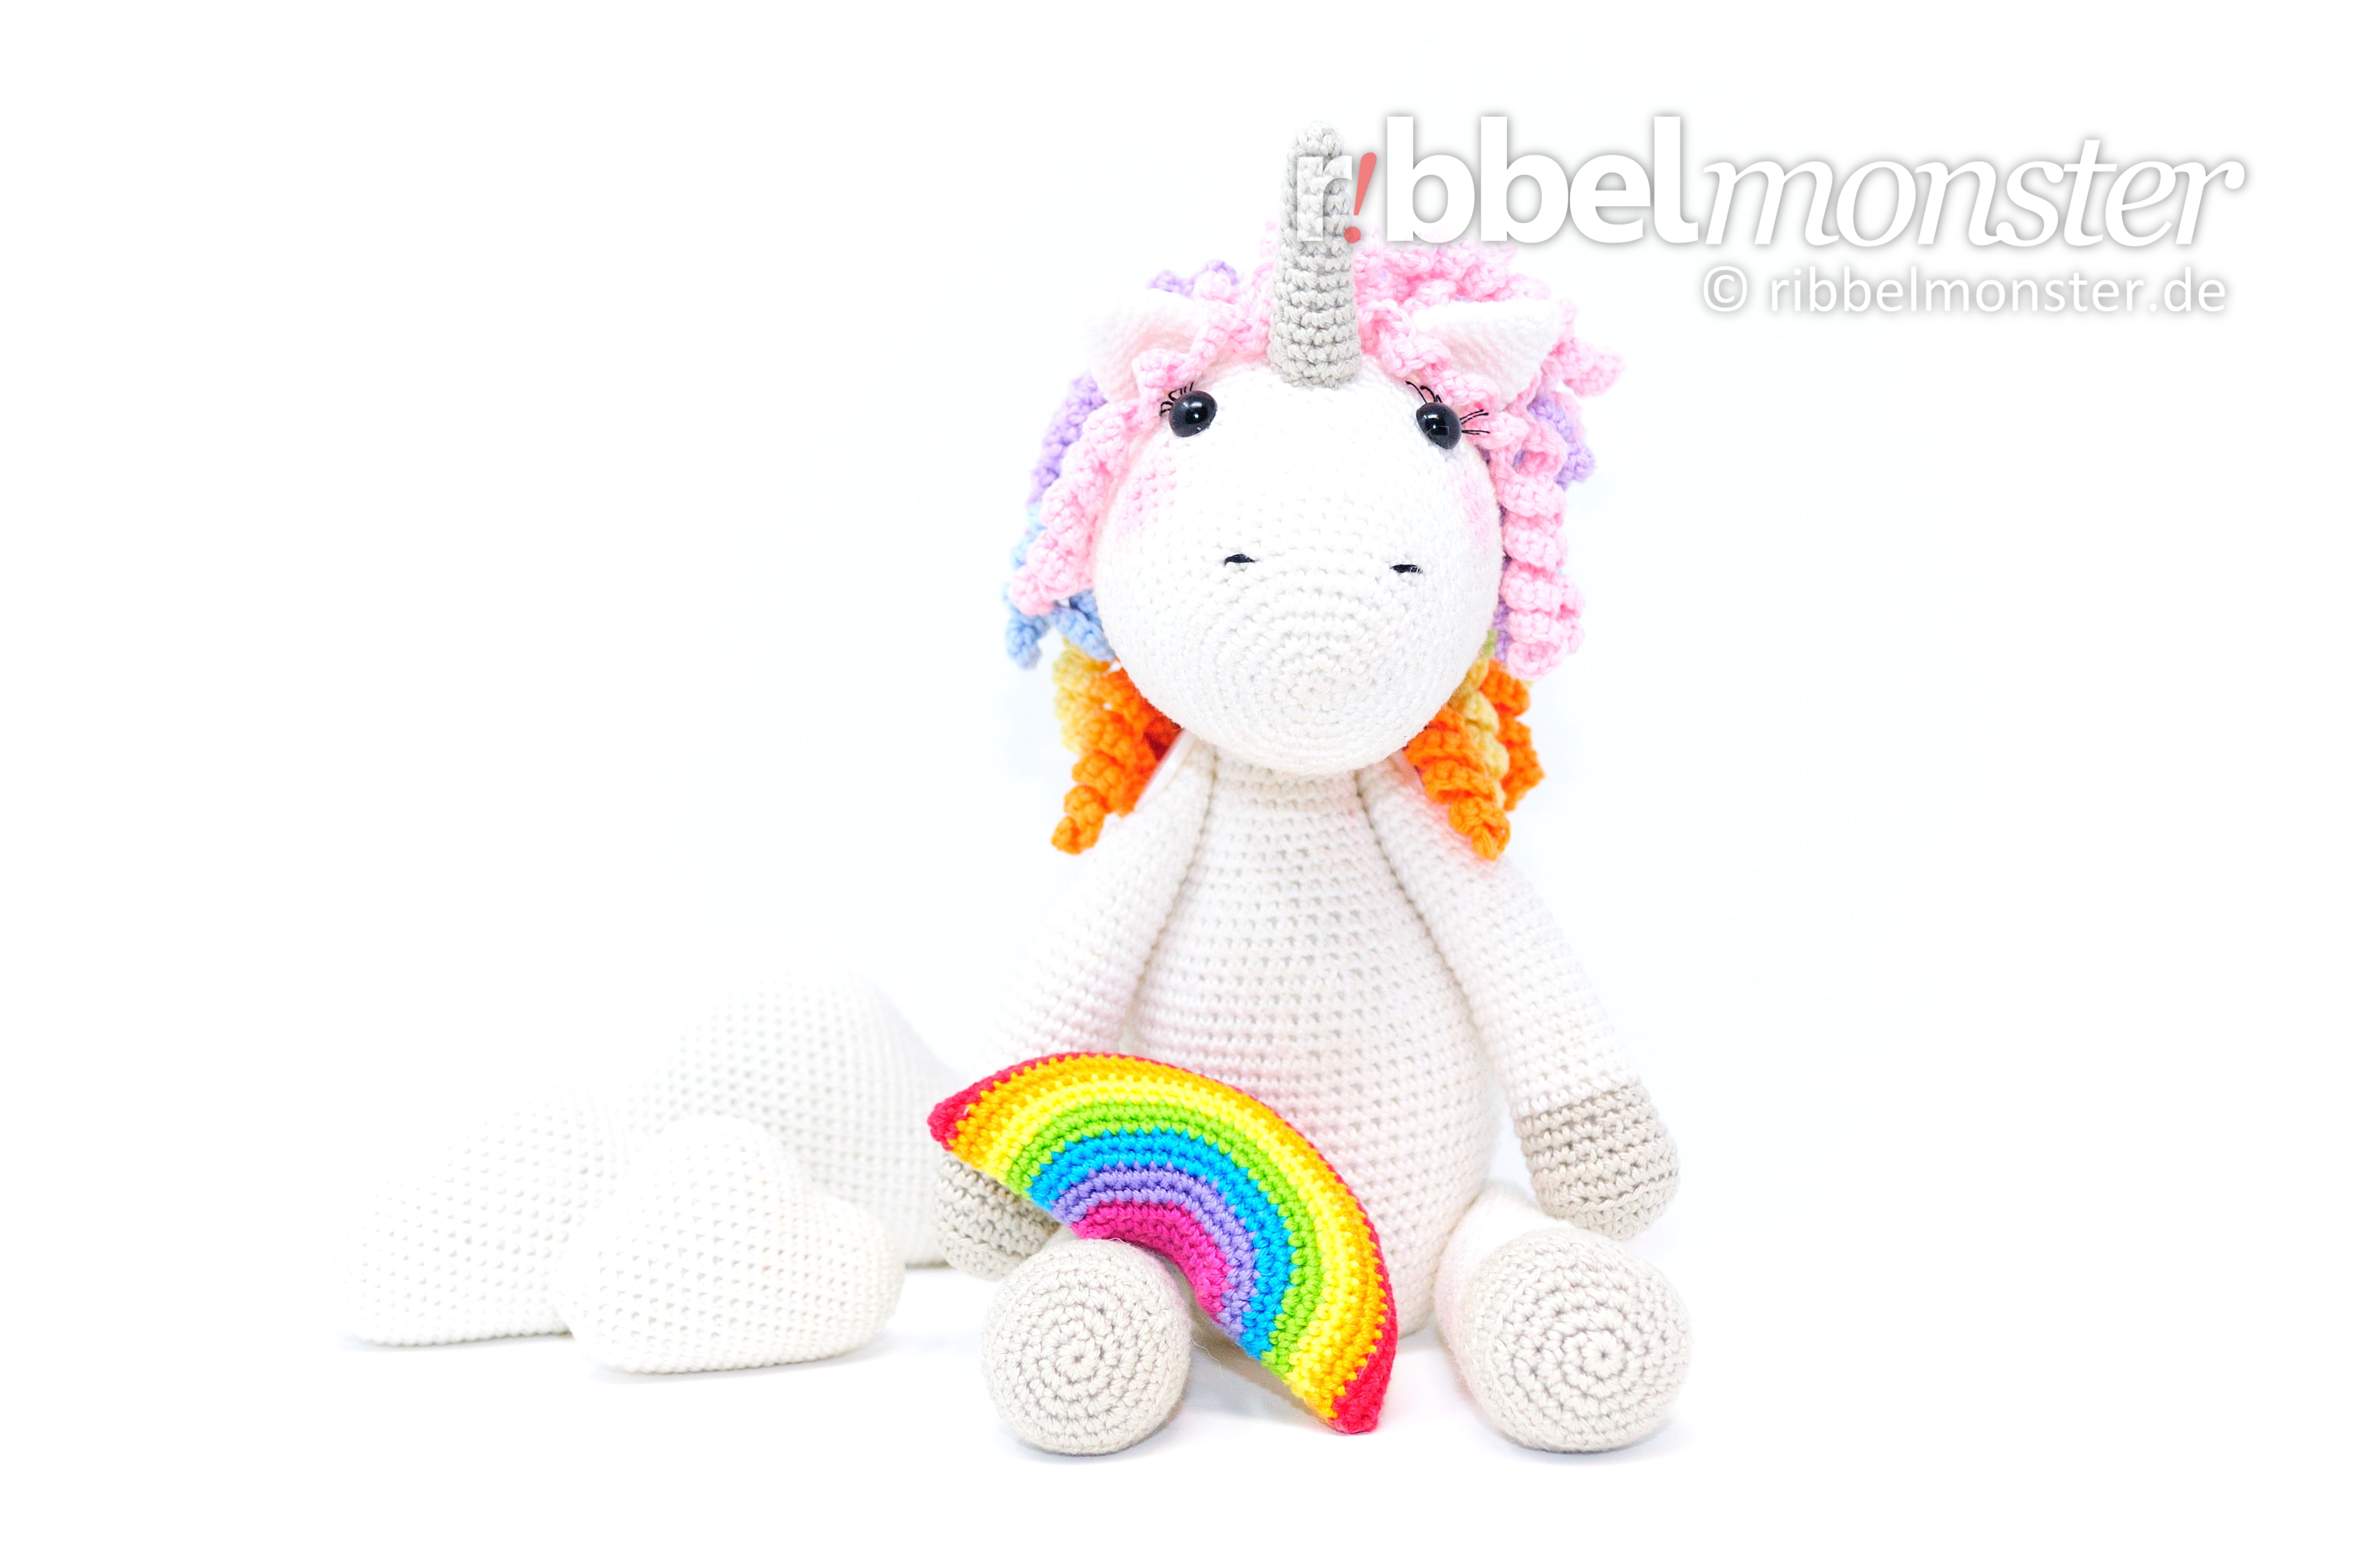
Here you find the size specifications for the crocheted unicorn Hoppala without horn.
| Needle Size | Yarn | Sitting | Standing |
| Crochet Hook 12 (shown example) | 137yds / 1.75oz, 100% cotton | 20cm | 30cm |
Crochet Pattern: Amigurumi – Crochet Unicorn “Hoppala”
For the unicorn we first crochet head, body, ears, arms, legs, horn, mane and tail. Then all parts are sewn together and mane and tail tied on . At the end, nostrils are stitched on, eyelashes are tied and cheeks are painted on.

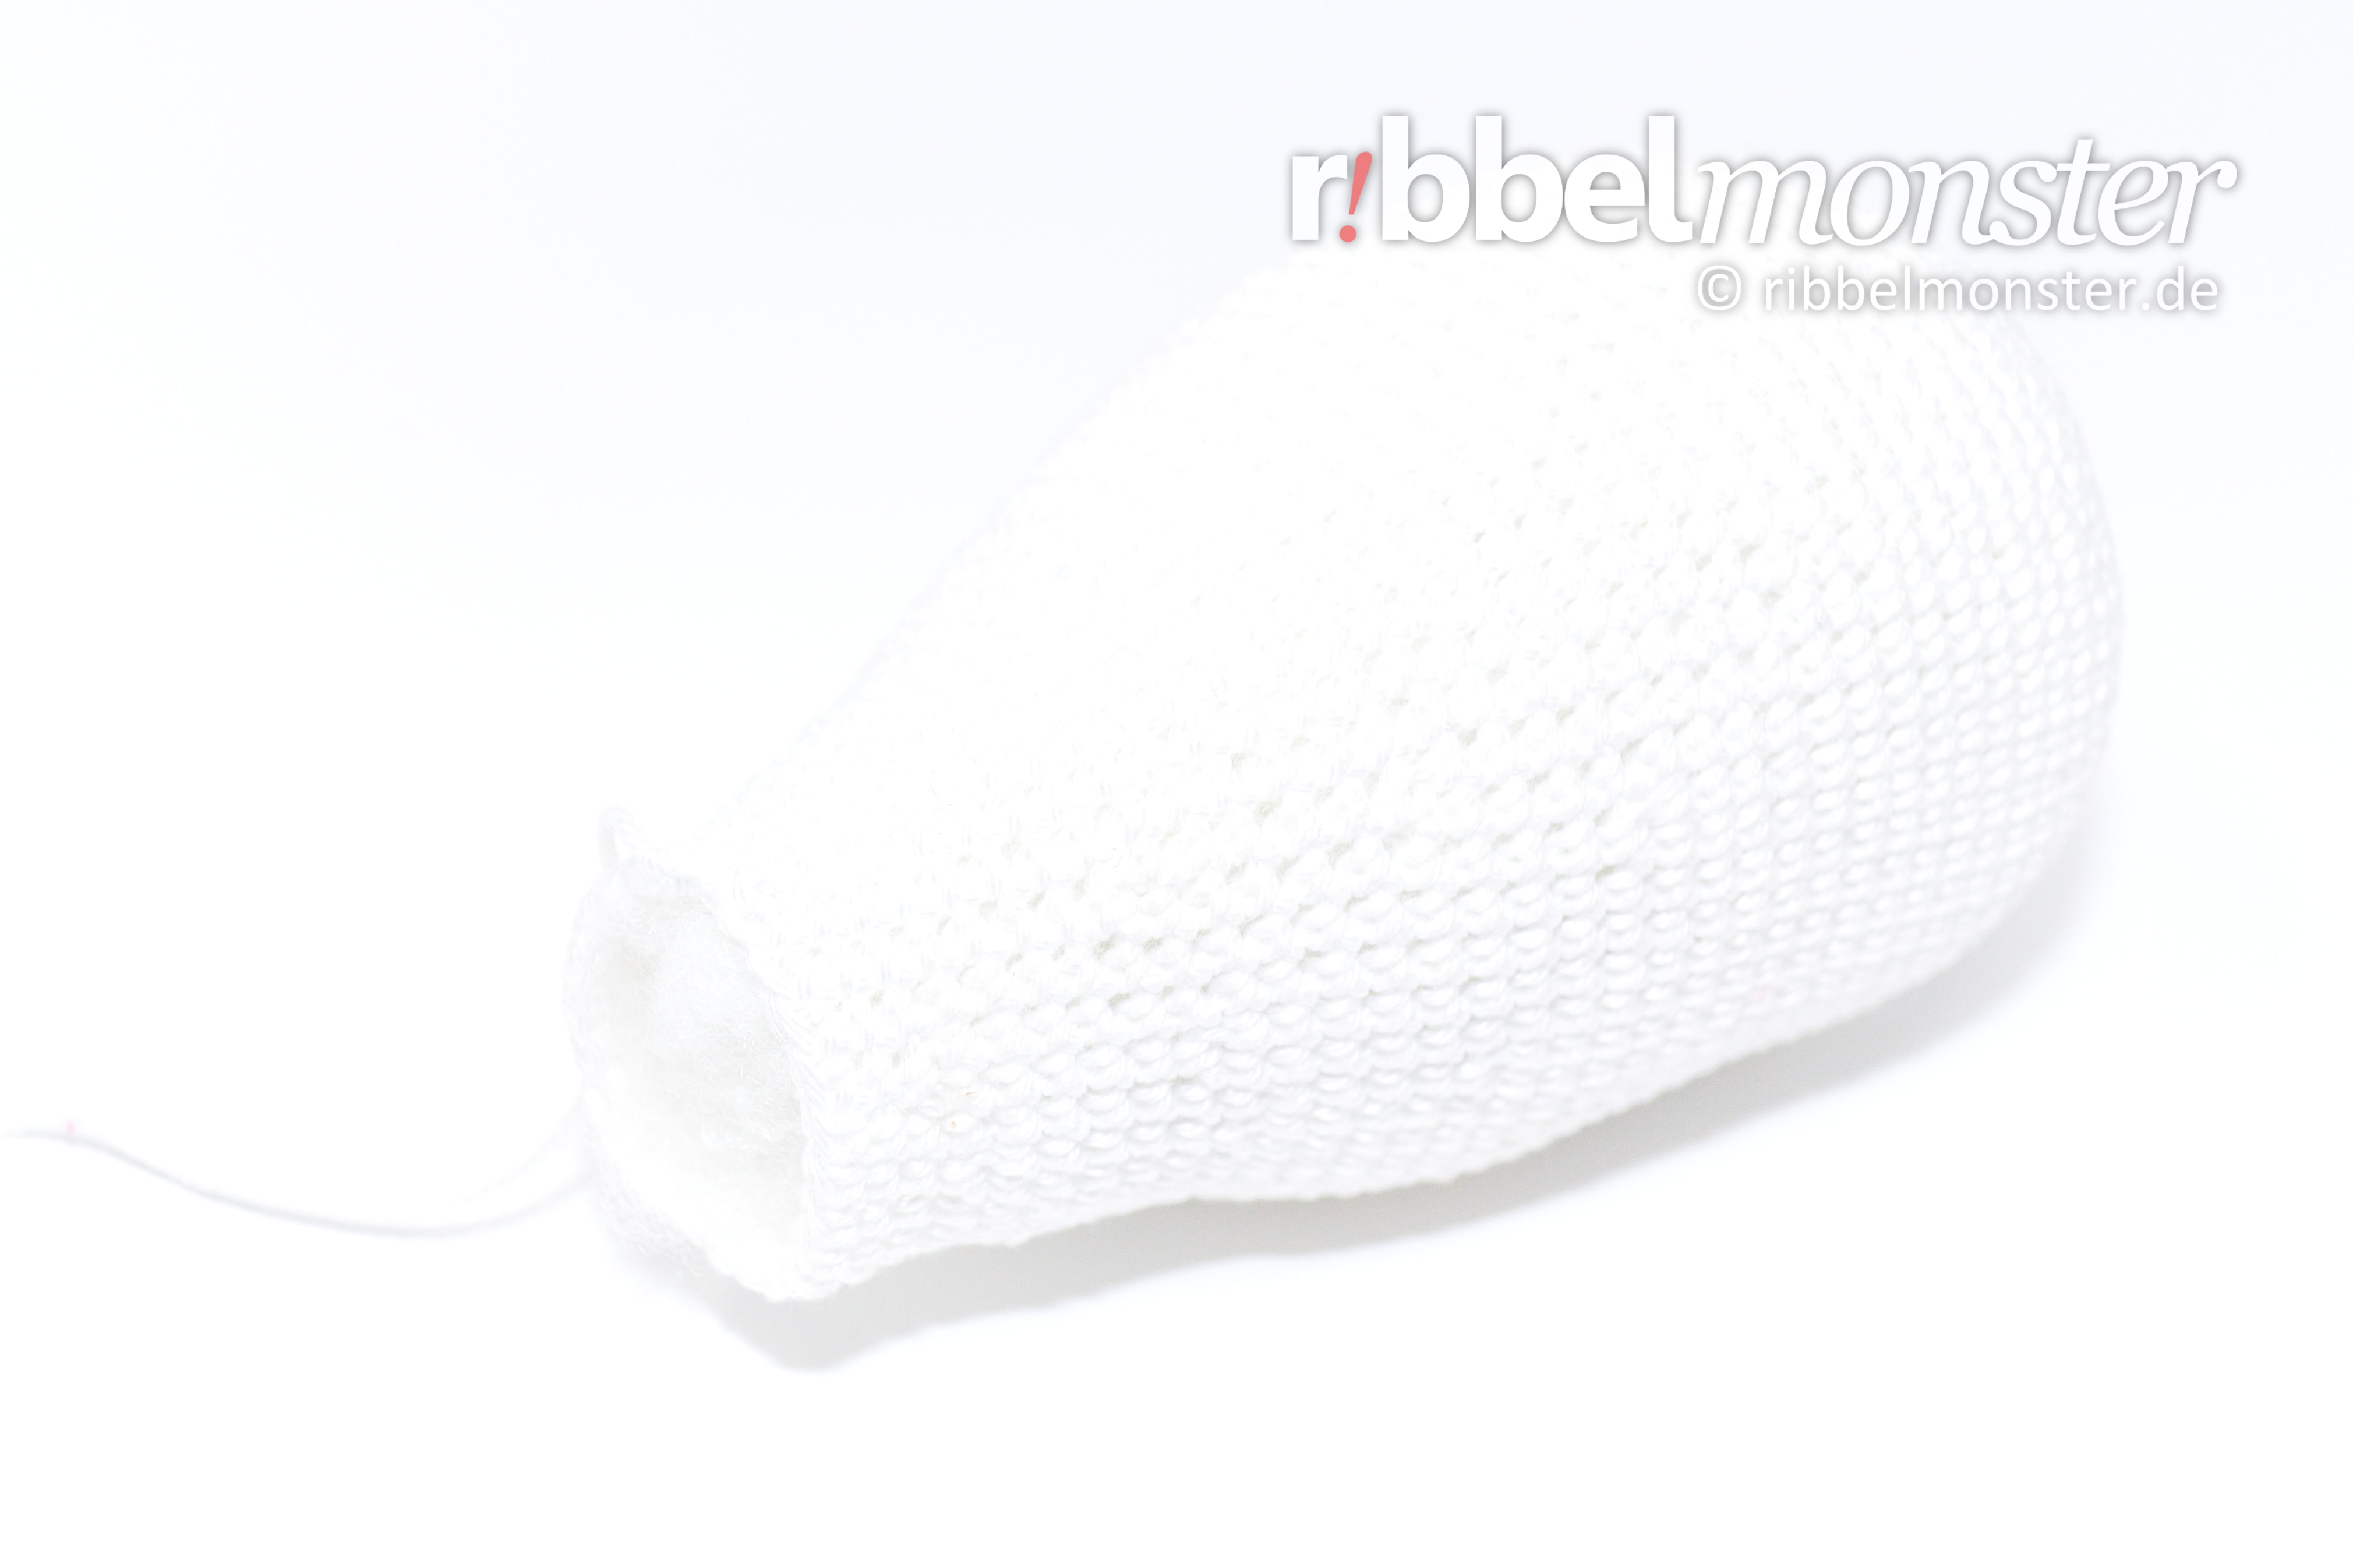
Crochet Unicorn Head (1x)
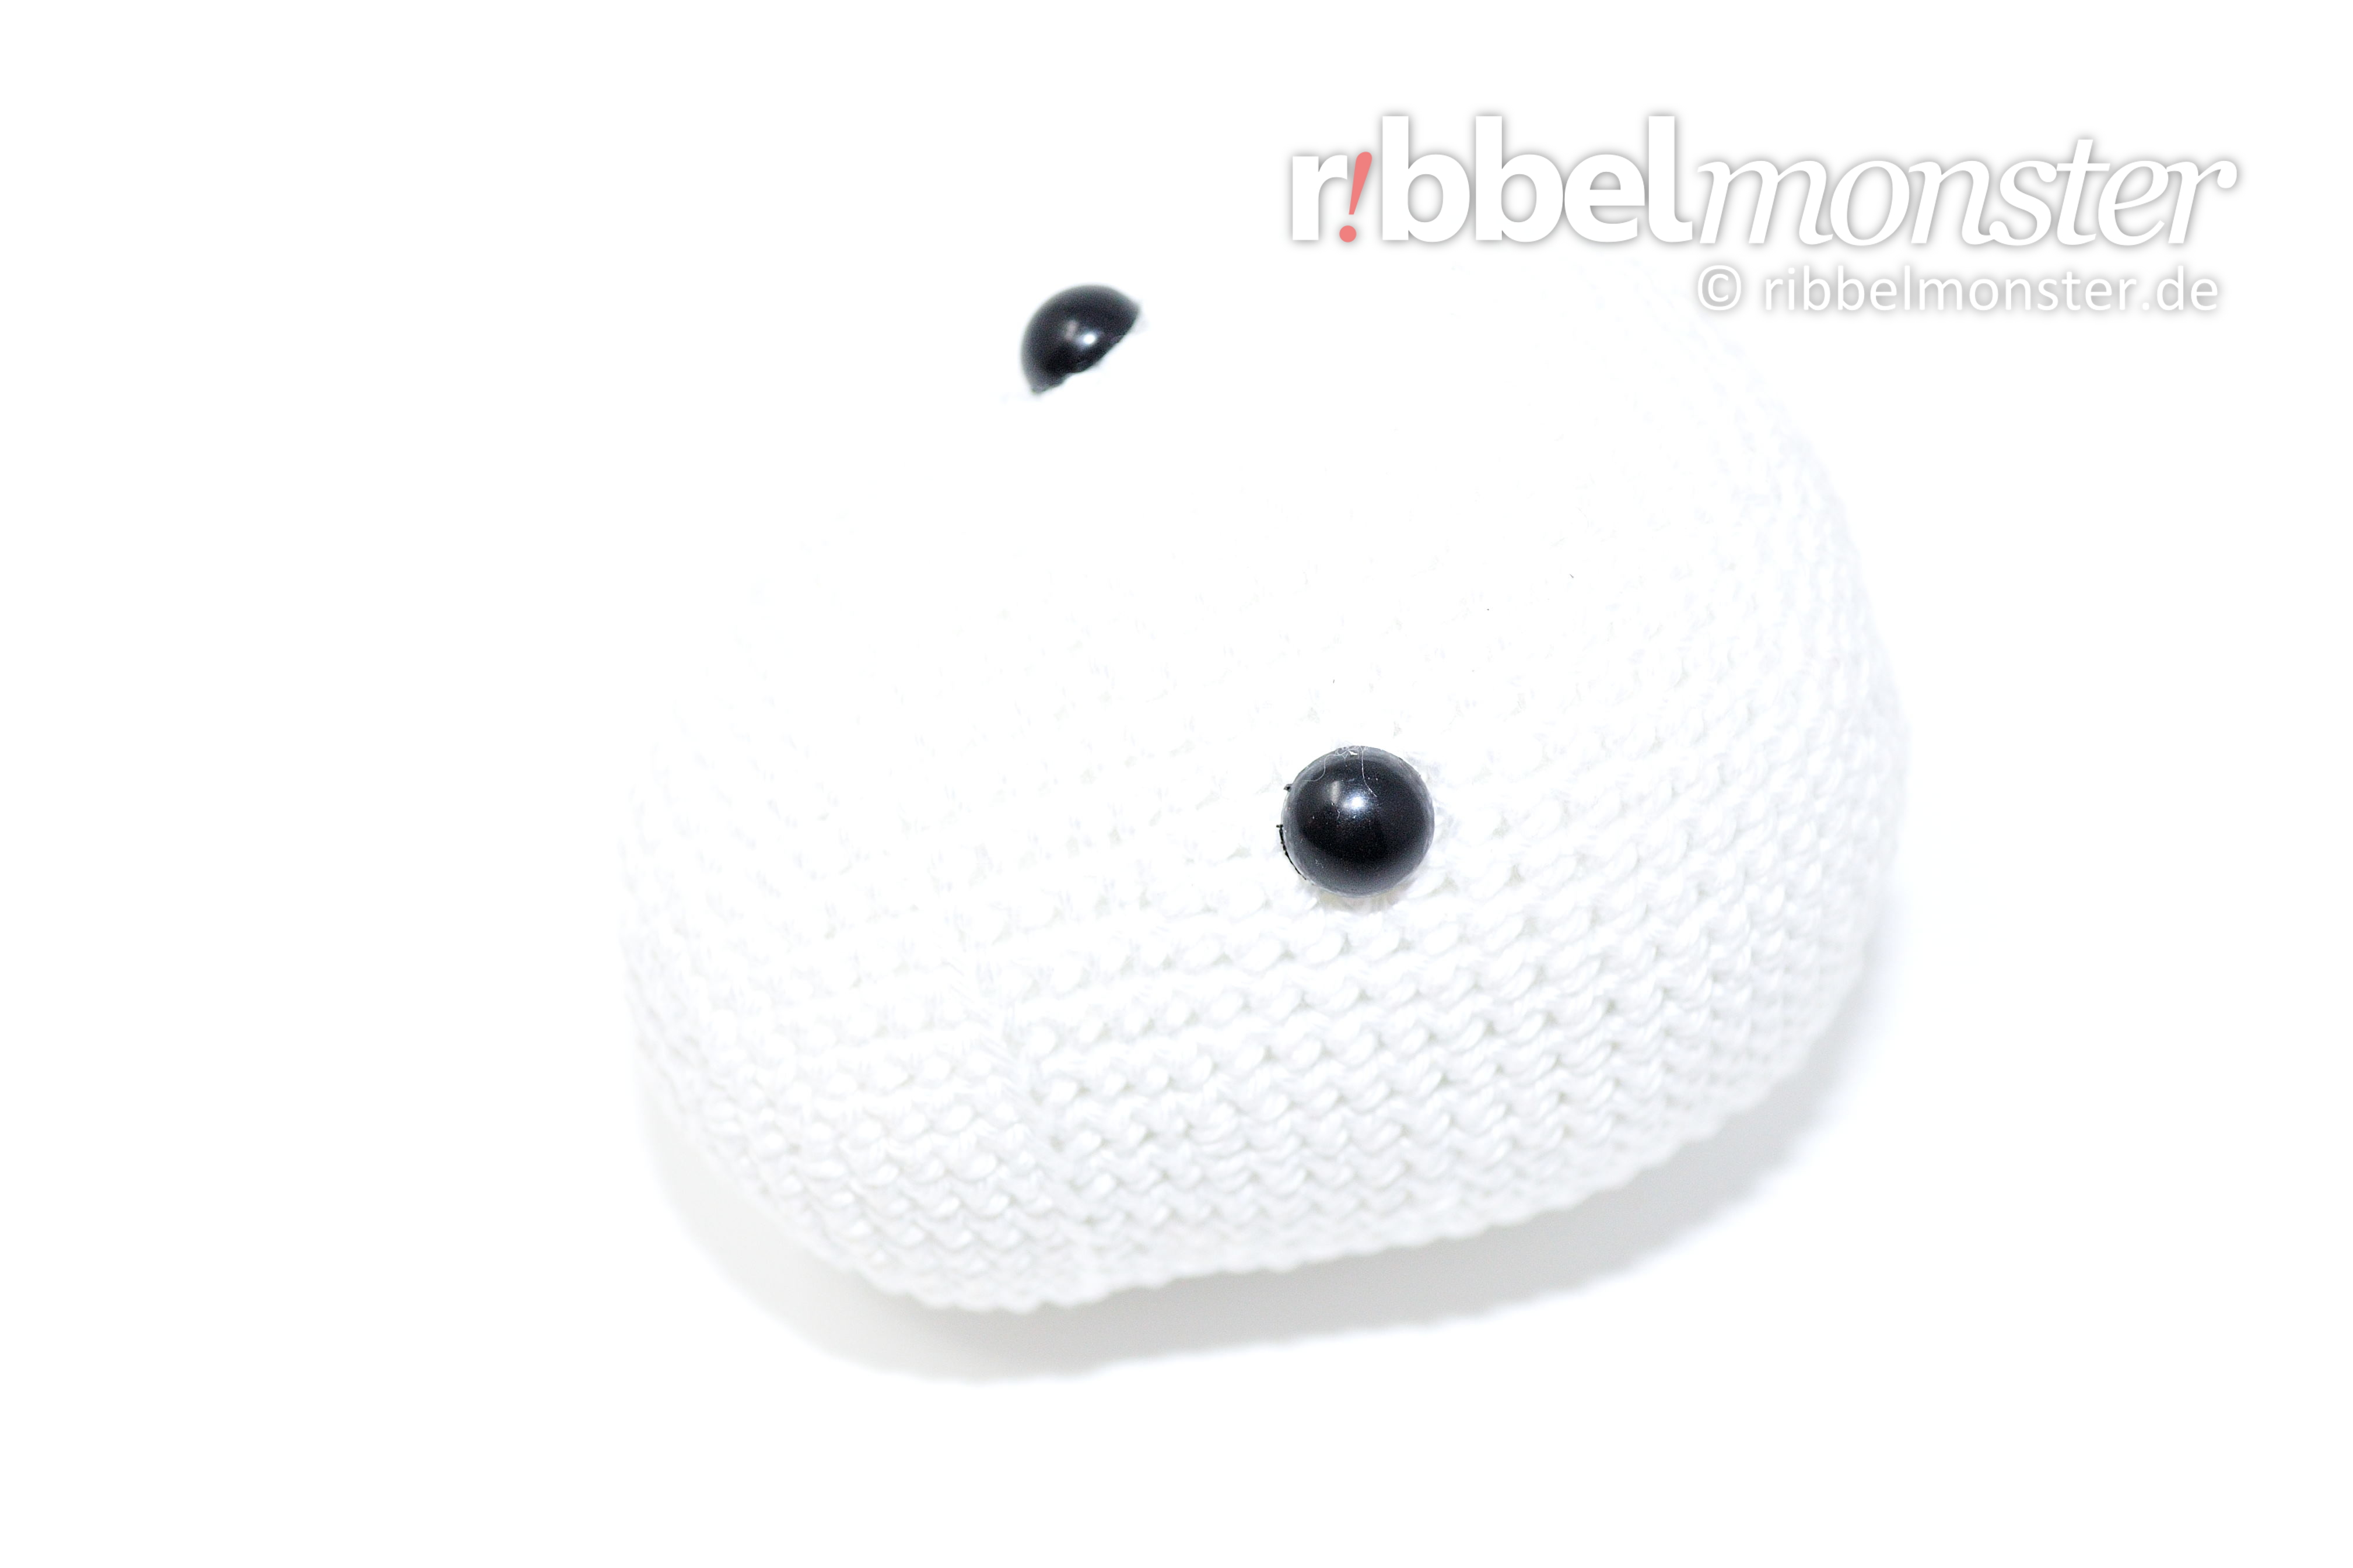
Crochet the head for the unicorn from the tip of the nose to the back of the head with double crochet stitches (UK!) in spiral rounds. Before we finish the head it is filled and finally the remaining opening is closed.
- white:
- 1st round: magic ring + 6 double crochet stitches (UK!) = 6 stitches
- 2nd round: double every stitch = 12 stitches
- 3rd round: double every 2nd stitch = 18 stitches
- 4th round: double every 3rd stitch = 24 stitches
- 5th round: double every 4th stitch = 30 stitches
- 6th round: double every 5th stitch = 36 stitches
- 7th round: double every 6th stitch = 42 stitches
- 8th – 11th round: (= 4 rounds) each stitch one stitch = 42 stitches
- 12th round:
- stitch into back loop only
- each stitch one stitch
- = 42 stitches
- 13th round: each stitch one stitch = 42 stitches
- 14th round: double every 21st stitch = 44 stitches
- 15th round: double every 22nd stitch = 46 stitches
- 16th round: double every 23rd stitch = 48 stitches
- 17th round: double every 24th stitch = 50 stitches
- 18th round: double every 25th stitch = 52 stitches
- 19th round: double every 26th stitch = 54 stitches
- 20th round: double every 27th stitch = 56 stitches
- 21st round: double every 28th stitch = 58 stitches
- 22nd round: double every 29th stitch = 60 stitches
- 23rd – 28th round: (= 6 rounds) each stitch one stitch = 60 stitches
- Attach Safety Eyes, Position:
- after the 19th round
- 10 stitches distance
- 29th round: crochet together every 9th and 10th stitch = 54 stitches
- 30th round: crochet together every 8th and 9th stitch = 48 stitches
- 31st round: crochet together every 7th and 8th stitch = 42 stitches
- 32nd round: crochet together every 6th and 7th stitch = 36 stitches
- 33rd round: crochet together every 5th and 6th stitch = 30 stitches
- 34th round: crochet together every 4th and 5th stitch = 24 stitches
- fill and stuff completely
- 35th round: crochet together every 3rd and 4th stitch = 18 stitches
- 36th round: crochet together every 2nd and 3rd stitch = 12 stitches
- 37th round: crochet together every 1st and 2nd stitch = 6 stitches
- cut the thread generous, pull off the loop, close remaining opening, secure and weave in the thread end
Crochet Unicorn Body (1x)
Crochet the body for the unicorn from bottom to top in spiral rounds with double crochet stitches (UK!). The body is completely filled and stuffed, but not completely closed, but sewn later with the thread end and the opening to the head.
- white:
- 1st round: magic ring + 6 double crochet stitches (UK!) = 6 stitches
- 2nd round: double every stitch = 12 stitches
- 3rd round: double every 2nd stitch = 18 stitches
- 4th round: double every 3rd stitch = 24 stitches
- 5th round: double every 4th stitch = 30 stitches
- 6th round: double every 5th stitch = 36 stitches
- 7th round: double every 6th stitch = 42 stitches
- 8th round: double every 7th stitch = 48 stitches
- 9th round: double every 8th stitch = 54 stitches
- 10th round: double every 9th stitch = 60 stitches
- 11th – 25th round: (= 15 rounds) each stitch one stitch = 60 stitches
- 26th round: crochet together every 29th and 30th stitch = 58 stitches
- 27th round: crochet together every 28th and 29th stitch = 56 stitches
- 28th round: crochet together every 27th and 28th stitch = 54 stitches
- 29th round: crochet together every 26th and 27th stitch = 52 stitches
- 30th round: crochet together every 25th and 26th stitch = 50 stitches
- 31st round: crochet together every 24th and 25th stitch = 48 stitches
- 32nd round: crochet together every 23rd and 24th stitch = 46 stitches
- 33rd round: crochet together every 22nd and 23rd stitch = 44 stitches
- 34th round: crochet together every 21st and 22nd stitch = 42 stitches
- 35th round: crochet together every 20th and 21st stitch = 40 stitches
- 36th round: crochet together every 19th and 20th stitch = 38 stitches
- 37th round: crochet together every 18th and 19th stitch = 36 stitches
- 38th round: crochet together every 17th and 18th stitch = 34 stitches
- 39th round: crochet together every 16th and 17th stitch = 32 stitches
- 40th round: crochet together every 15th and 16th stitch = 30 stitches
- 41st round: crochet together every 14th and 15th stitch = 28 stitches
- 42nd round: crochet together every 13th and 14th stitch = 26 stitches
- 43rd round: crochet together every 12th and 13th stitch = 24 stitches
- 44th round:
- 3x 1 half treble crochet stitch (UK!) into one stitch
- 6x 1 treble crochet stitch (UK!) into one stitch
- 3x 1 half treble crochet stitch (UK!) into one stitch
- 11x 1 double crochet stitch (UK!) into one stitch
- 1x 1 slip stitch into one stitch
- = 24 stitches
- fill and stuff completely
- cut the thread generous, pull off the loop, DONT cut the thread end, will be needed for sewing later
Crochet Unicorn Ears (2x)
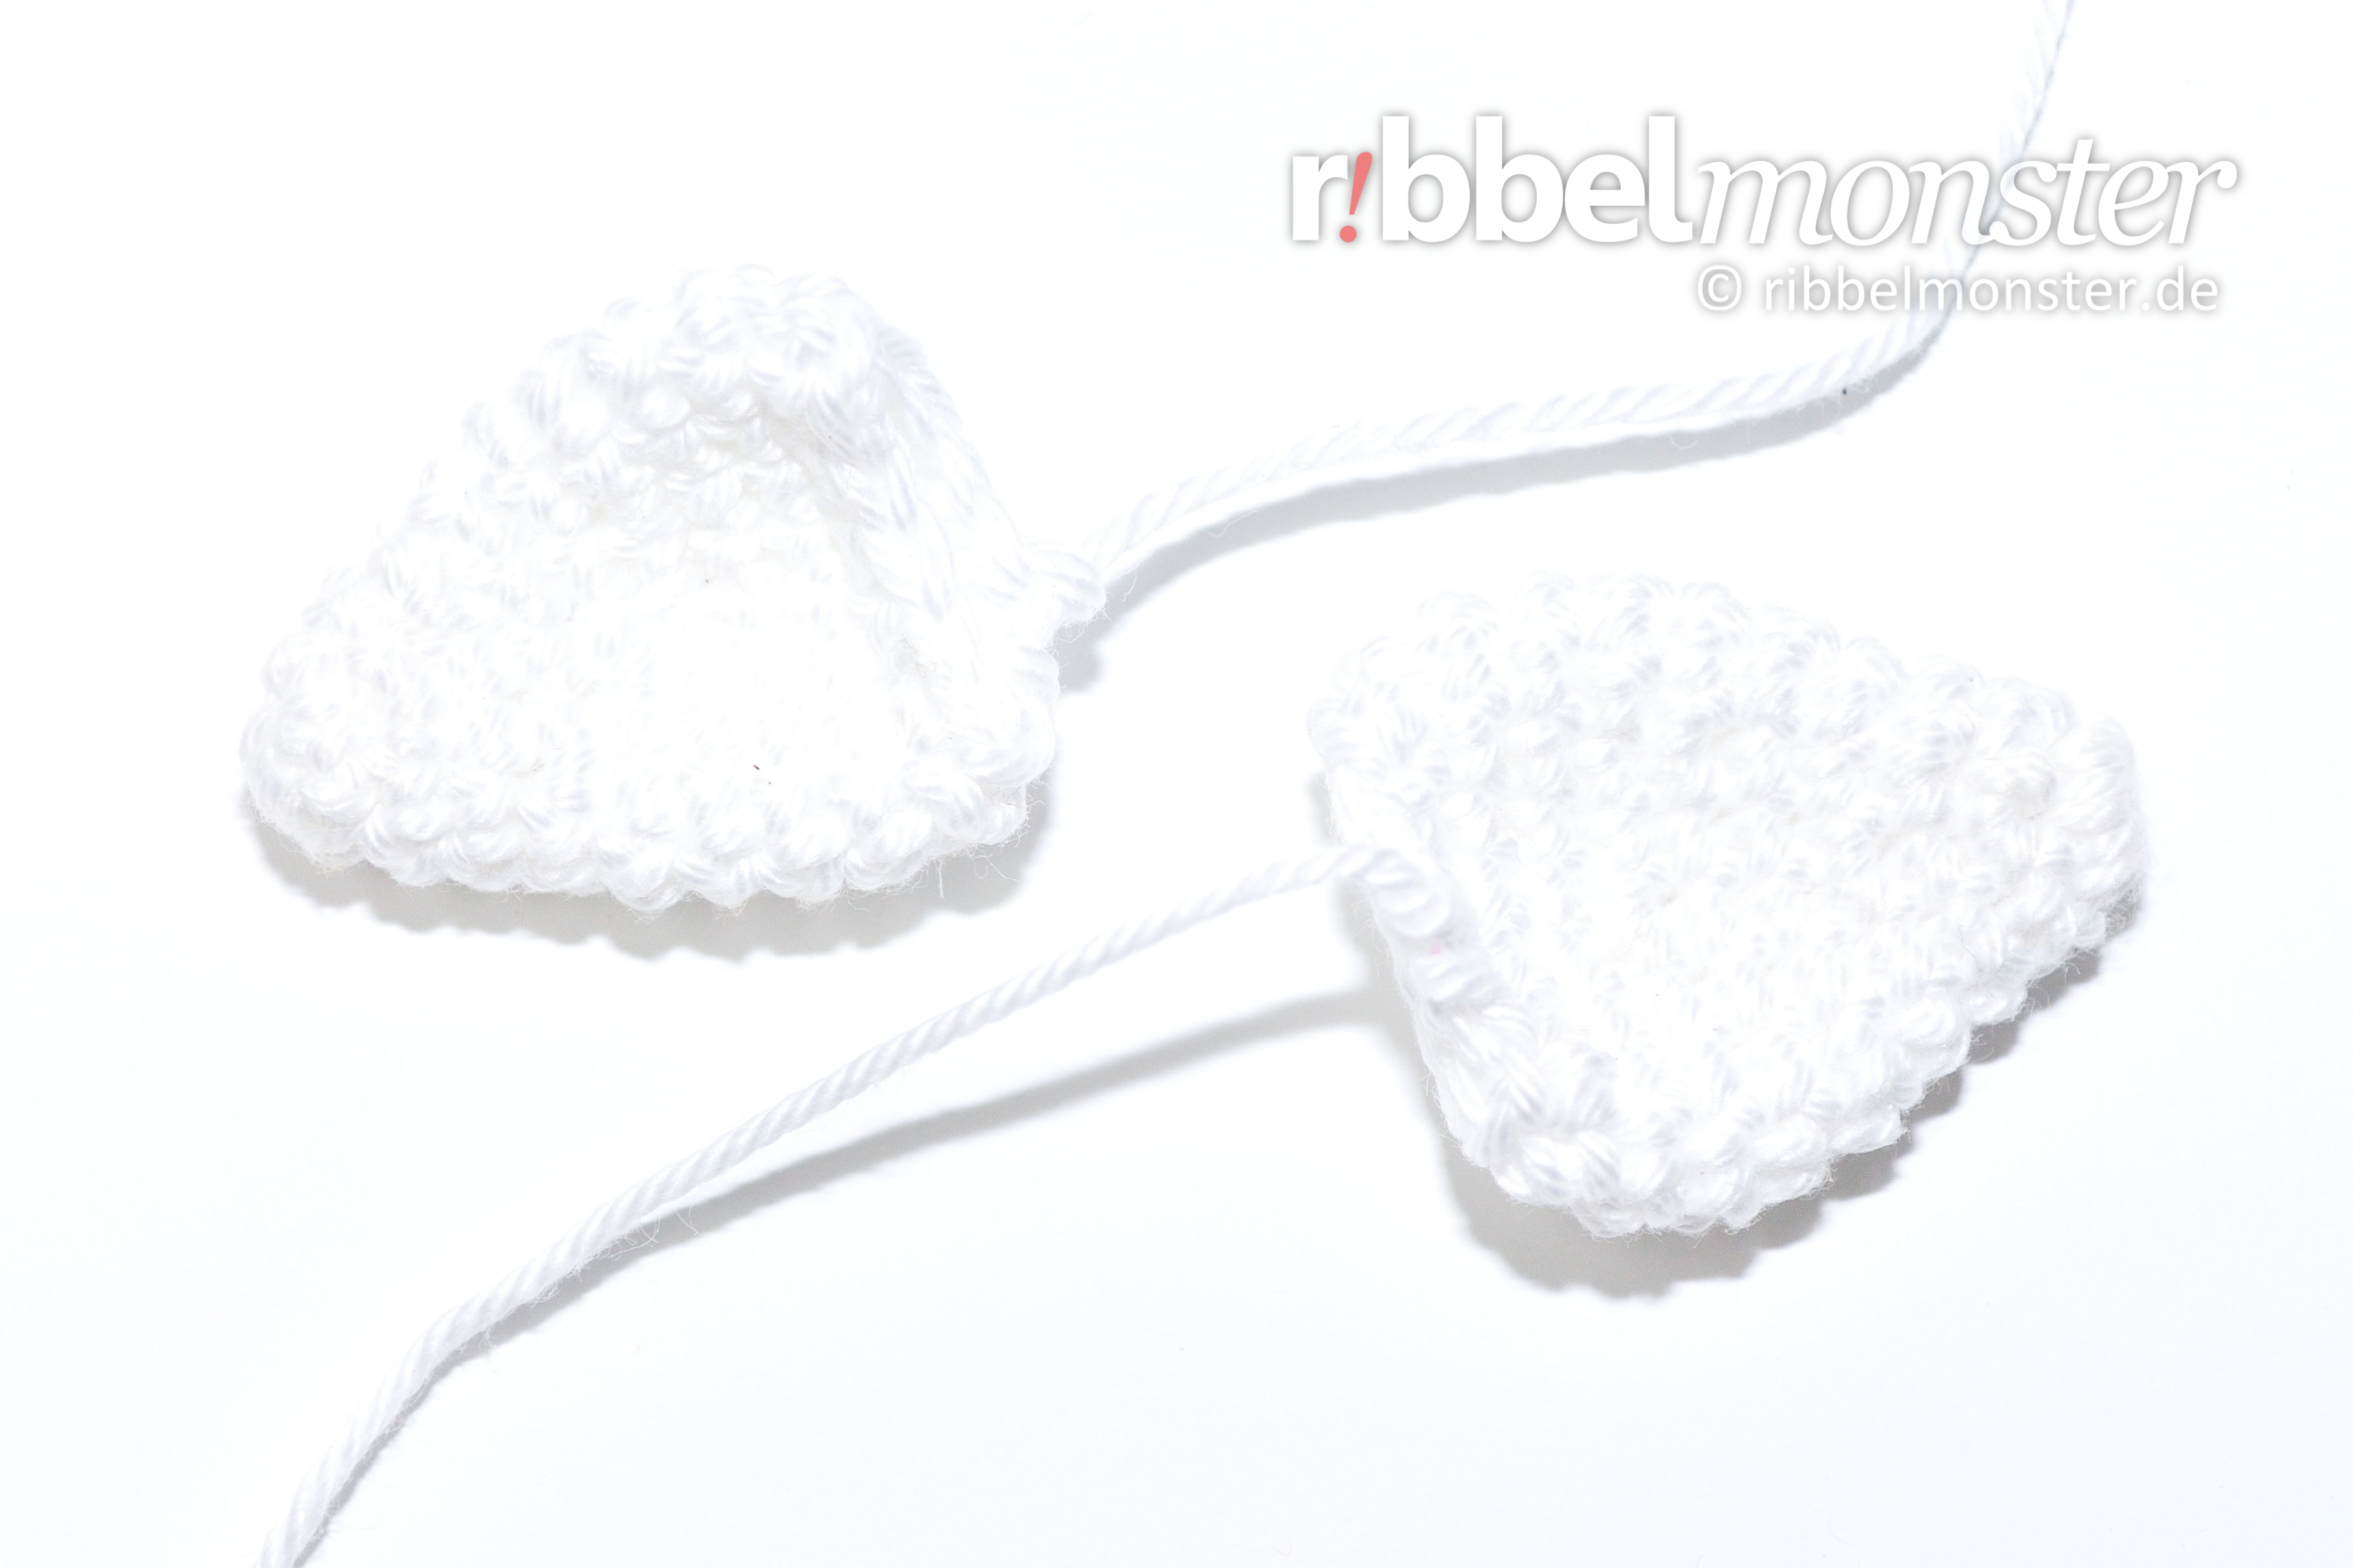
Crochet the ears for the unicorn from the top to the base in spiral rounds with double crochet stitches (UK!). The ears are not filled, but only folded flat and then sewn with the thread end at the opening to the head.
- white:
- 1st round: magic ring + 6 double crochet stitches (UK!) = 6 stitches
- 2nd round: double every 3rd stitch = 8 stitches
- 3rd round: double every 4th stitch = 10 stitches
- 4th round: double every 5th stitch = 12 stitches
- 5th round: double every 6th stitch = 14 stitches
- 6th round: double every 7th stitch = 16 stitches
- 7th round: double every 8th stitch = 18 stitches
- 8th + 9th round: (= 2 rounds) each stitch one stitch = 18 stitches
- 10th round: crochet together every 2nd and 3rd stitch = 12 stitches
- cut the thread generous, pull off the loop, DONT cut the thread end, will be needed for sewing later
Crochet Unicorn Arms (2x)

We crochet the arms for the unicorn from the finger tips to the shoulders with double crochet stitches (UK!) in spiral rounds. The arms will be filled and stuffend and later sewn to the body with the thread end or closed and attached with botton joints.
- grey:
- 1st round: magic ring + 6 double crochet stitches (UK!) = 6 stitches
- 2nd round: double every stitch = 12 stitches
- 3rd round: double every 3rd stitch = 18 stitches
- 4th round: double every 4th stitch = 24 stitches
- 5th round:
- stitch into back loop only
- each stitch one stitch
- = 24 stitches
- 6th round: crochet together every 11th and 12th stitch = 22 stitches
- 7th round: crochet together every 10th and 11th stitch = 20 stitches
- 8th round: crochet together every 9th and 10th stitch = 18 stitches
- 9th round: each stitch one stitch = 18 stitches
- white:
- 10th – 22nd round: (= 13 rounds) each stitch one stitch = 18 stitches
- 23rd round: crochet together every 17th and 18th stitch = 17 stitches
- 24th – 26th round: (= 3 rounds) each stitch one stitch = 17 stitches
- 27th round: crochet together every 16th and 17th stitch = 16 stitches
- 28th – 30th round: (= 3 rounds) each stitch one stitch = 16 stitches
- 31st round: crochet together every 15th and 16th stitch = 15 stitches
- 32nd – 34th round: (= 3 rounds) each stitch one stitch = 15 stitches
- fill and stuff completely
- 35th round: crochet together every 4th and 5th stitch = 12 stitches
- without button joints:
- cut the thread generous, pull off the loop, DONT cut the thread end, will be needed for sewing later
- with button joints:
- 36th round: crochet together every 1st and 2nd stitch = 6 stitches
- cut the thread generous, pull off the loop, close remaining opening, secure and weave in the thread end
Crochet Unicorn Legs (2x)

We crochet the legs for the unicorn from the toe tips to the hips with double crochet stitches (UK!) in spiral rounds. The legs will be filled and stuffend and later sewn to the body with the thread end or closed and attached with botton joints.
- grey:
- 1st round: magic ring + 6 double crochet stitches (UK!) = 6 stitches
- 2nd round: double every stitch = 12 stitches
- 3rd round: double every 3rd stitch = 18 stitches
- 4th round: double every 4th stitch = 24 stitches
- 5th round: double every 5th stitch = 30 stitches
- 6th round:
- stitch into back loop only
- each stitch one stitch
- = 30 stitches
- 7th round: each stitch one stitch = 30 stitches
- 8th round: crochet together every 14th and 15th stitch = 28 stitches
- 9th round: crochet together every 13th and 14th stitch = 26 stitches
- 10th round: crochet together every 12th and 13th stitch = 24 stitches
- 11th round: each stitch one stitch = 24 stitches
- white:
- 12th – 24th round: (= 13 rounds) each stitch one stitch = 24 stitches
- 25th round: crochet together every 23rd and 24th stitch = 23 stitches
- 26th round: each stitch one stitch = 23 stitches
- 27th round: crochet together every 22nd and 23rd stitch = 22 stitches
- 28th round: each stitch one stitch = 22 stitches
- 29th round: crochet together every 21st and 22nd stitch = 21 stitches
- 30. Runde: each stitch one stitch = 21 stitches
- 31st round: crochet together every 21st and 22nd stitch = 20 stitches
- 32nd round: each stitch one stitch = 20 stitches
- 33rd round: crochet together every 21st and 22nd stitch = 19 stitches
- 34th round: each stitch one stitch =19 stitches
- 35th round: crochet together every 21st and 22nd stitch = 18 stitches
- 36th round: each stitch one stitch = 18 stitches
- fill and stuff completely
- 37th round: crochet together every 2nd and 3rd stitch = 12 stitches
- without button joints:
- cut the thread generous, pull off the loop, DONT cut the thread end, will be needed for sewing later
- with button joints:
- 38th round: crochet together every 1st and 2nd stitch = 6 stitches
- cut the thread generous, pull off the loop, close remaining opening, secure and weave in the thread end
Crochet Unicorn Horn (1x)
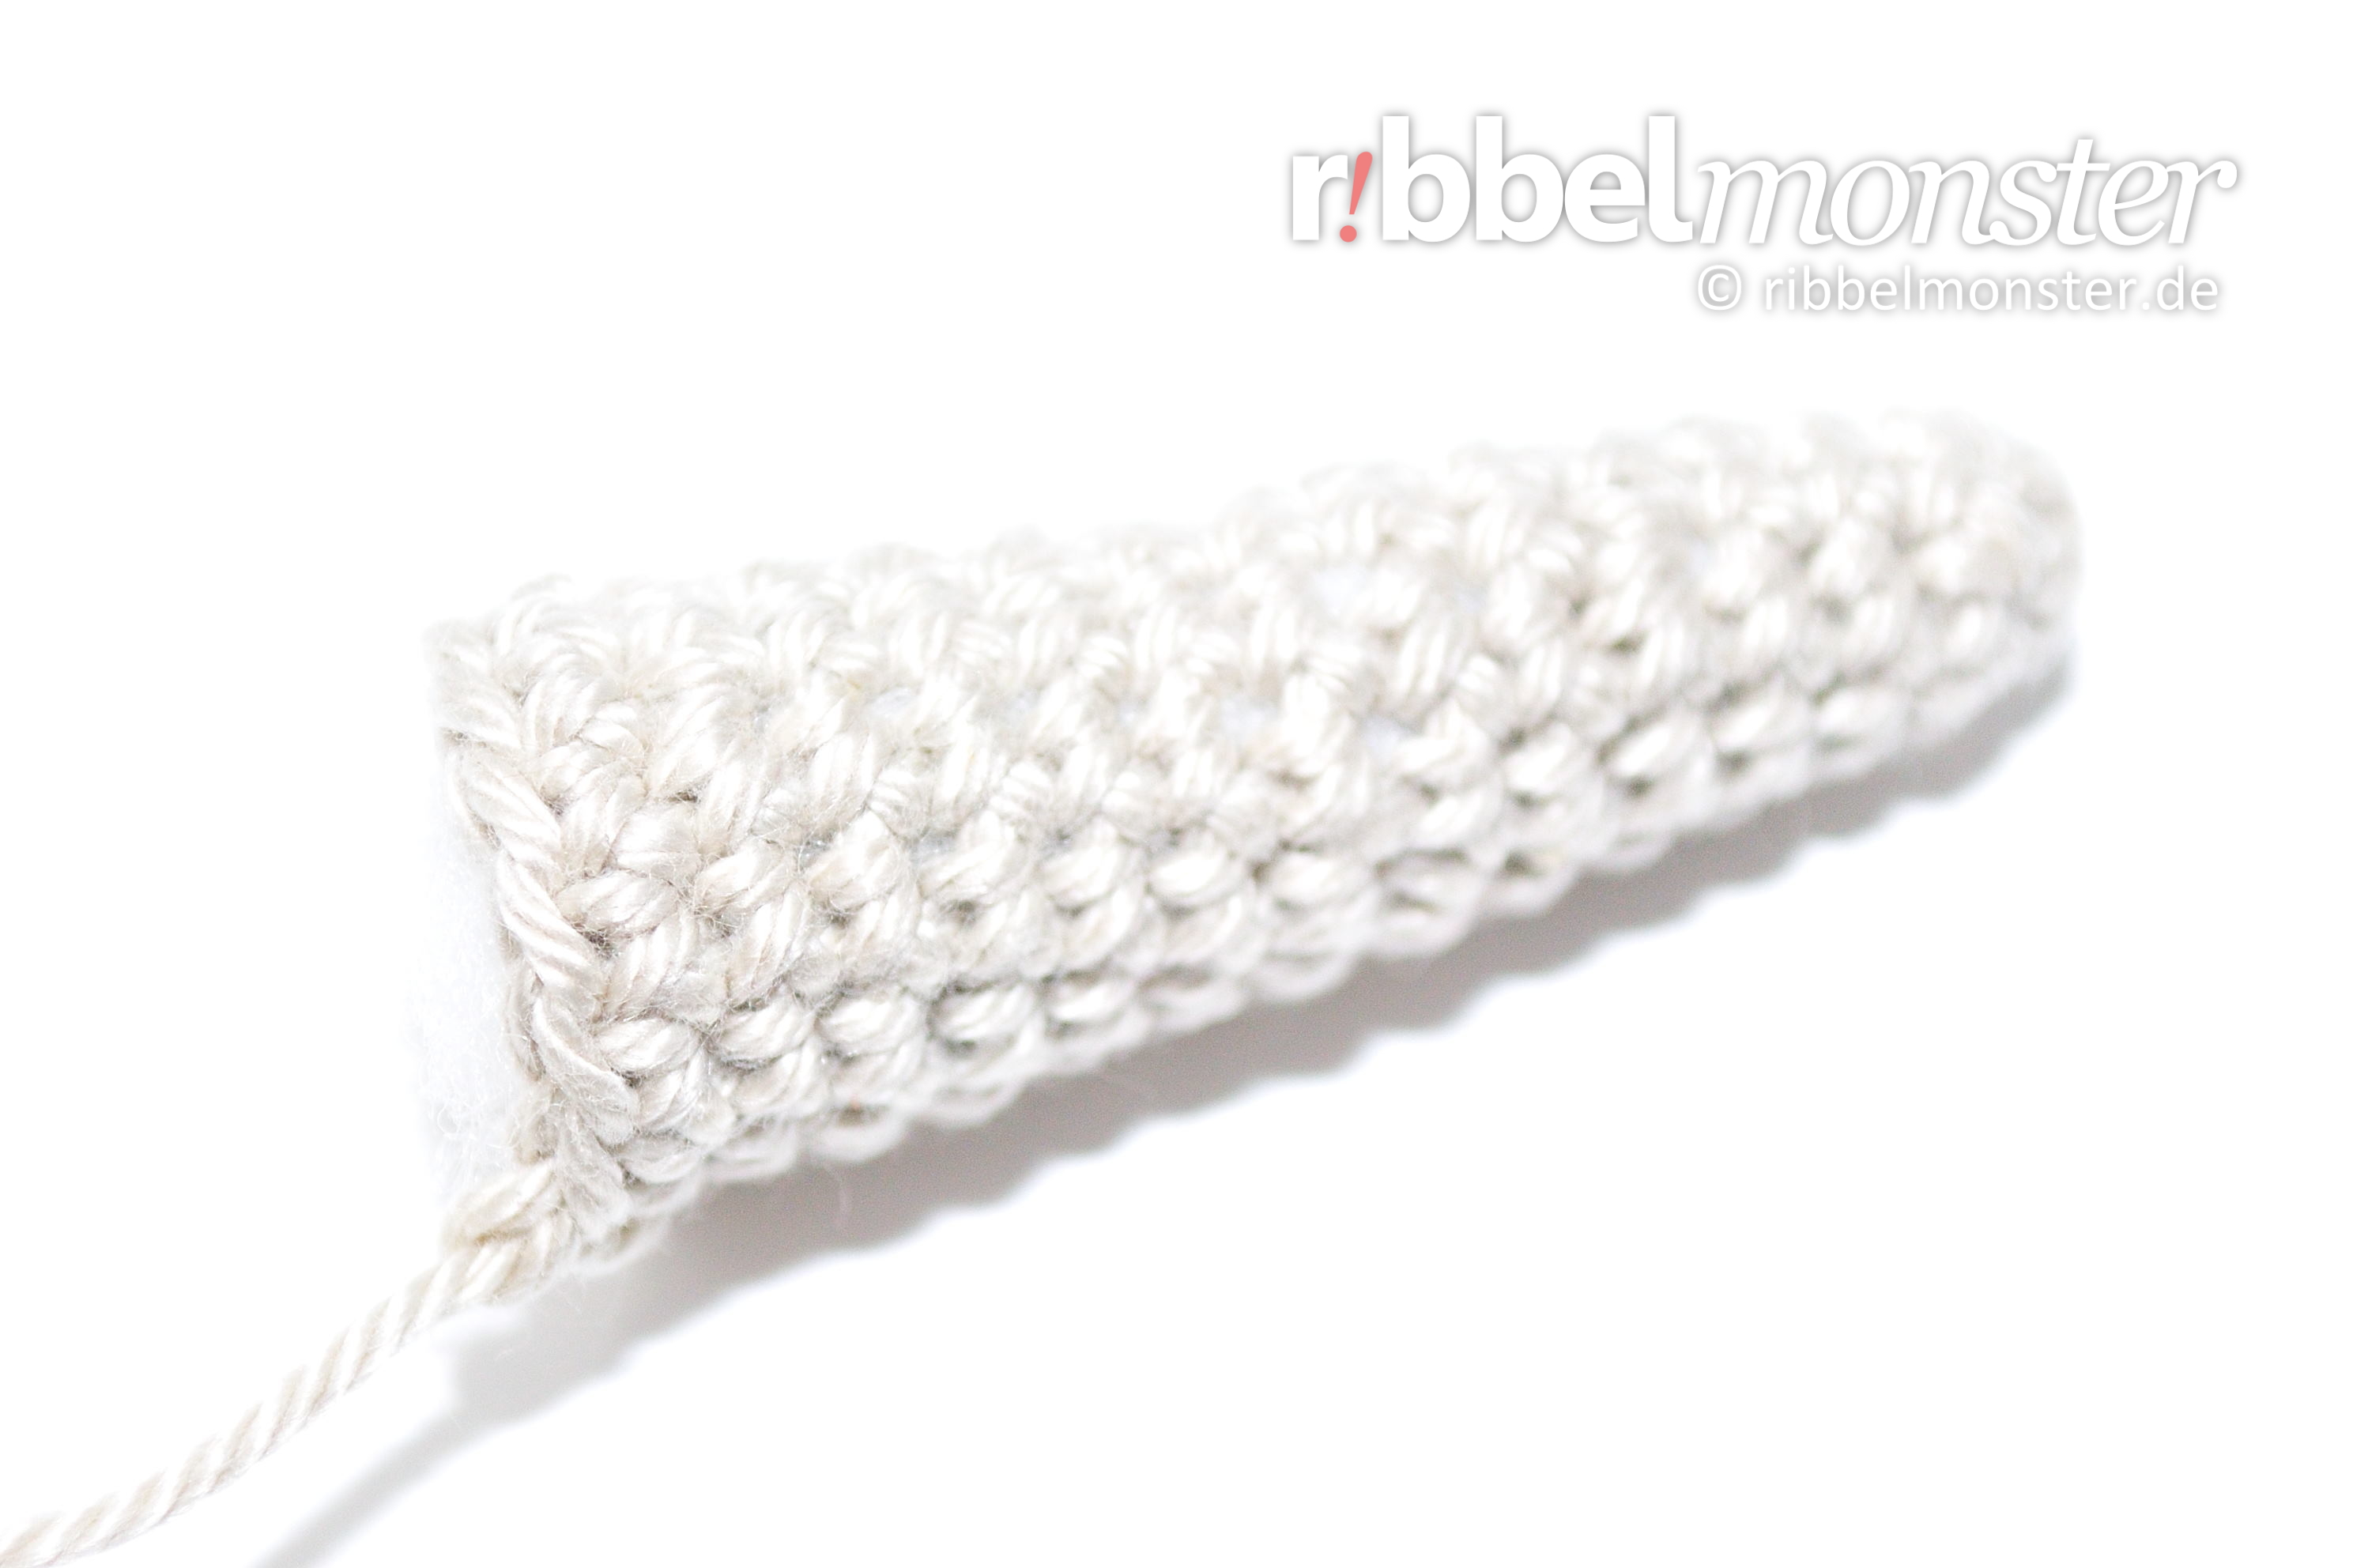
Crochet the horn for our unicorn from the top to the neck in spiral rounds with double crochet stitches (UK!). The horn is completely filled and later sewn with the opening to the head.
- grey:
- 1st round: magic ring + 6 double crochet stitches (UK!) = 6 stitches
- 2nd round: each stitch one stitch = 6 stitches
- 3rd round: double every 6th stitch = 7 stitches
- 4th round: each stitch one stitch = 7 stitches
- 5th round: double every 7th stitch = 8 stitches
- 6th round: each stitch one stitch = 8 stitches
- 7th round: double every 8th stitch = 9 stitches
- 8th round: each stitch one stitch = 9 stitches
- 9th round: double every 9th stitch = 10 stitches
- 10th round: each stitch one stitch = 10 stitches
- 11th round: double every 10th stitch = 11 stitches
- 12th round: each stitch one stitch = 11 stitches
- 13th round: double every 11th stitch = 12 stitches
- 14th round: each stitch one stitch = 12 stitches
- fill and stuff completely
- cut the thread generous, pull off the loop, DONT cut the thread end, will be needed for sewing later
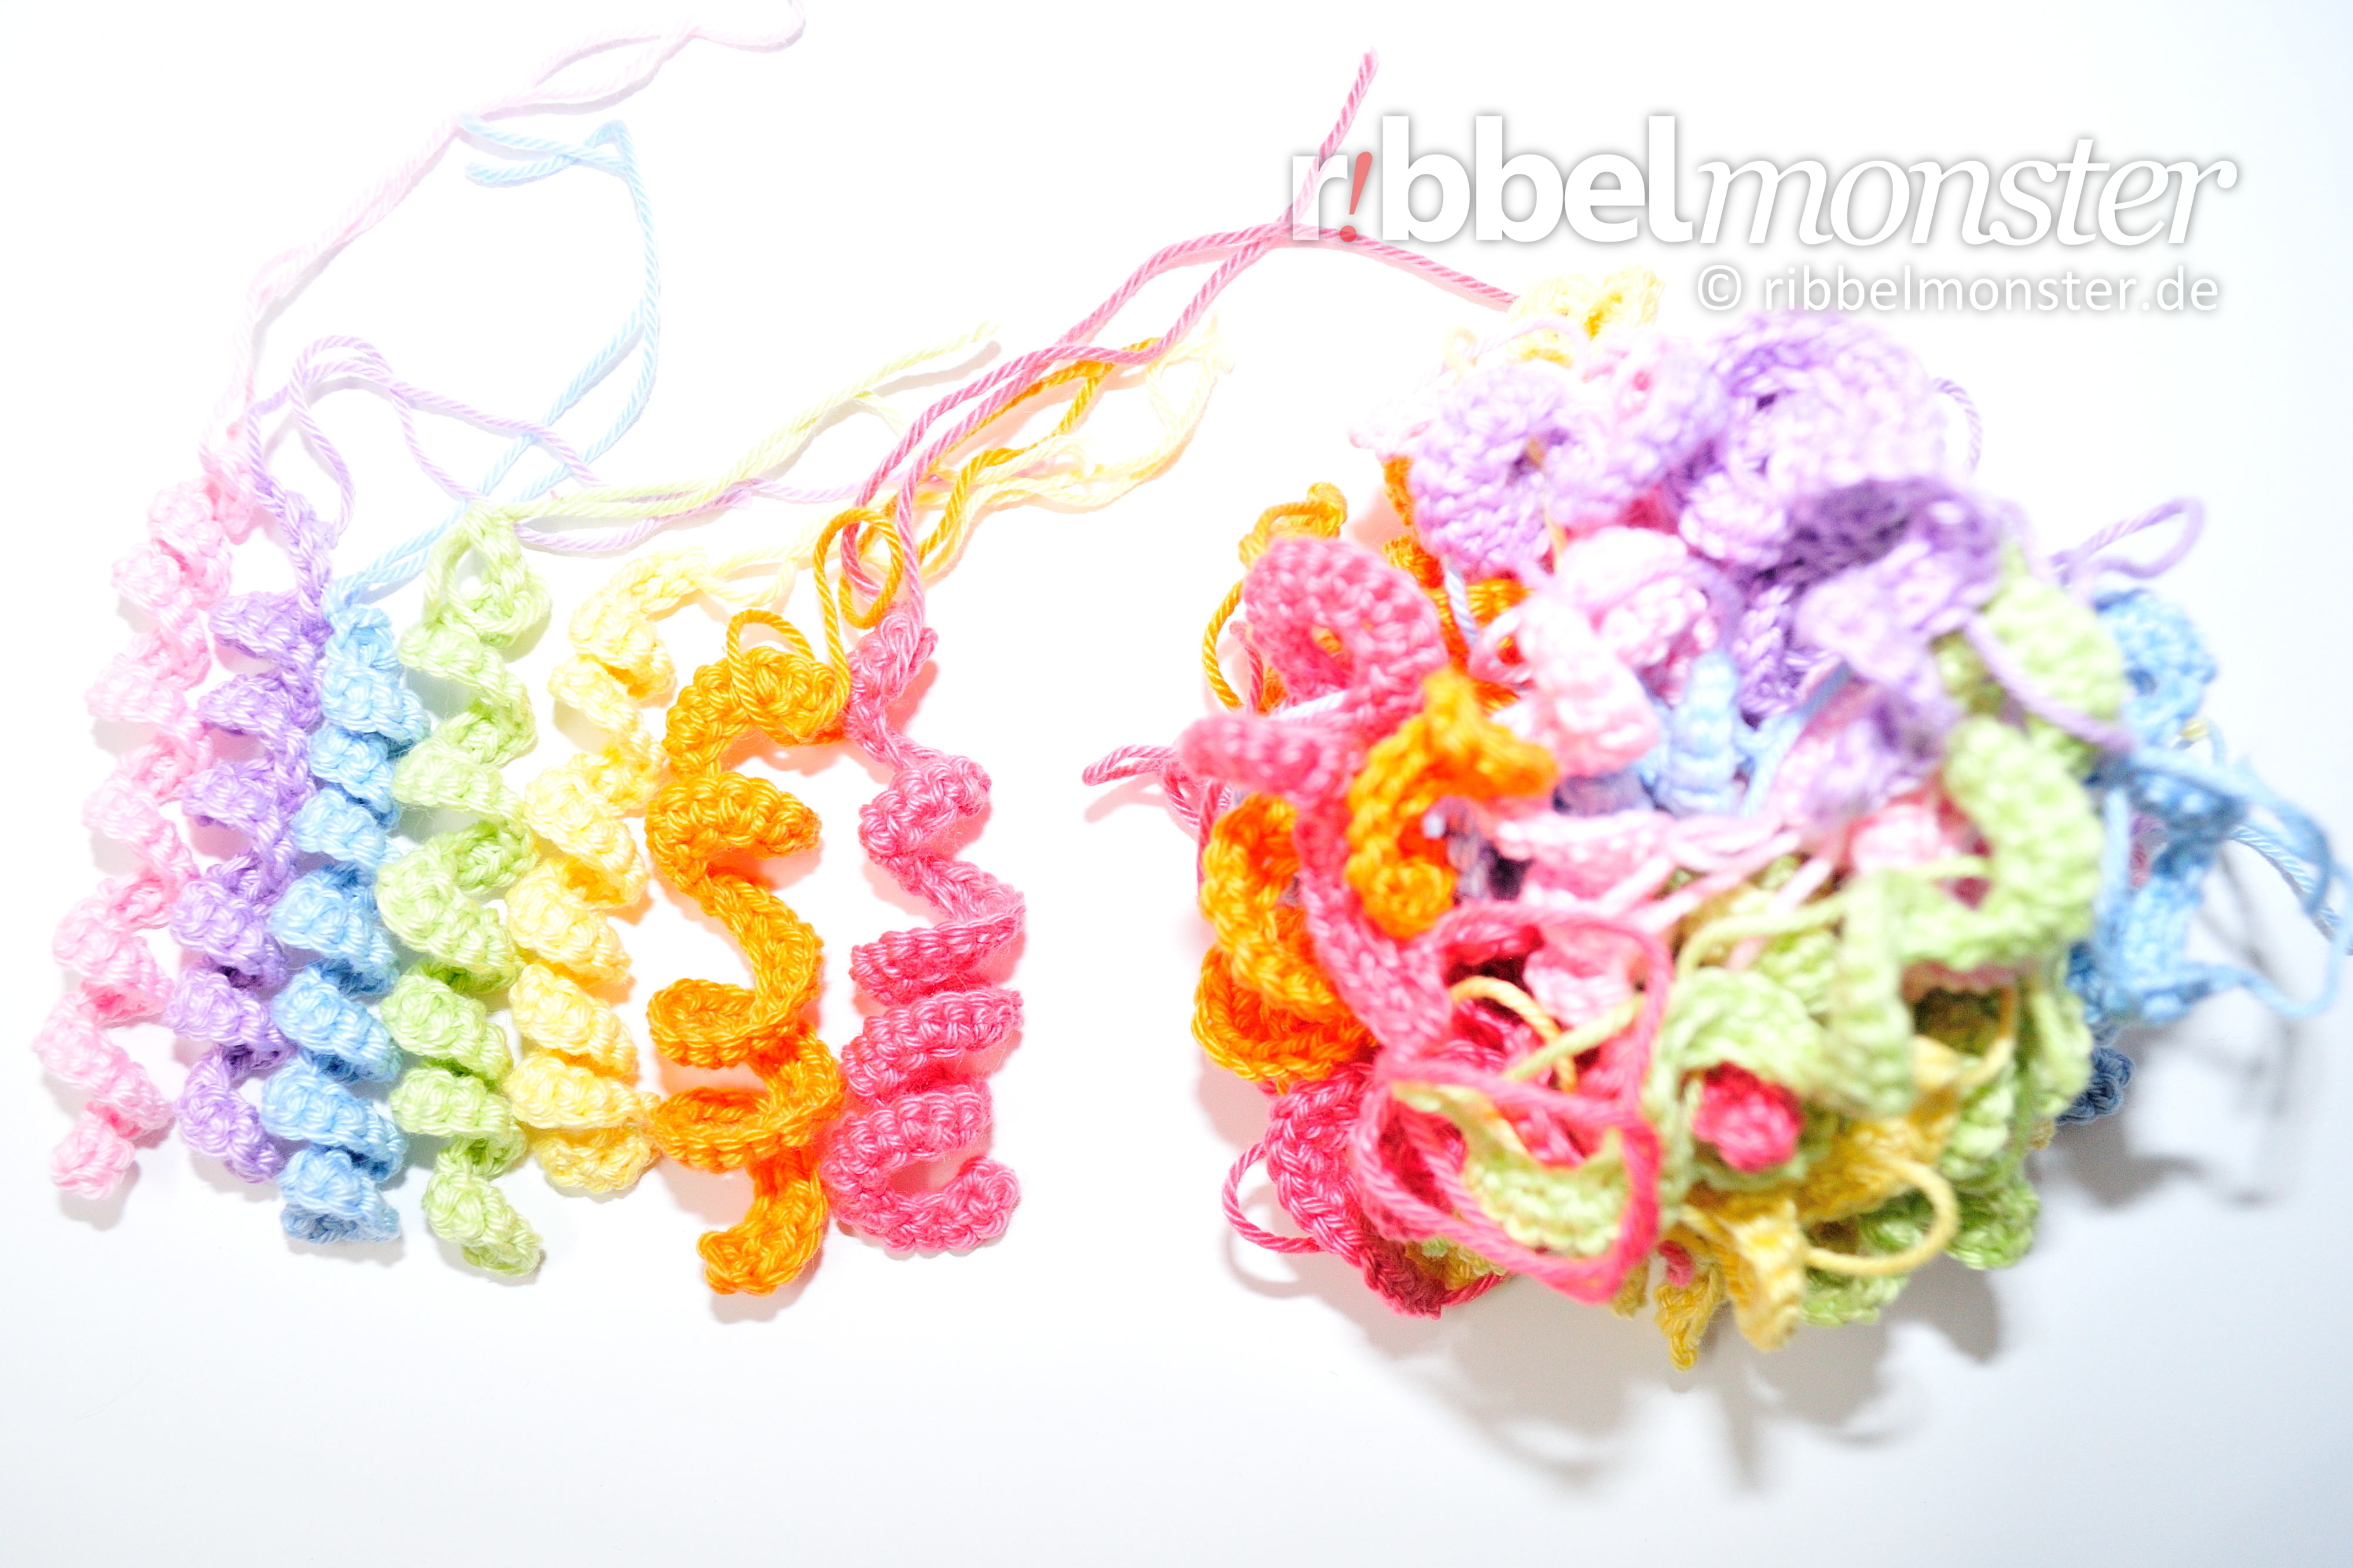
Crochet Unicorn Mane and Tail (7×10)
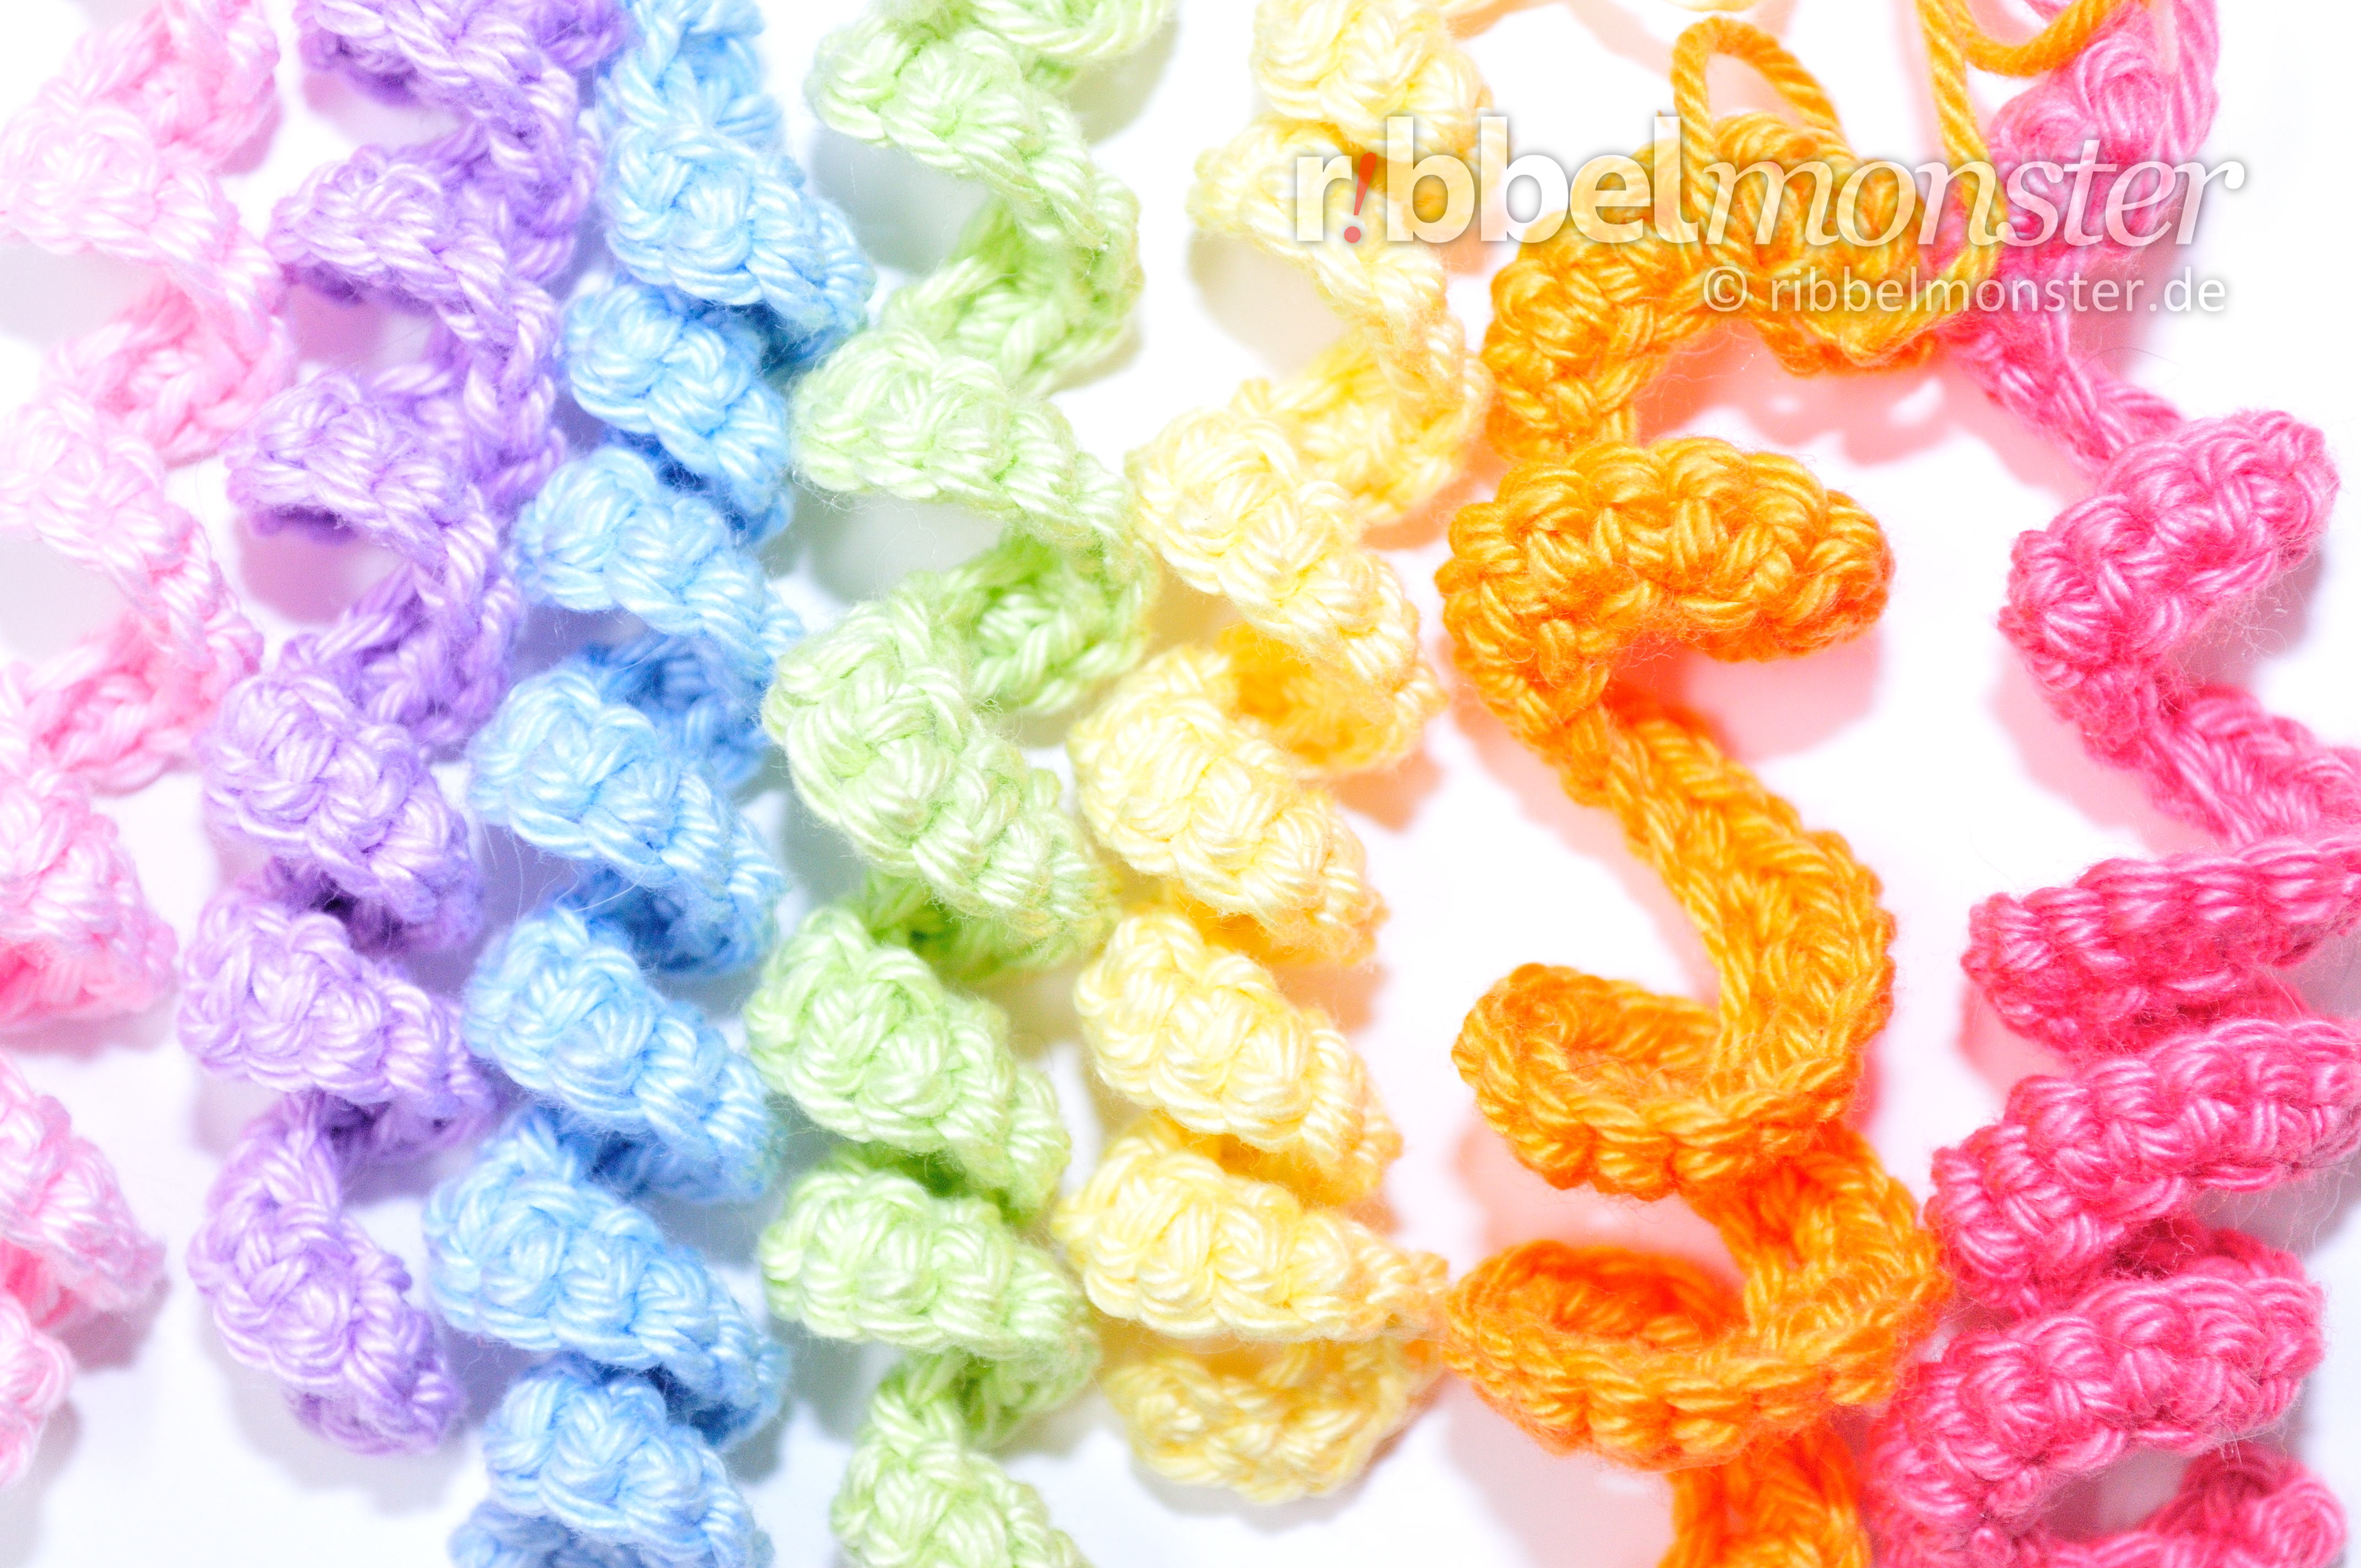
As a mane and tail for our unicorn we crochet 10 curled strands per color in 2 rows of chain stitches and double crochet stitches (UK!) in 2 rows each.
- 10x each in rose, lavender, blue, green, yellow, orange and red:
- 1st row: 36 chain stitches + 1 lifting-chain stitches = 36 stitches
- 2nd row: always double crochet stitches (UK!), double every stitch = 72 stitches
- cut the thread generous, pull off the loop, DONT cut the thread end, will be needed for sewing later
Finish Unicorn “Hoppala”
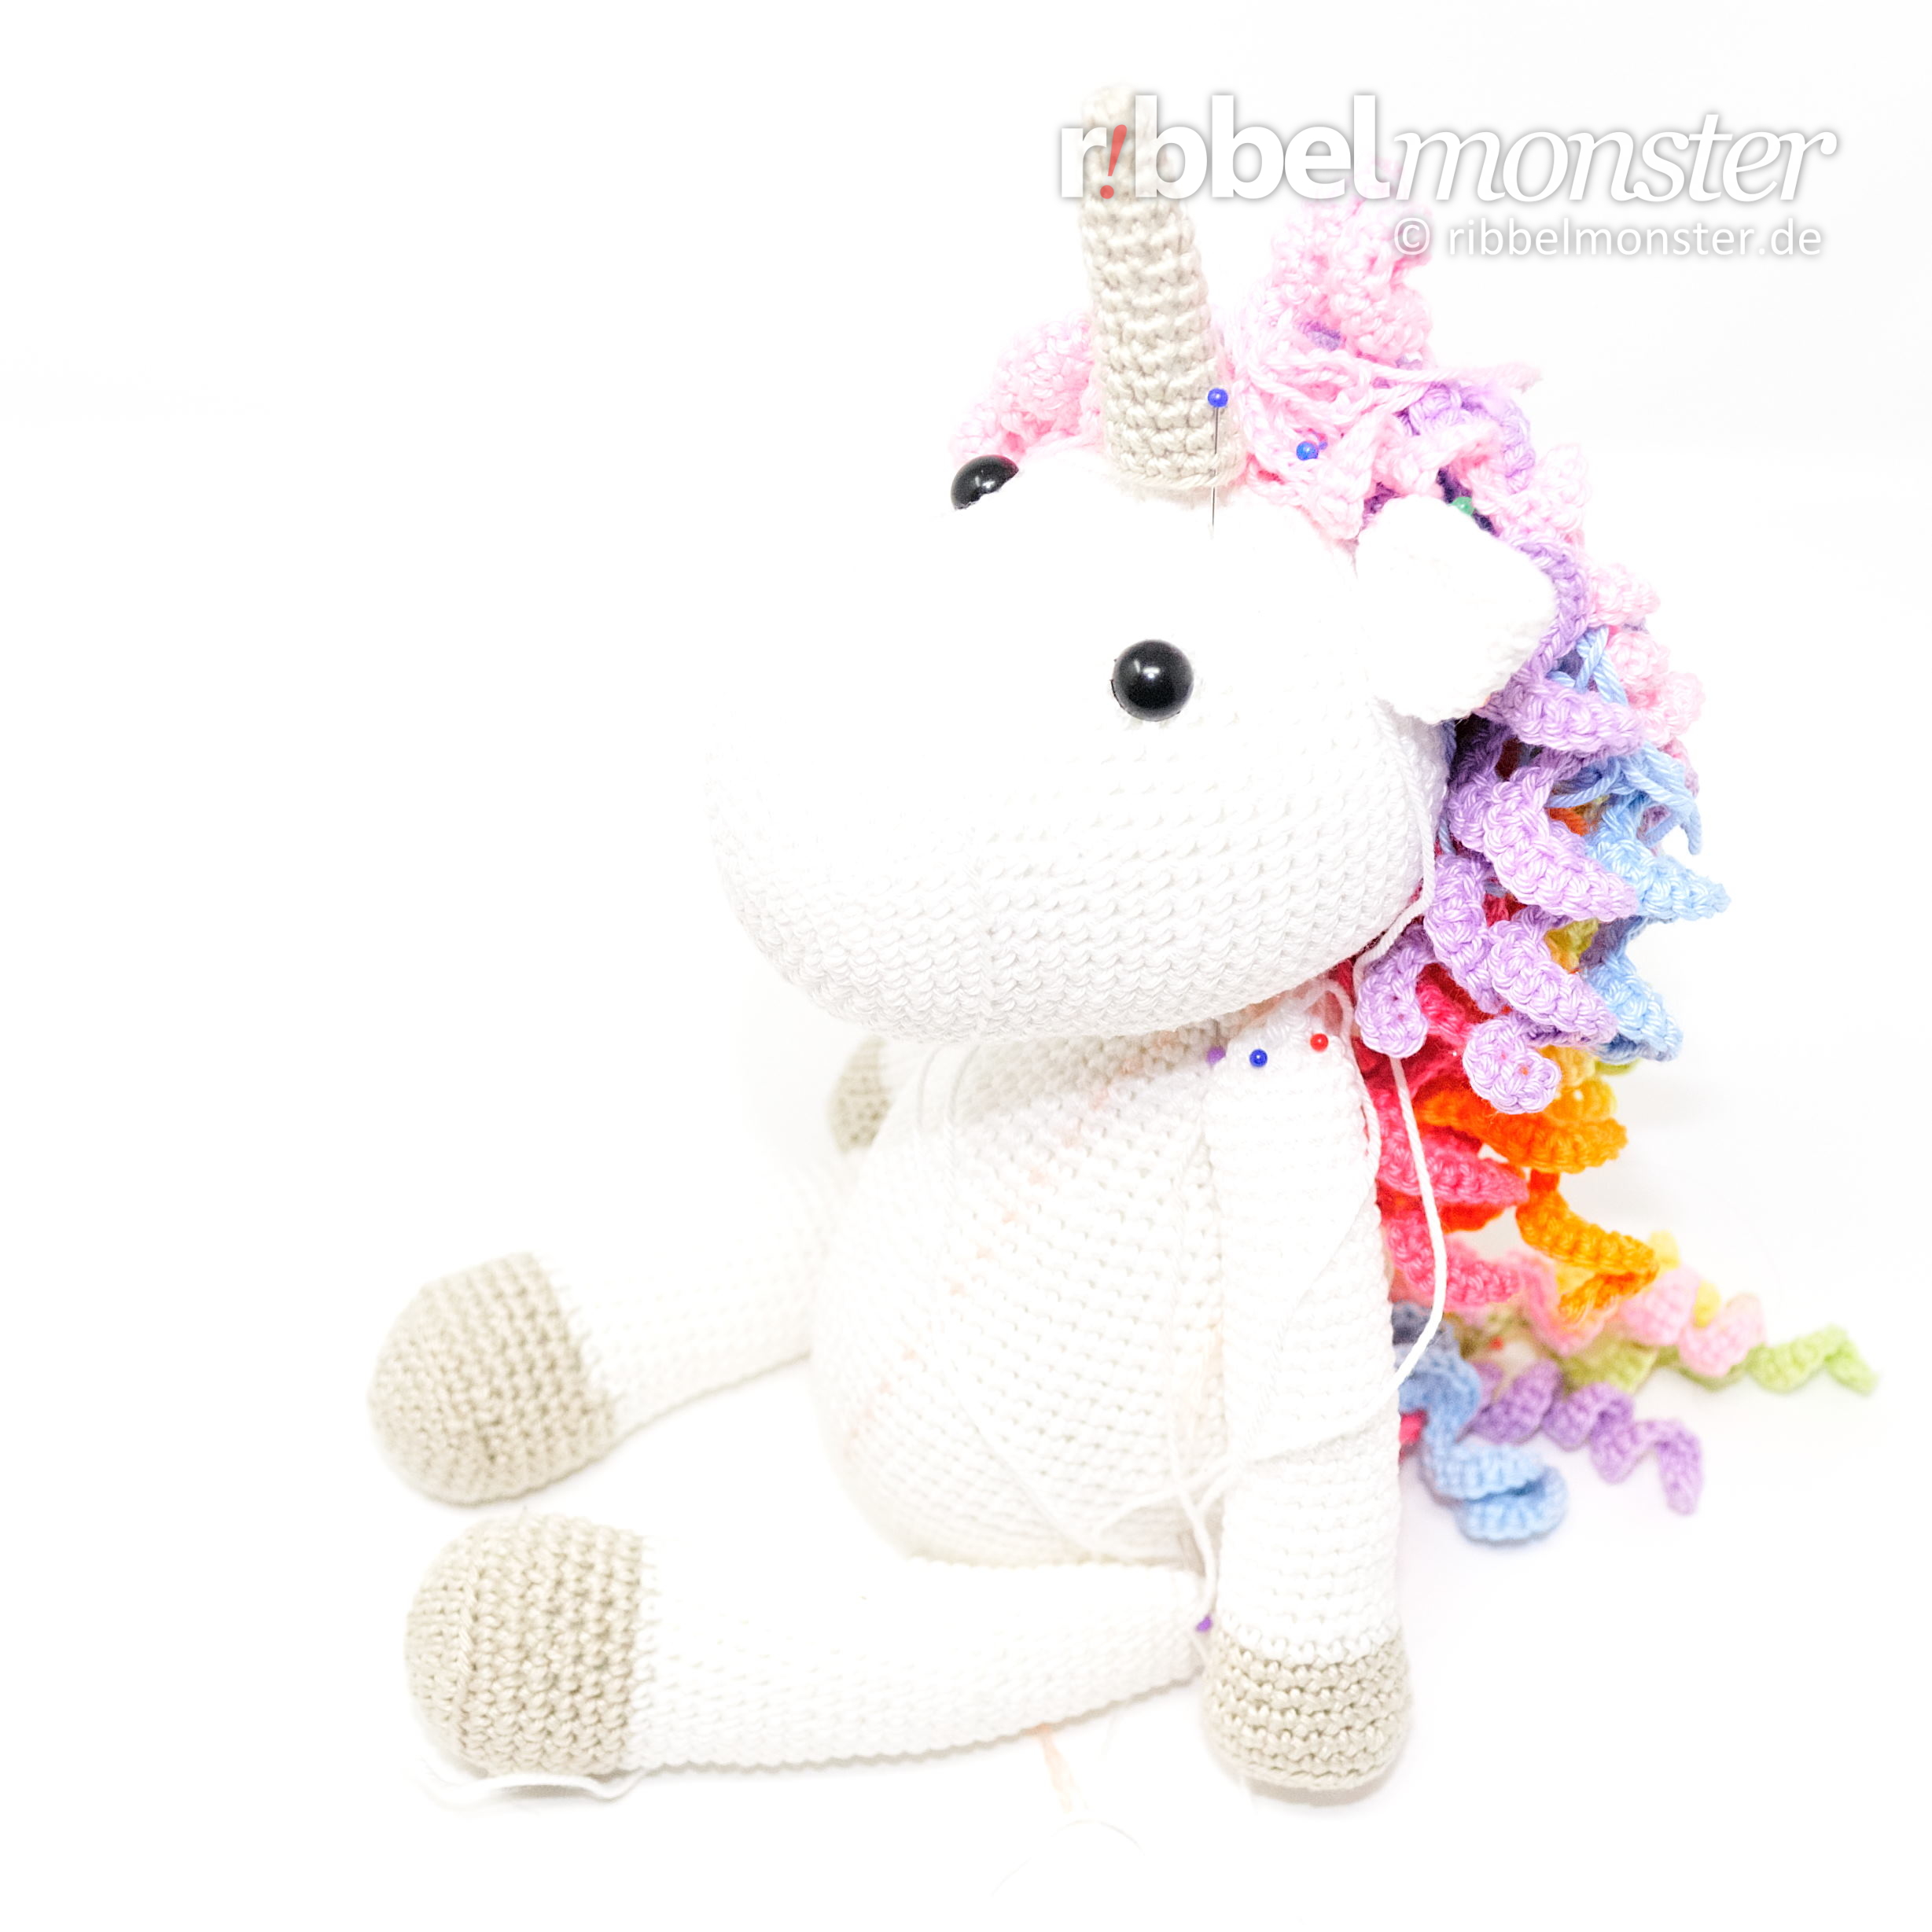
After you’ve finished crocheting all the parts, you can sew your unicorn together. For this you first put all parts together with pins. So you see if the positions are ok and can still easily make changes.
Next we sew the body with the opening from the neck to the head. The neck sits approximately between the 20th and 29th round in the middle of the bottom of the head. The middle between the 6 treble crochet stitches (UK!) at the neck sits at the back and the middle between the eyes at the top. You can follow the tutorial for sewing open parts to closed parts.
Then we sew the horn with the thread end once around to the head. For this purpose first attach it with pins. It sits exactly in the middle of the eyes after the 19th round. Now you can sew the horn piece by piece. Before closing the horn may be filled and stuffed again. Finally you secure the thread end inside.
Then the ears are folded flat and sewn with the thread ends with the opening to the head. They sit in a line around the 25th round on top of the head exactly centered with about 8 stitches distance behind the eyes. When the ears are finished, the thread ends are secured inside the head.
Now mark the middle over the front of the body to place the arms and the legs at the same distance right and left of it.
Without button joints: The arms and legs are sewn to the body with the flat folded opening and the respective thread ends. Fold the top of the arms so that the break line runs in a line to the palms. The legs are fold the other way so that the break line runs through the middle of the foot tips. It is best to attach the arms and legs first with pins to check the positions. The arms are sewn with the flat-folded opening horizontally around the 39th round and have 14 stitches distance on the front. The legs on the other hand, are sewn with the flat-folded opening perpendicular to the center of the 13th round with 29 stitches at the front, while the toes point upwards. Finally, the thread ends are secured and weaved in inside the body.
With button joints: The arms and legs are attached paired with button joints to the body using a separate thread and buttons. It is best to first mark the respective entry holes with pins in order to hit the positions exactly. The entry holes of the arms sit after the 39th round and have 14 stitches distance on the front. The entry holes of the legs sit after the 13th round with a distance of 29 stitches on the front, while the toes point forward and up. If you have no idea how to make button joints, the tutorial for button joints will help you.
Now we tie mane and tail to head and body. To tie you use the two ends of the strands. If you’ve never done that before, you might find it helpful to follow up the tutorial to tie on small parts.

We start with the mane on the head and mark first with pins a line starting from the 25th round center between the ears over the entire back of the head. Afterwards, we will only tie up the central strands along this line. We start with pink and tie one strand in the middle after round 25, 26 and 27 respectively. This will continue with purple, blue, green, yellow, orange and red until we arrive at the back of the head. Now all we have to do is tie another strand in the same color on the right and left. Here we work again from the ears to the back of the head and automatically get a straight centered mane.
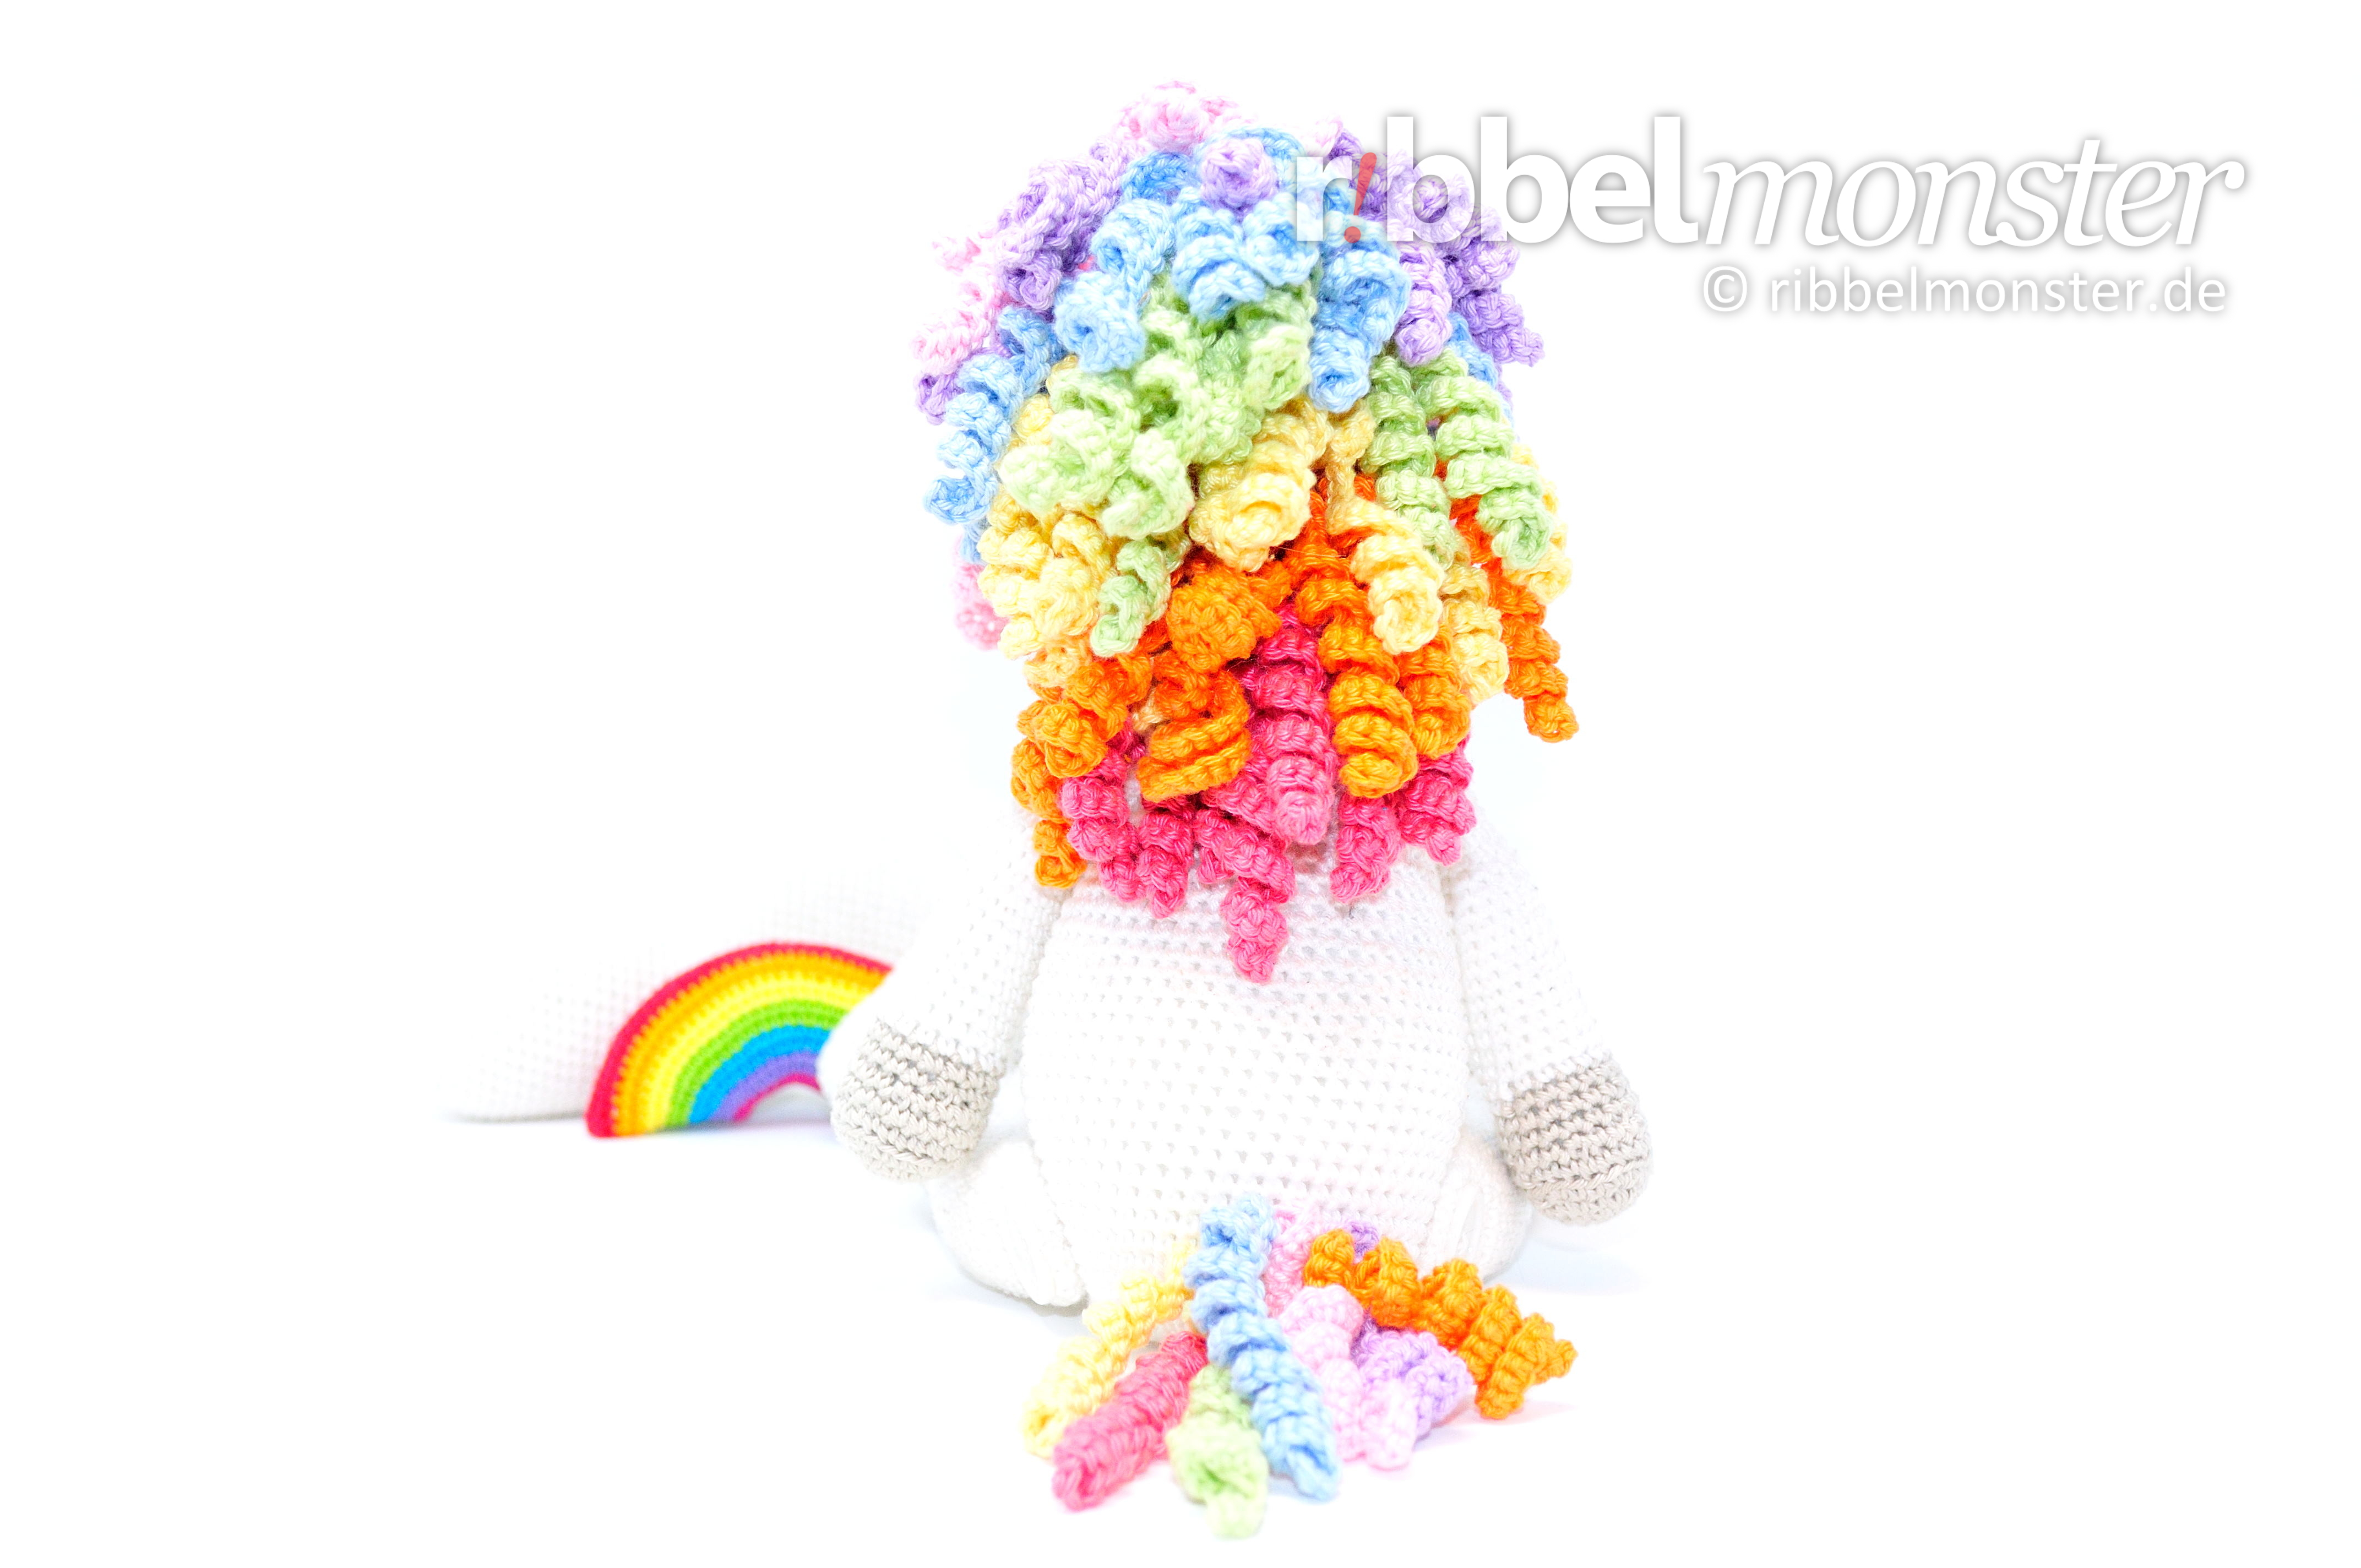
For the tail, we start with the green strand and tie it to the middle of the body after the 12th round. Then we work around the tail in a circle, beginning with pink above and right around purple, orange, red, yellow and blue. We get a round tail that falls in the same color order as the mane.
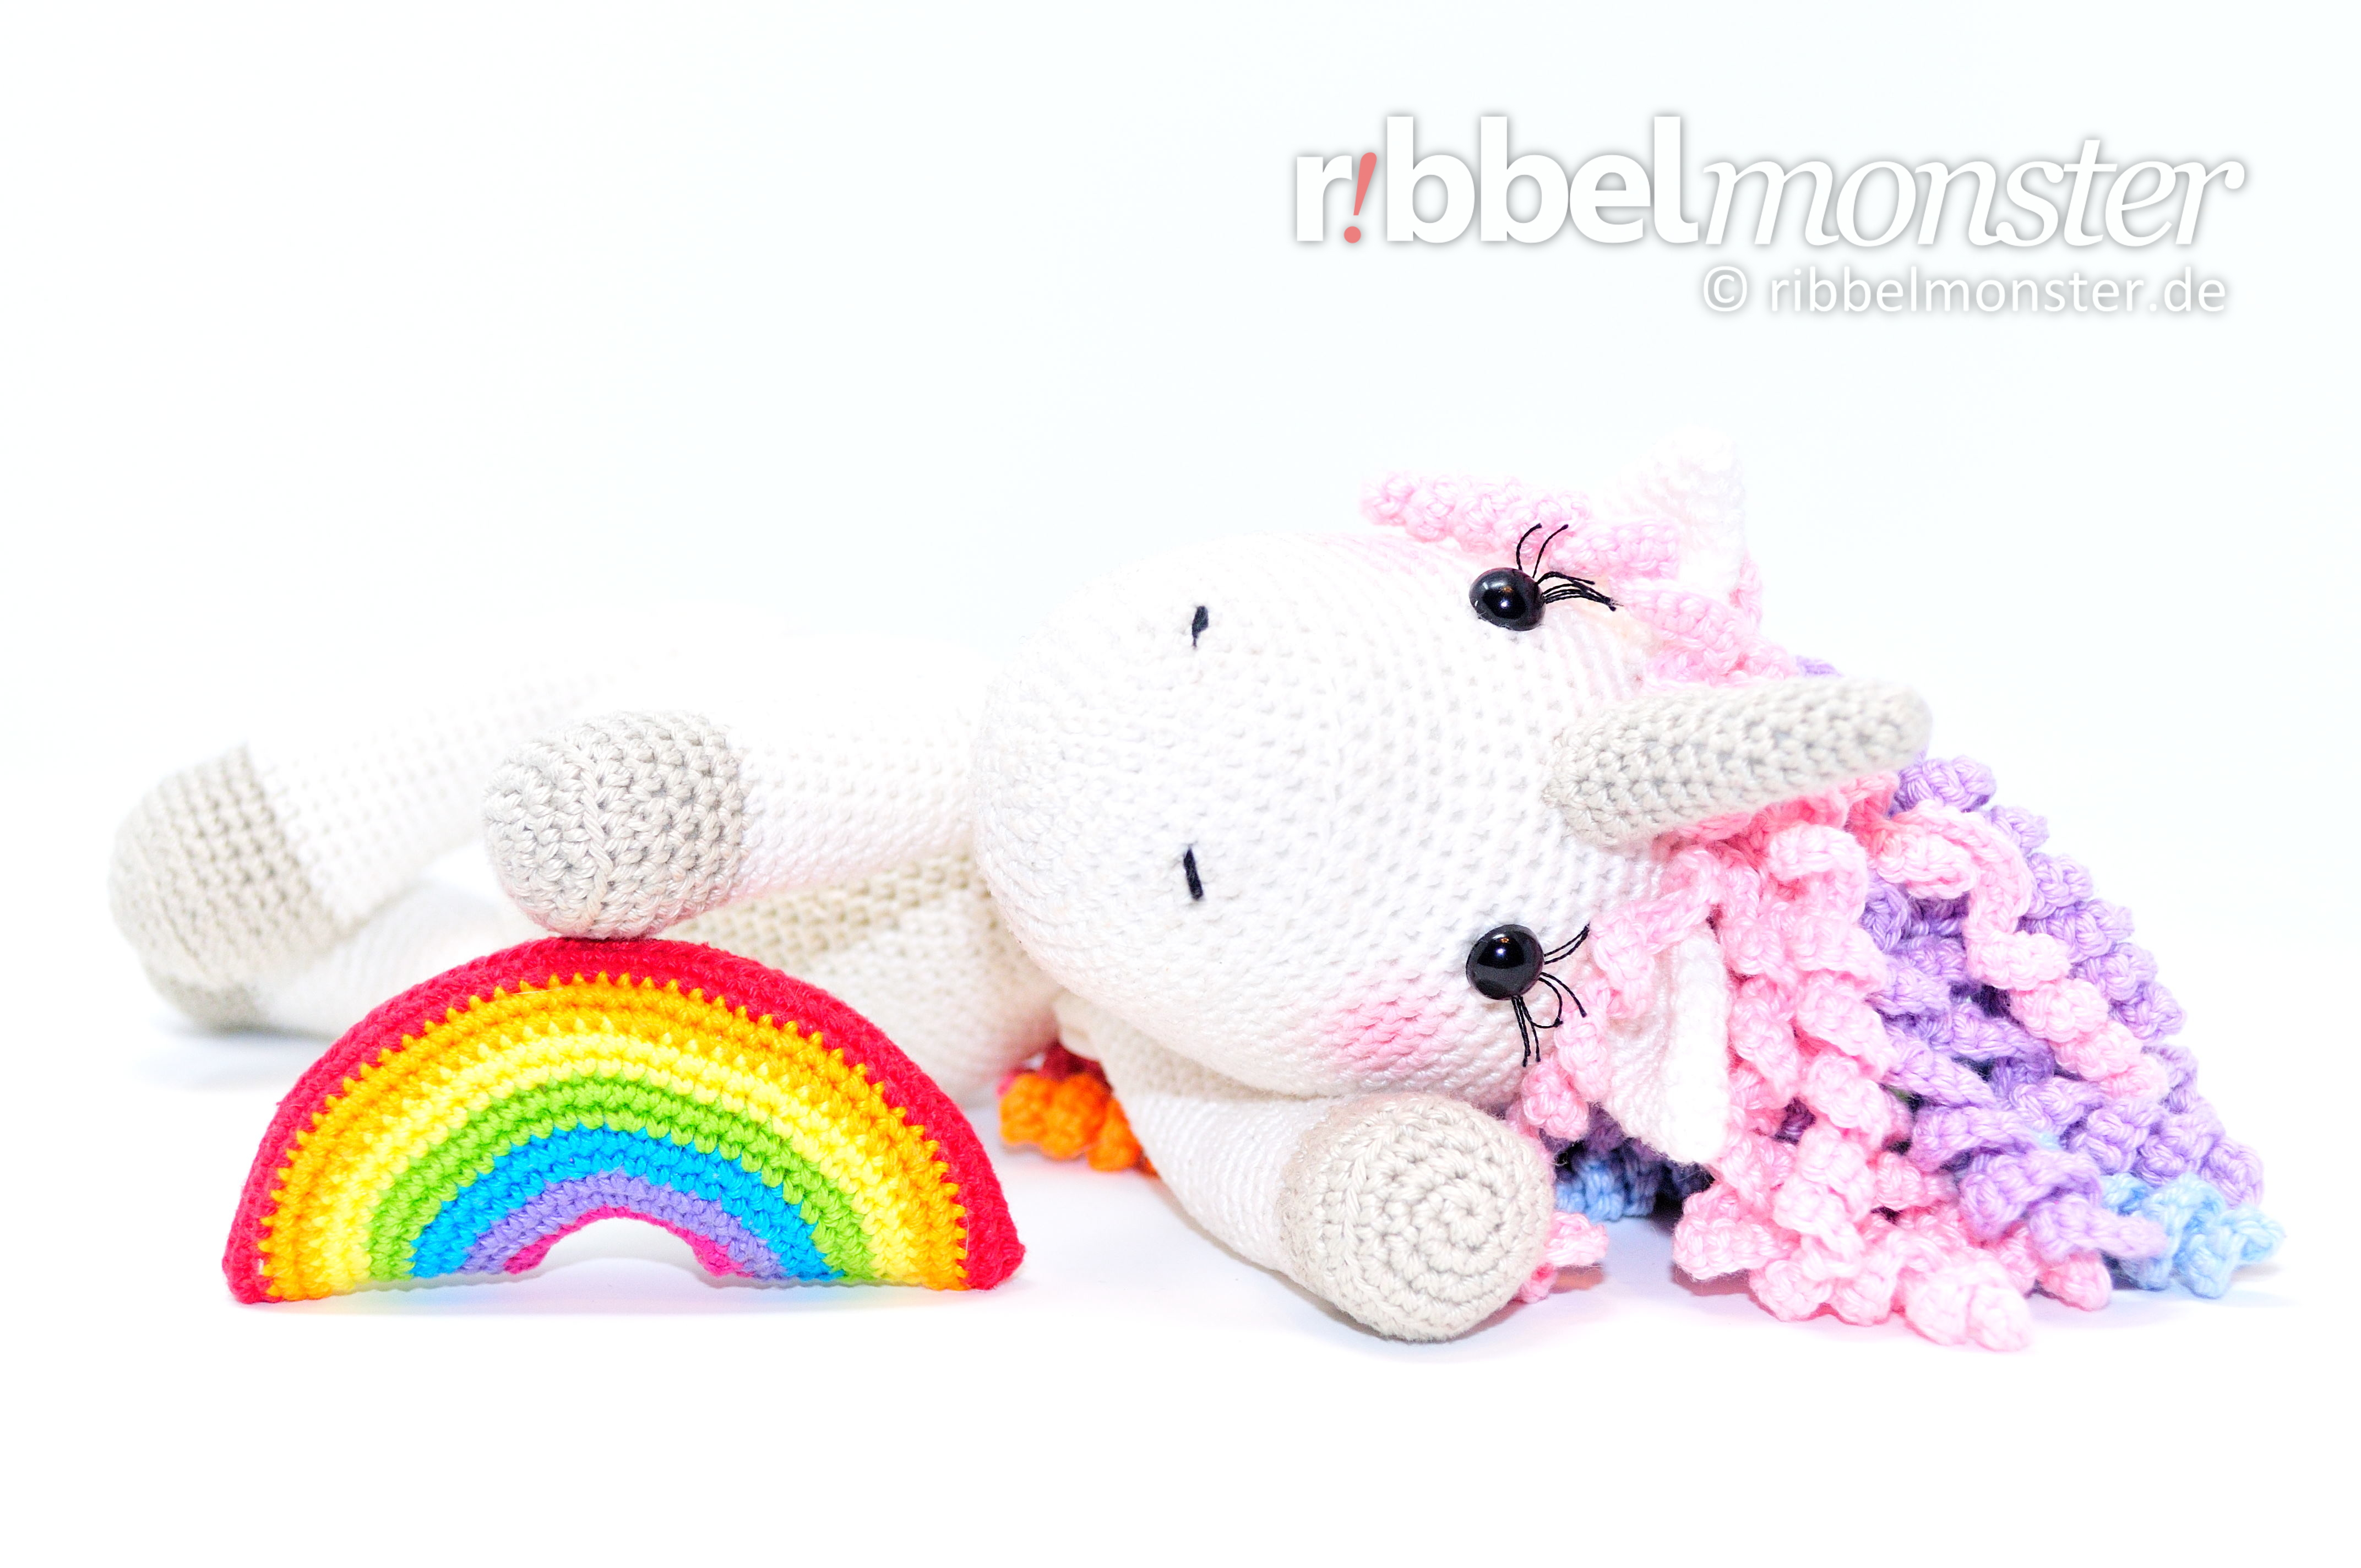
Finally you can pimp your unicorn as you like. You will get beautiful lashes when you draw some yarn around the safety eyes, knot them and shortening them. The nostrils can be embroidered on the top of the snout with black darning yarn starting horizontally after the 7th round. The cheeks you paint just with a little acrylic paint, as I have shown you in the tutorial for gentle cheeks.
Tip: You will find here on the blog of course also the patterns for clouds and rainbows in different sizes.

Mach´s gut!
Möchtest du dir den Ribbelmonster VIP Club ansehen?