
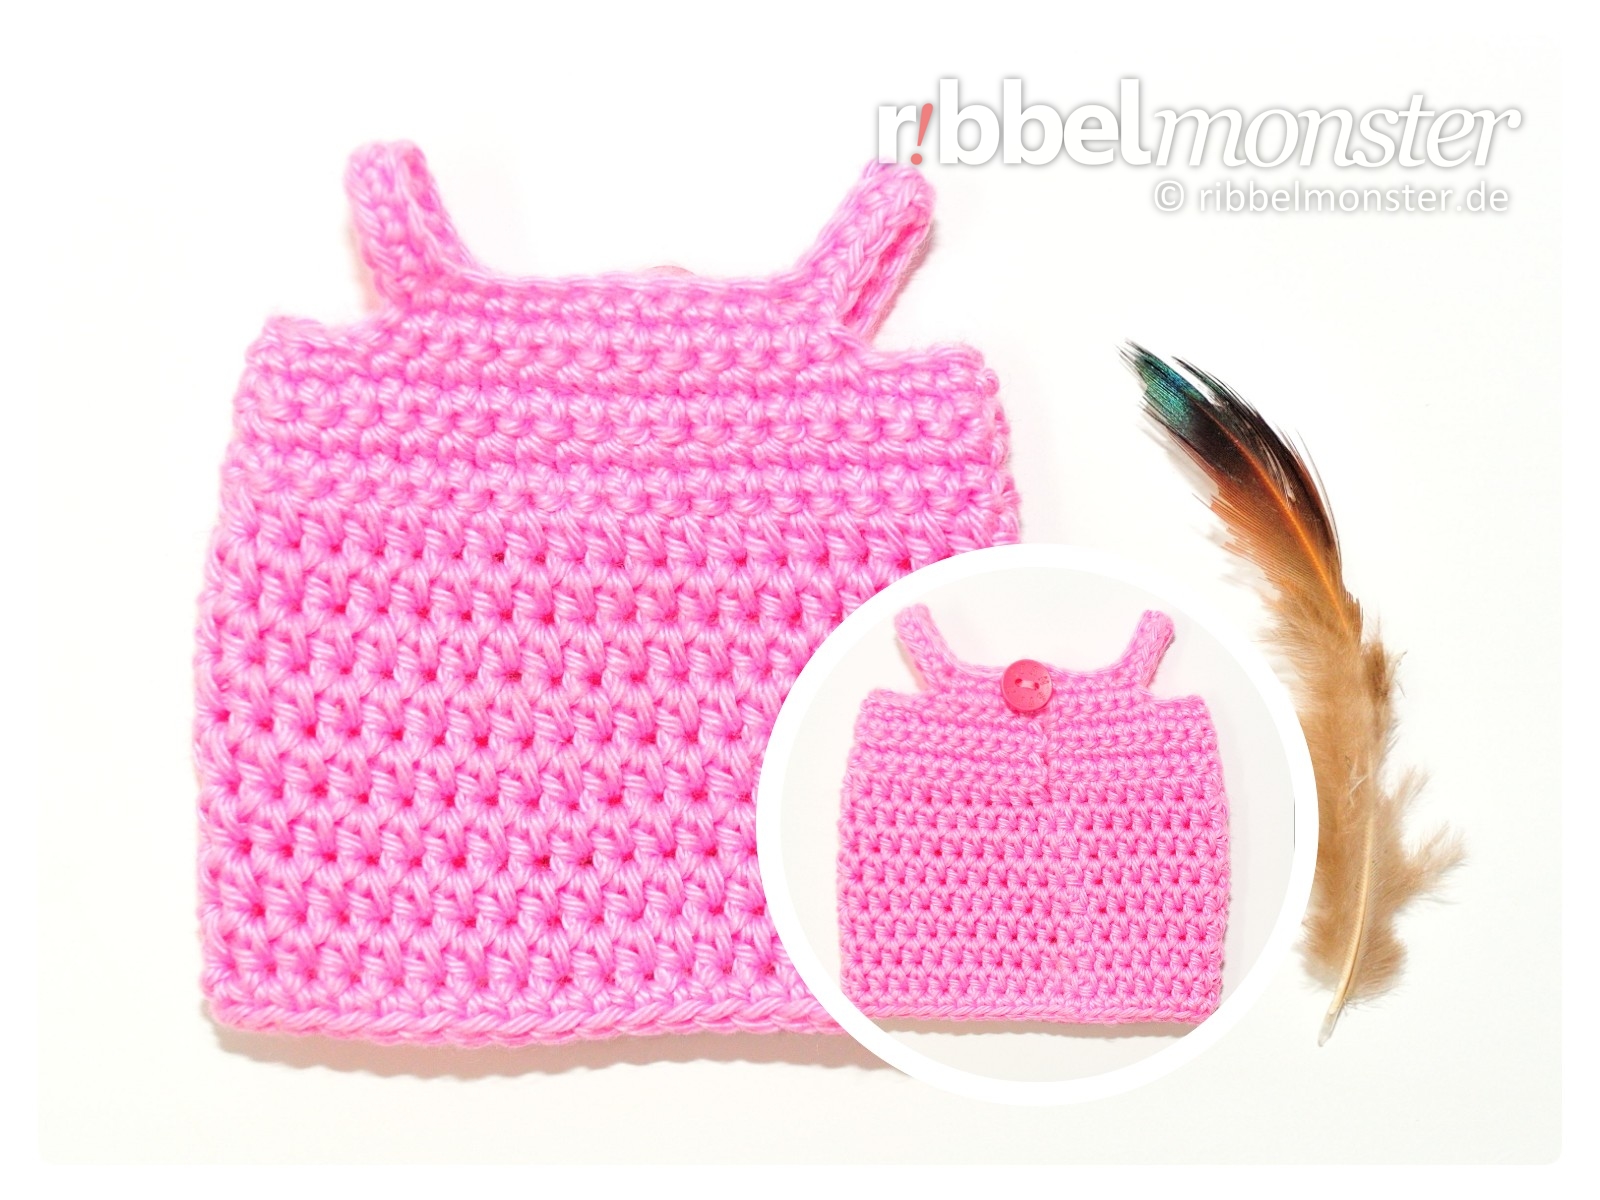
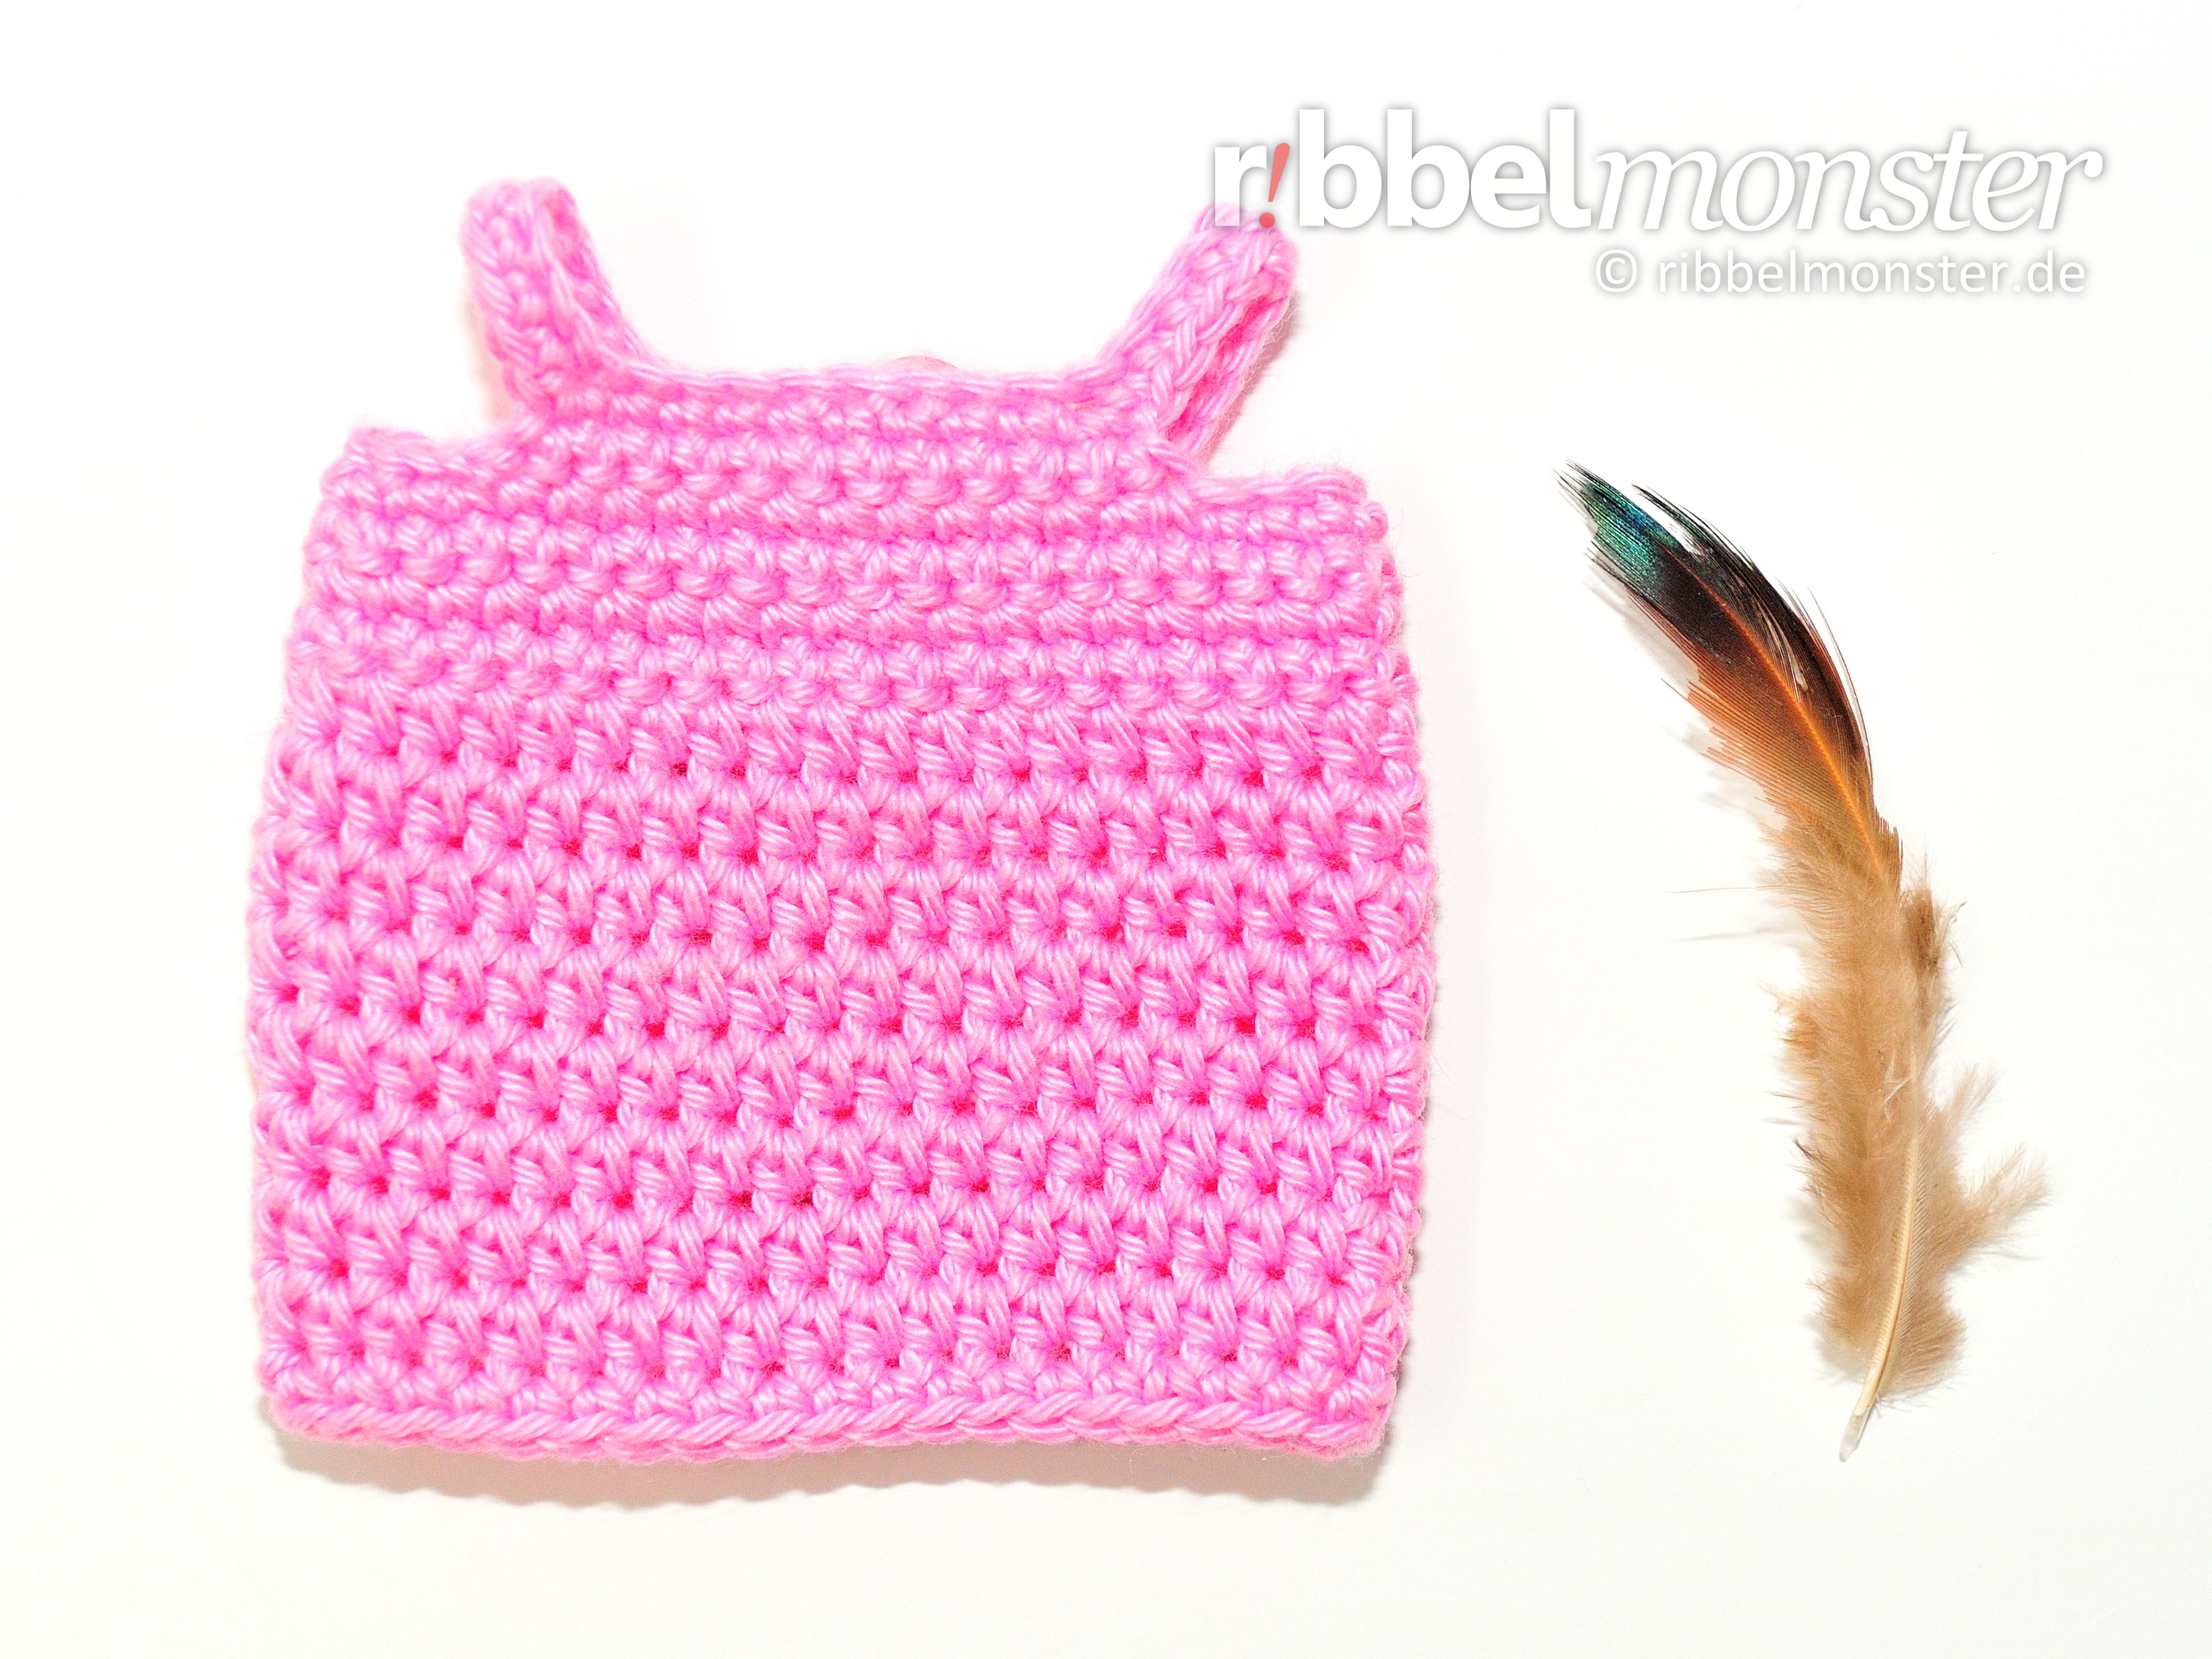
In this simple pattern I show you how to crochet a dress for your Cukado dolls. The dress “Peissnitz” is very simple and forms a childish tummy. It is very easy to crochet and fits all cukado dolls.
Introduction: Cukado Crochet Dress “Peissnitz”
Knowledge: Cukado Crochet Dress “Peissnitz”
- Chain Stitches
- Double Crochet Stitches (UK!)
- Half Treble Crochet Stitches (UK!)
- Slip Stitches
- Turning Chain Stitches
Supplies: Cukado Crochet Dress “Peissnitz”
Buttons
I used one button with a diameter of 7/16 inches. The shape is round. The shade is pink. If you can’t find anything suitable in your button box, I also found some matching buttons for you.
Crochet Hook
You will need a crochet hook with a size of 12 (british). For converting to other sizes, the crochet hook size converter will help you. I have selected some great crochet hooks for you here.
Scissors – any
You’ll need any scissors. It’s best to use your most beautiful scissors because it brings you joy. If you don’t have really nice scissors, I’ve picked out some lovely ones for you.
Wool Needle
You’ll need a wool needle with a blunt tip. The thickness of the wool needle should match the thickness of your yarn. You might like the set of wool needles I’ve picked out for you.
Yarn – Schachenmayr – Catania – 222 – orchidee (rosa)
I used yarn in the shade Orchid. The material is 100% cotton. The yardage is 137 yds / 1.75 oz. If you want to replenish your supply, I’ve already picked out the matching yarn for you here.
Size: Cukado Crochet Dress “Peissnitz”
For the Cukado dress to fit all Cukado dolls you should crochet it with a comparable yarn size and needle size as the Cukado Amigurumi.
Crochet Pattern: Cukado Crochet Dress “Peissnitz”

We crochet the dress from top to bottom with different stitches. We start in rows and crochet in the lower part in rounds. For the top of the dress we use double crochet stitches (UK!) and for the bottom half treble crochet stitches (UK!).
- rose:
- 1st row: 36 chain stitches + 6 lifting-chain stitches, turn = 36 stitches
- 2nd row:
- 1 lifting-chain stitch
- 3x 1 double crochet stitch (UK!) into one stitch
- 1x 2 double crochet stitches (UK!) into one stitch
- 8x 1 double crochet stitch (UK!) into one stitch
- 1x 2 double crochet stitches (UK!) into one stitch
- 8x 1 double crochet stitch (UK!) into one stitch
- 1x 2 double crochet stitches (UK!) into one stitch
- 8x 1 double crochet stitch (UK!) into one stitch
- 1x 2 double crochet stitches (UK!) into one stitch
- 5x 1 double crochet stitch (UK!) into one stitch
- turn
- = 40 stitches
- 3rd row:
- 1 lifting-chain stitch
- 5x 1 double crochet stitch (UK!) into one stitch
- 1x 2 double crochet stitches (UK!) into one stitch
- 7 chain stitches, skip 9 stitches
- 1x 2 double crochet stitches (UK!) into one stitch
- 9x 1 double crochet stitch (UK!) into one stitch
- 1x 2 double crochet stitches (UK!) into one stitch
- 7 chain stitches, skip 9 stitches
- 1x 2 double crochet stitches (UK!) into one stitch
- 4x 1 double crochet stitch (UK!) into one stitch
- turn
- = 40 stitches
- 4th – 7th row:
- (= 4 rows)
- 1 lifting-chain stitch
- each stitch one double crochet stitch (UK!)
- turn
- = 40 stitches
- 8th row:
- 2 lifting-chain stitches
- each stitch one half treble crochet stitch (UK!)
- close round with 1 slip stitch
- = 40 stitches
- continue in rounds:
- 9th – 15th round:
- (= 7 rounds)
- 2 lifting-chain stitches
- each stitch one half treble crochet stitch (UK!)
- close round with 1 slip stitch
- = 40 stitches
- 16th round:
- 1 lifting-chain stitch
- each stitch one double crochet stitch (UK!)
- close round with 1 slip stitch
- = 40 stitches
- cut the thread, pull off the loop, secure and weave in the thread end
Finish Cukado Dress
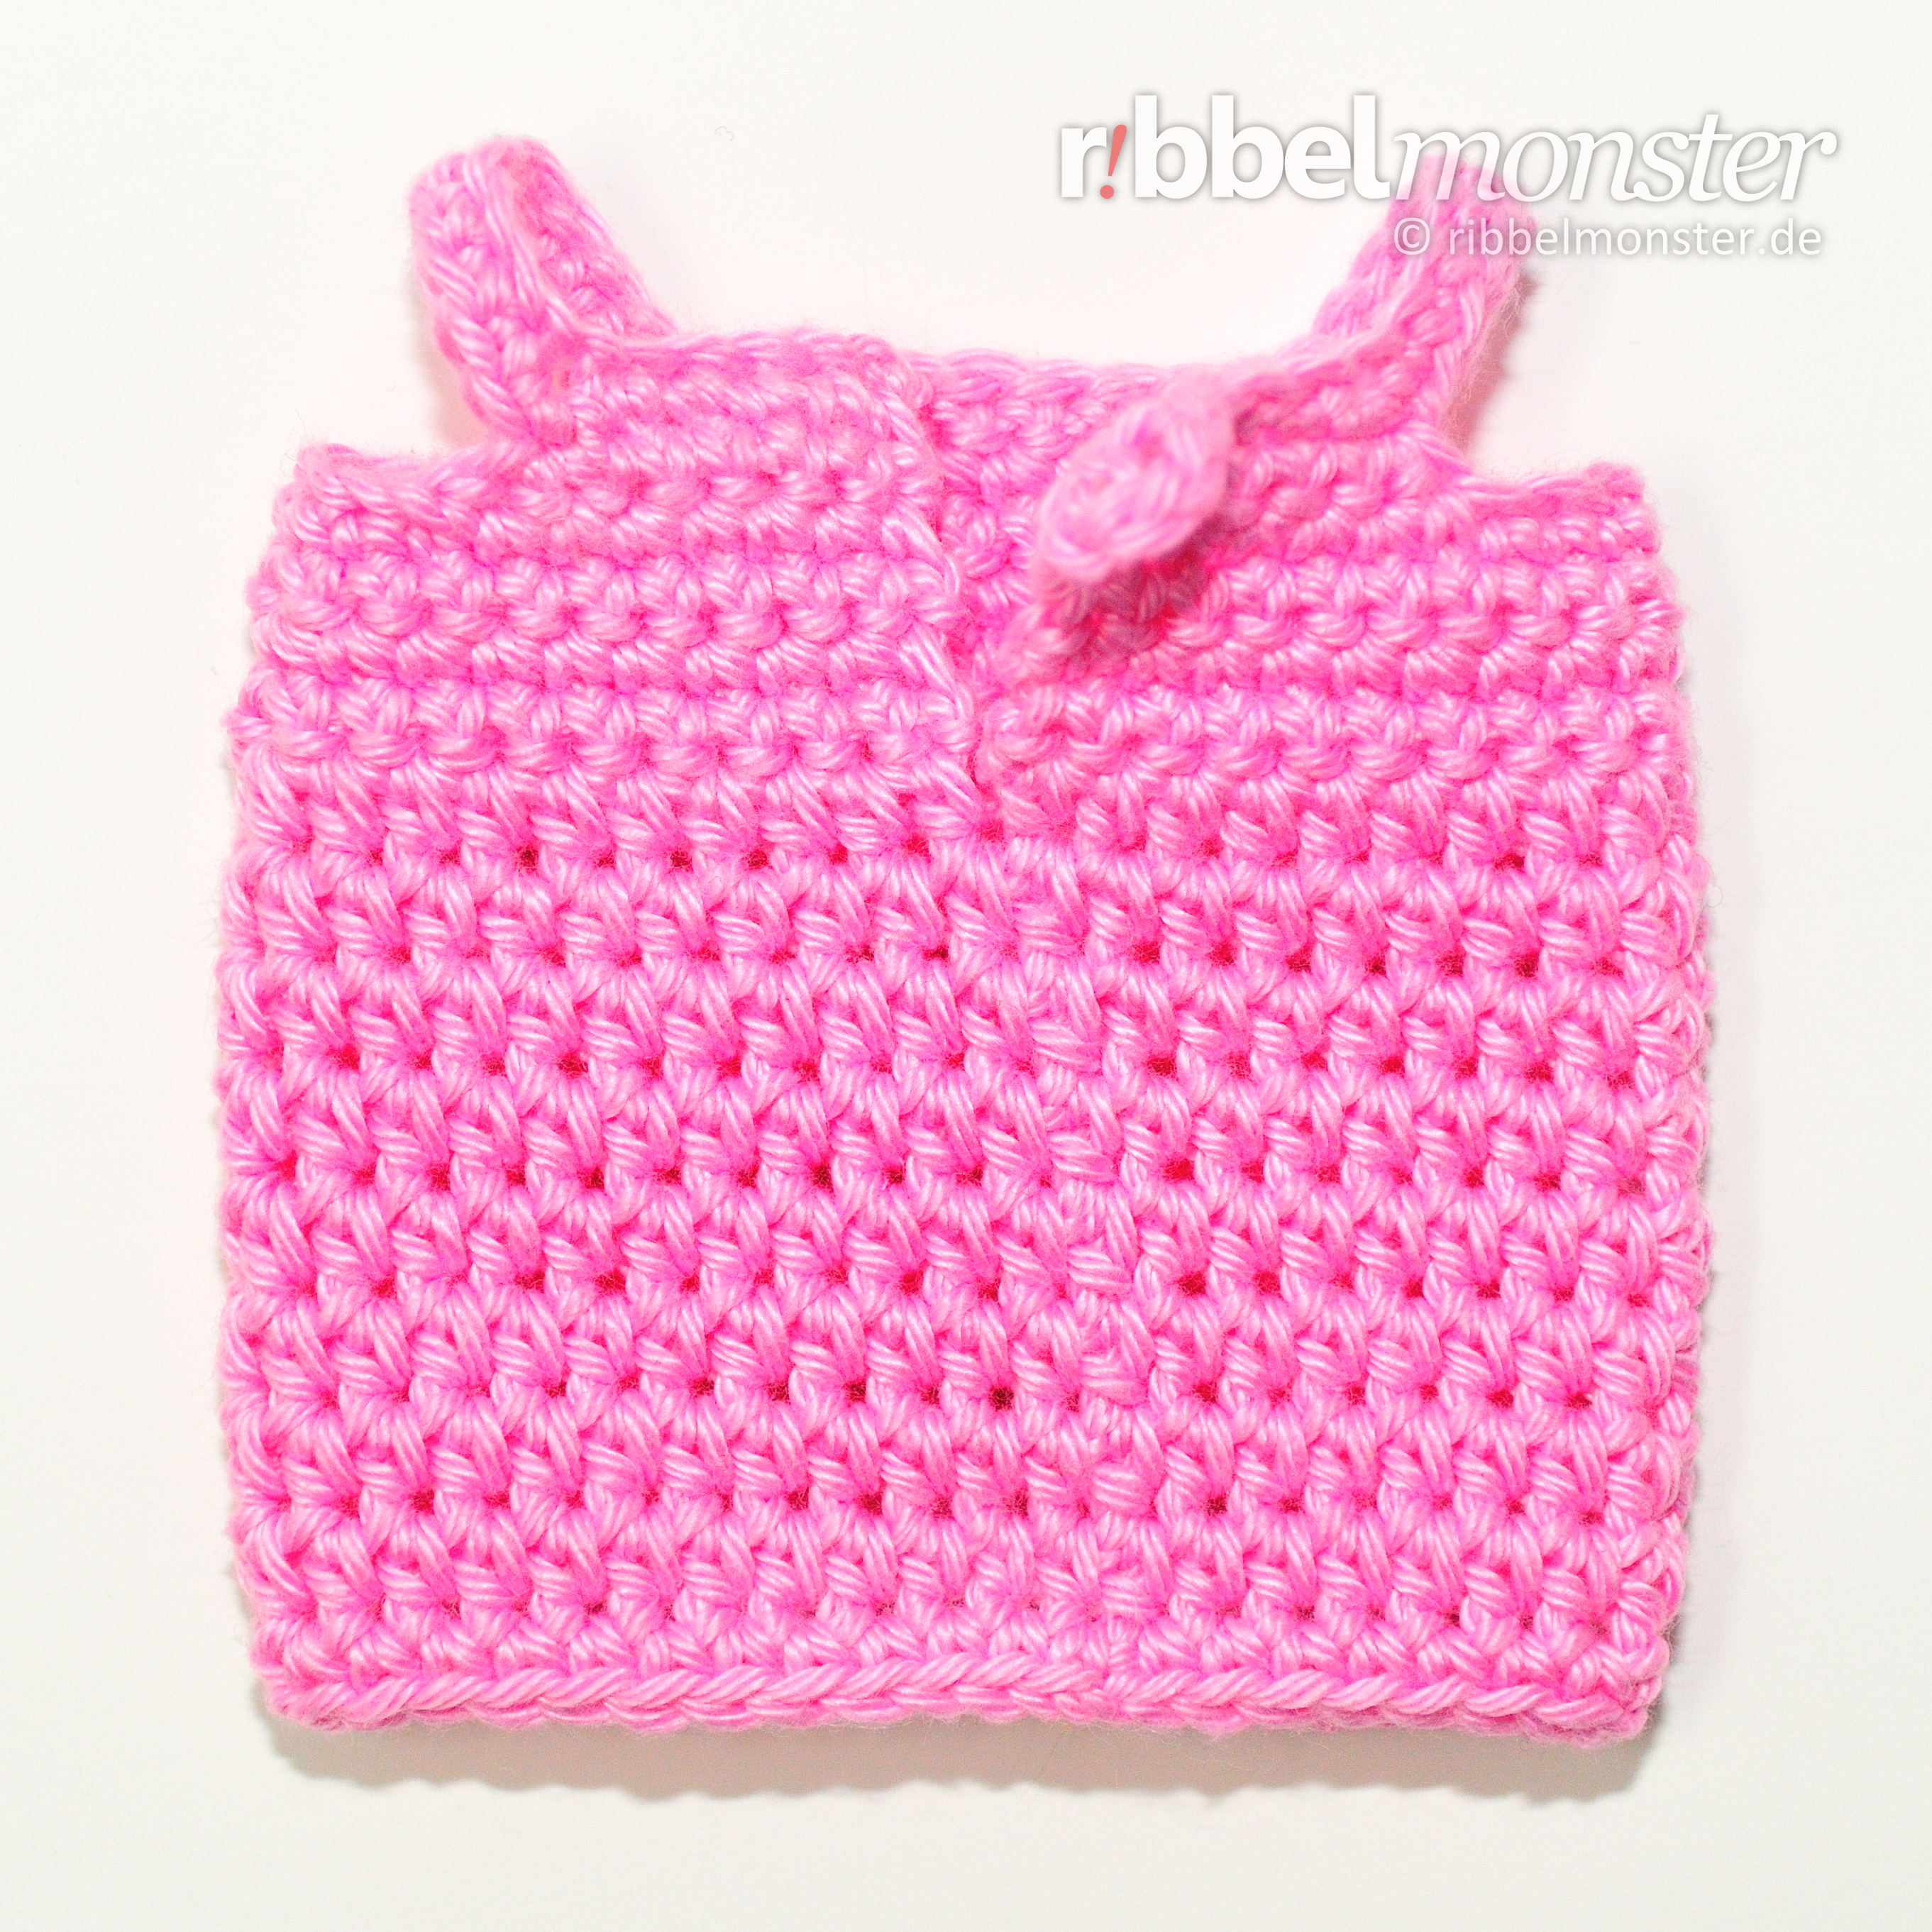
So that the dress can also be dressed comfortably, it has on the back a button placket. The loops are created by the many lifting-chain stitches in a row.
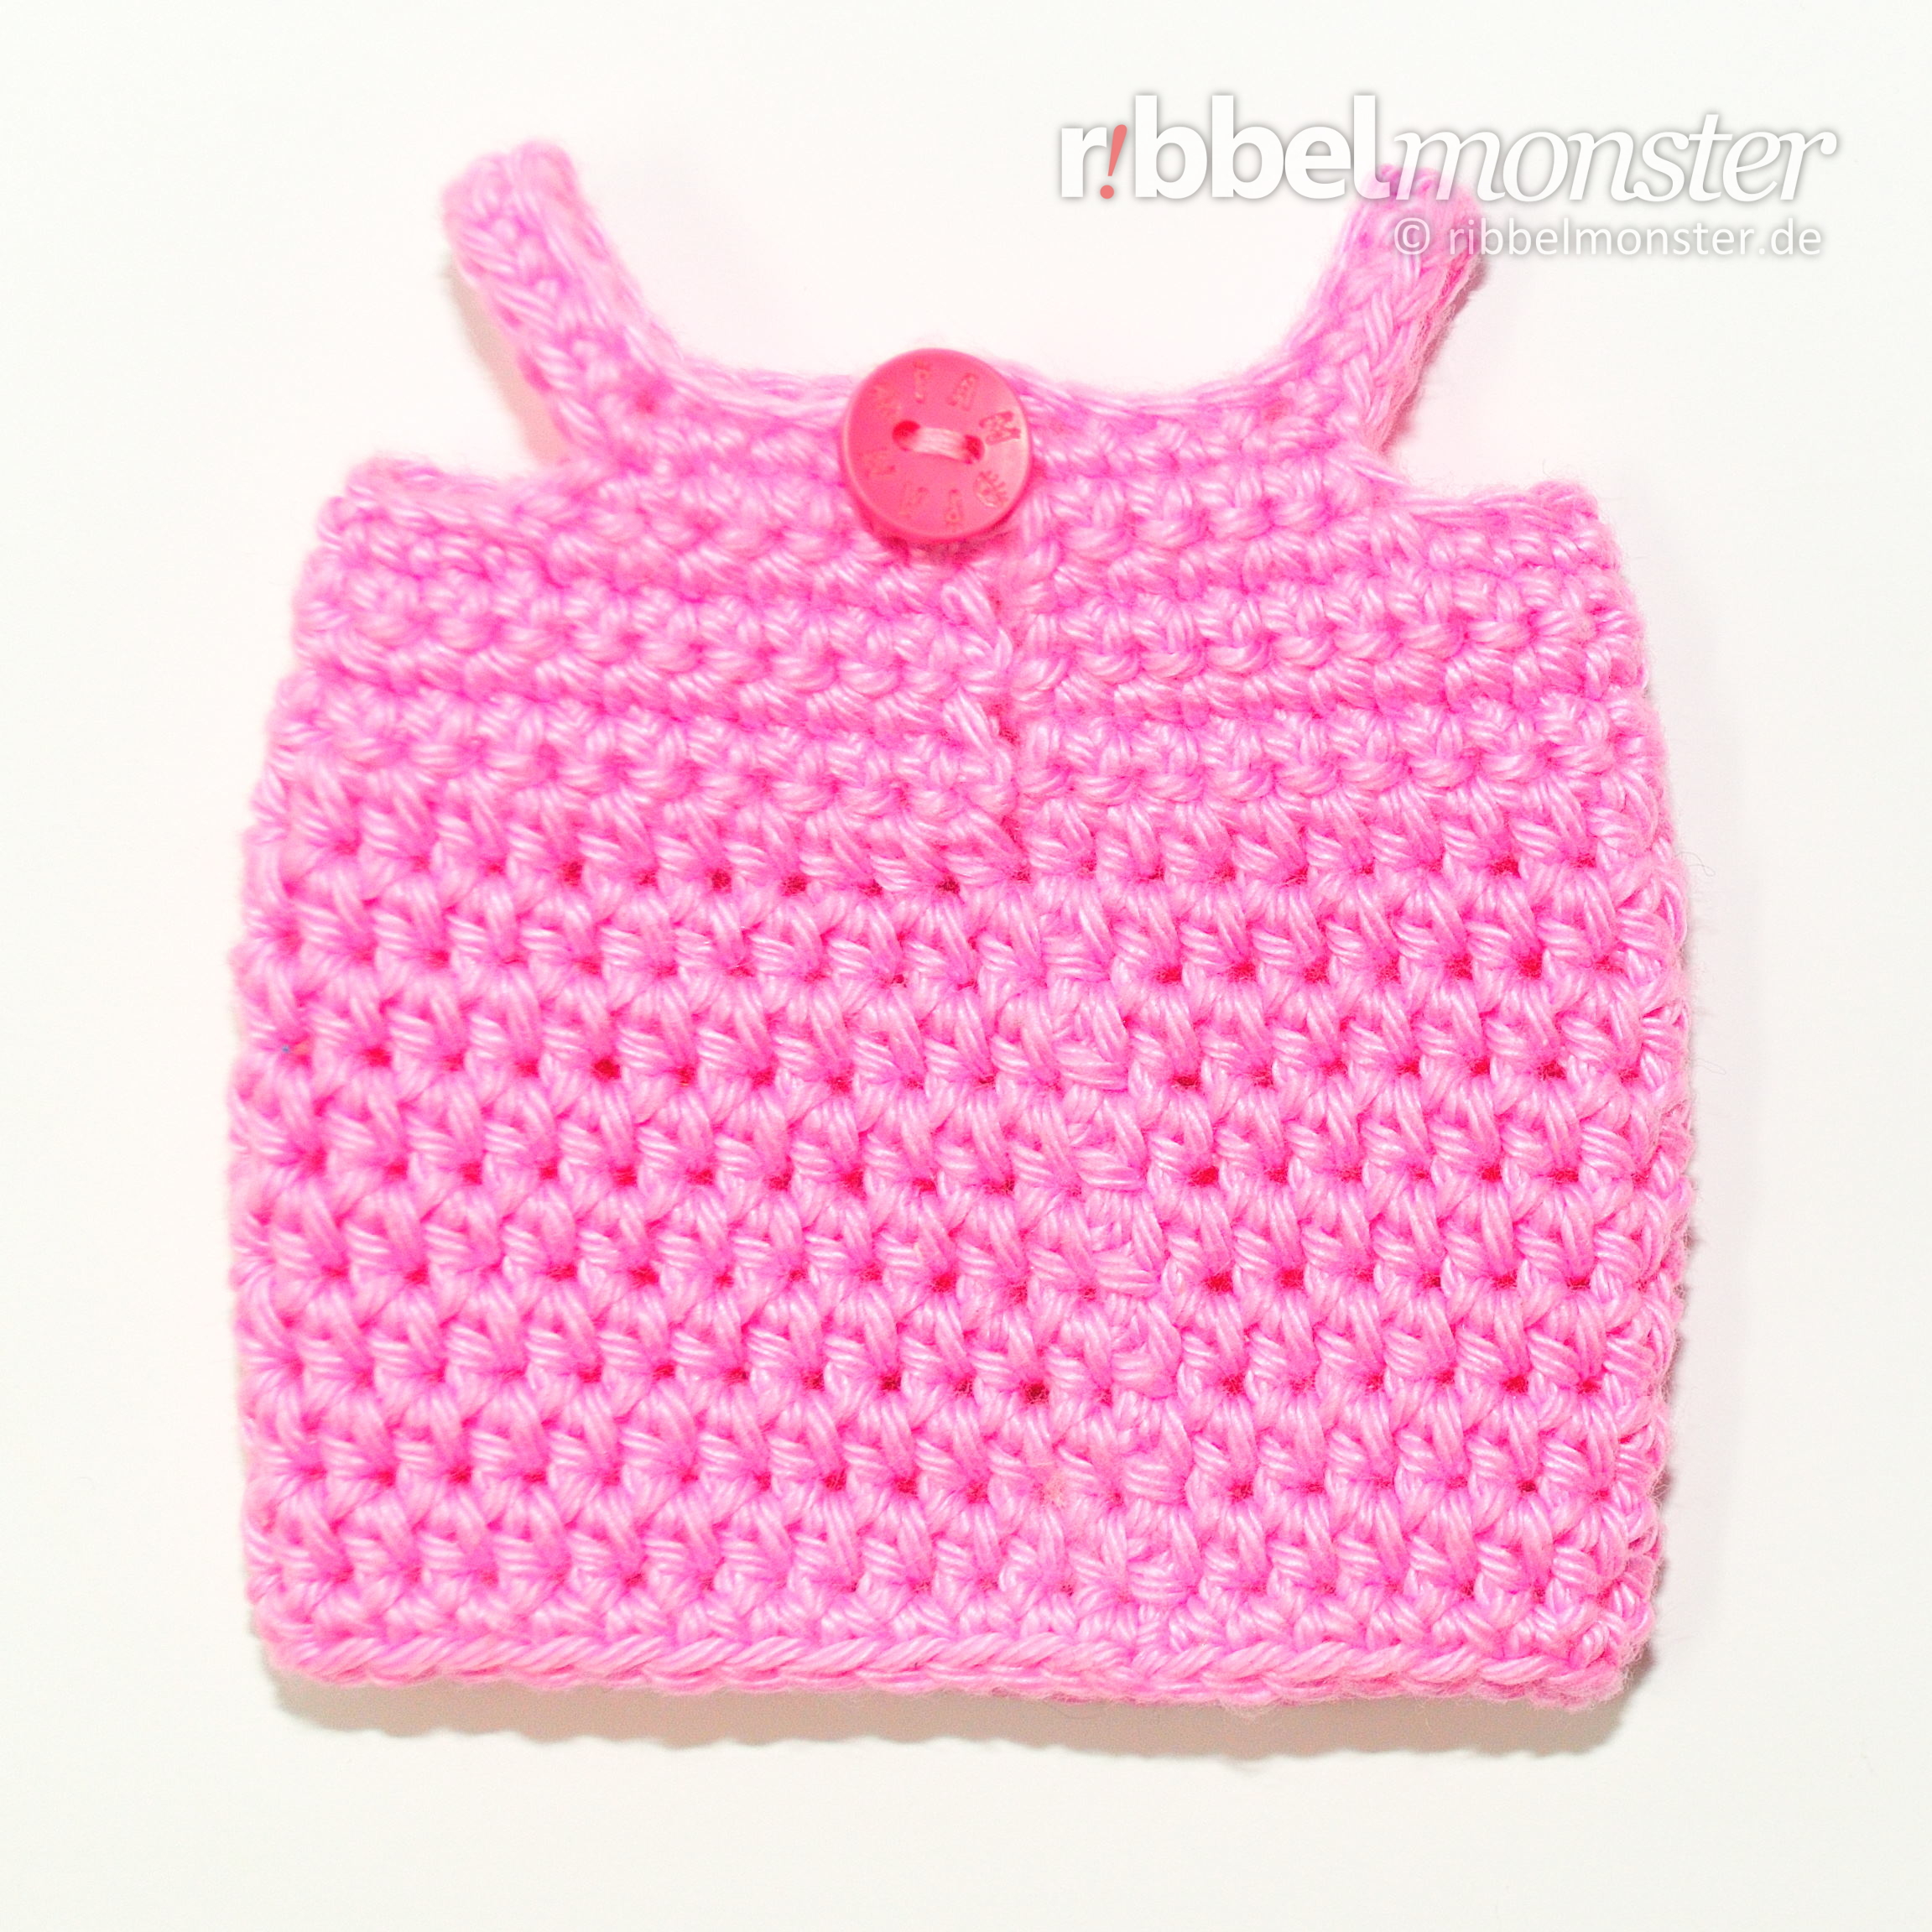
All you have to do is sew a button on the other side of the button placket. Here you try out first if your button just fits through the button loop. Then you sew the button on the other side and secure the threads inside.
Viel Spaß beim Nachmachen!
Wusstest du das dir das Ribbelmonster gern über die Kommentarfunktion hilft?