
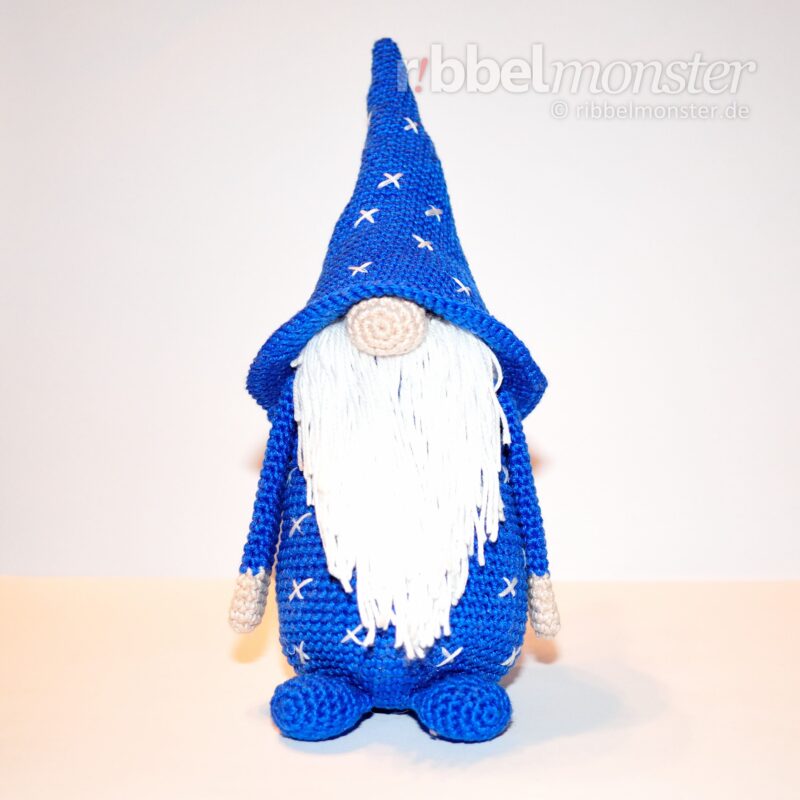
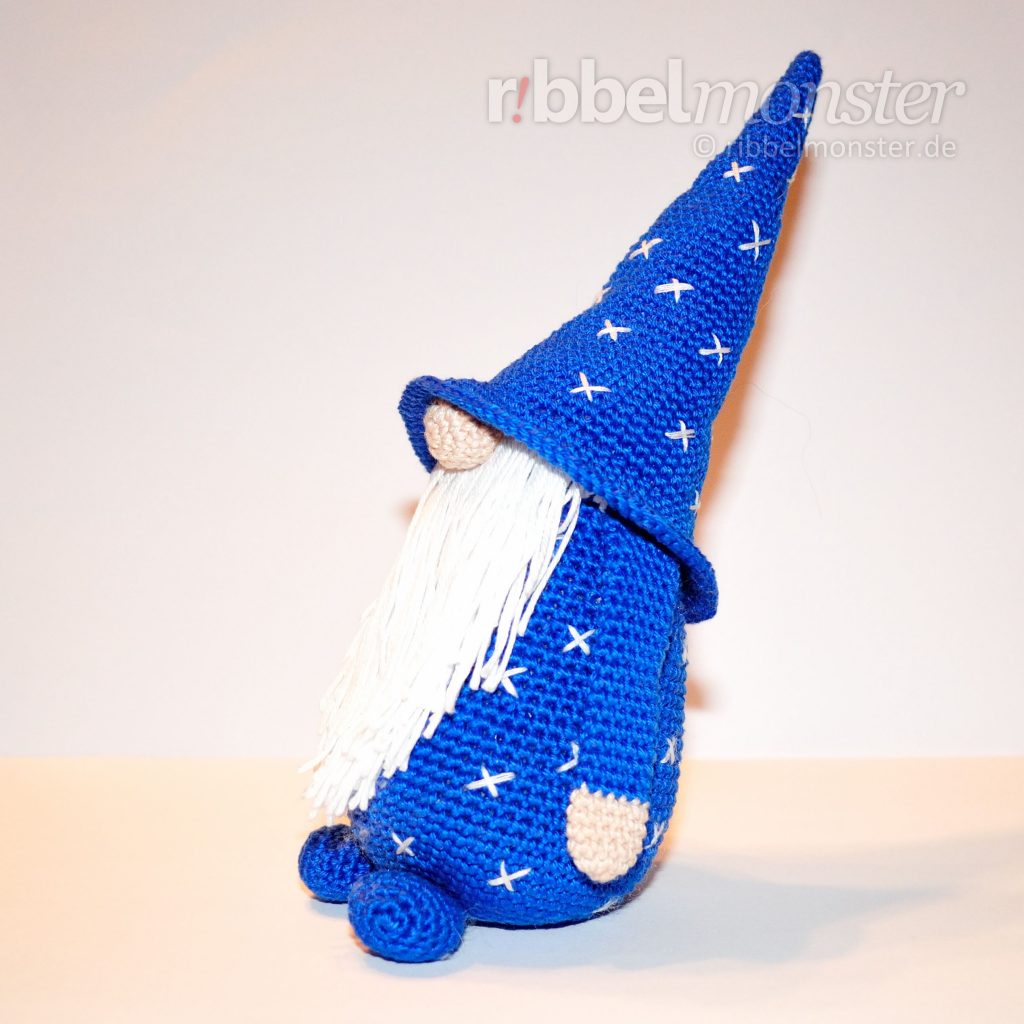
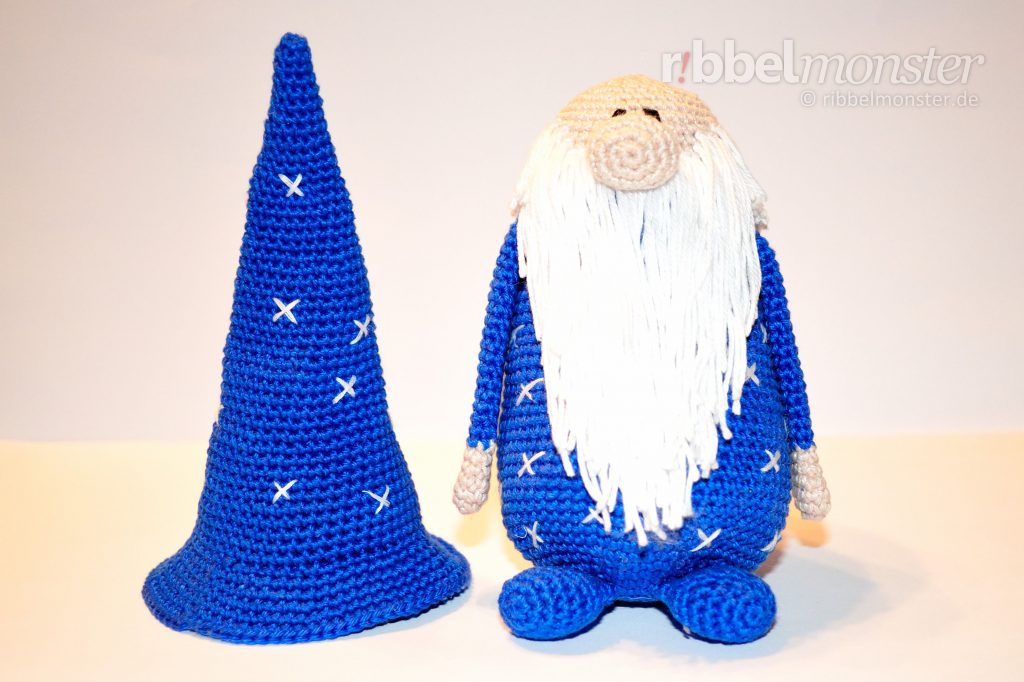
In this Amigurumi pattern, I’ll show you how to make “Magnus Magicus,” the Crochet Wizard Gnome. Magnus is a charming bearded gnome who wears his hat low on his bulbous nose. What could he be hiding under his magic hat? The crocheted wizard gnome is a wonderful decoration and is also suitable as a stuffed toy for children.
Inhalt
Introduction: Amigurumi – Crochet Wizard Gnome “Magnus Magicus”
Before we start crocheting the Amigurumi Wizard Gnome, it’s essential to prepare well. In the following sections, you will learn more about the required prerequisites, materials, and size. If you need help, you can find additional links in the corresponding sections.
Achtung! Amigurumis sind sehr niedlich und deshalb nicht nur bei Erwachsenen sehr beliebt. Von Kindern werden sie gern als Spielzeug betrachtet, weshalb du besonders vorsichtig sein solltest. Amigurumis, die nicht bespielt werden sollen, sollten unbedingt außerhalb der Reichweite von Kindern aufbewahrt werden. Soll ein Amigurumi von Kindern bespielt werden, solltest du unbedingt die Vorgaben für Spielzeug einhalten. Wenn du die Amigurumis weitergeben oder verkaufen möchtest (Lizenz für Verkäufer), dann musst du zwingend die gesetzlichen Vorgaben für Spielzeug beachten und die benötigte CE-Kennzeichnung ausweisen.
Prerequisites
The successful execution of this crochet pattern for the Amigurumi Wizard Gnome assumes that you are familiar with the following crochet techniques. Here, you will also find detailed tutorials to learn the individual techniques.
- Decreases
- Double Crochet Stitches (UK!)
- Increases
- Loops of a Stitch
- Magic Ring
- Slip Stitches
- Spiral Rounds
Hinweis! Indem du regelmäßige Zunahmen und Abnahmen versetzt werden diese fast unsichtbar. Du erkennst regelmäßige Zunahmen an der Formulierung “jede … Masche verdoppeln” und regelmäßige Abnahmen an der Formulierung “jede … und … Masche zusammen häkeln”. Dabei hilft dir vielleicht auch die Maschentabelle für Kugeln und Kreise.
Hinweis! Mit einer besonderen Technik für unsichtbare Abnahmen sind diese kaum noch zu sehen. Auch wenn diese Technik ein wenig Übung erfordert lohnt es sich sie auszuprobieren.
Supplies
The Amigurumi Wizard Gnome shown here was crocheted with the following materials. You can also crochet the Amigurumi Wizard Gnome with a different yarn and a matching hook size. For an authentic result, it is recommended to use materials as similar as possible. Here, you will also find an enumeration of the necessary tools and supplies.
Crochet Hook
You will need a crochet hook with a size of 12 (british). For converting to other sizes, the crochet hook size converter will help you. I have selected some great crochet hooks for you here.
Darning Yarn
I have used darning yarn in the shade of black here. If you cannot find a suitable darning yarn in your supplies, I have already selected some for you.
Darning Yarn
I used stuffing yarn in the shade of White here. If you can’t find suitable stuffing yarn in your supplies, I’ve already picked out some for you.
Filling
For filling, I used plastic granules with a diameter of about 1/6 inches. However, there are numerous alternatives for filling material. If you’ve run out of filling, I’ve prepared a refill for you here.
Filling
For filling, I used synthetic filling made of 100% polyester. However, there are numerous alternatives for filling material. If you’ve run out of filling, I’ve prepared a refill for you here.
Pins
You’ll also need a few pins. The more colorful your collection, the better. If you need more, I’ve found something for you.
Scissors – any
You’ll need any scissors. It’s best to use your most beautiful scissors because it brings you joy. If you don’t have really nice scissors, I’ve picked out some lovely ones for you.
Wool Needle
You’ll need a wool needle with a blunt tip. The thickness of the wool needle should match the thickness of your yarn. You might like the set of wool needles I’ve picked out for you.
Yarn – Schachenmayr – Catania – 106 – weiß
I used yarn in the shade White. The material is 100% cotton. The yardage is 137 yds / 1.75 oz. If you want to replenish your supply, I’ve already picked out the matching yarn for you here.
Yarn – Schachenmayr – Catania – 201 – royal (royalblau)
I used yarn in the shade Royal. The material is 100% cotton. The yardage is 137 yds / 1.75 oz. If you want to replenish your supply, I’ve already picked out the matching yarn for you here.
Yarn – Schachenmayr – Catania – 263 – softaprikot (hautfarbe)
I used yarn in the shade Soft Apricot. The material is 100% cotton. The yardage is 137 yds / 1.75 oz. If you want to replenish your supply, I’ve already picked out the matching yarn for you here.
Hinweis! In dieser Anleitung wird ein Farbton als Hautfarbe verwendet. Die Wahl des Farbtones habe ich entsprechend meines persönlichen Geschmackes getroffen. Aber: Die Welt ist bunt! Es gibt viel andere mögliche Hautfarben, die du verwenden kannst. Bitte passe die Auswahl des Garns einfach an deinen persönlichen Geschmack an!
Hinweis! Das hier angegebene Garn habe ich für das gezeigte Beispiel verwendet. Prinzipiell kannst du jedes beliebige Garn und eine passende Nadelstärke verwenden. Allerdings beeinflusst die Materialqualität auch die Qualität des Resultats, weshalb du tunlichst nicht an der falschen Stelle sparen solltest. Außerdem beeinflussen die Stärke des Garns und der Nadel auch die Größe des Ergebnisses, was du natürlich bewusst ausnutzen kannst.
Size
Here are the size details for the crocheted wizard gnome. The height was measured standing without the hat. Please note that the actual size depends on the yarn used, the size of the crochet hook, and individual crochet tension.
| Needle Size | Yardage | Size |
|---|---|---|
| Crochet Hook 12 | 137 yds / 1.75 oz | 2 inches |
| Crochet Hook 11 | 120 yds / 1.75 oz | ? |
| Crochet Hook 9 or 10 | 93 yds / 1.75 oz | ? |
Hinweis! Wenn du die Größe verändern möchtest, kannst du einfach ein dickeres oder dünneres Garn mit einer passenden Nadelstärke verwenden. Das schlichte Verdoppeln der Runden, Reihen und Maschen führt dagegen nur zu einem unförmigen Ergebnis.
Crochet Pattern: Amigurumi – Crochet Wizard Gnome “Magnus Magicus”
For the Crochet Wizard Gnome, we first crochet the body and head in one piece, followed by a bulbous nose, long arms, small feet, and finally, the pointed wizard hat. Then, all parts are sewn together, and the beard, hair, eyes, and stars are added.
Crochet Body (1x)
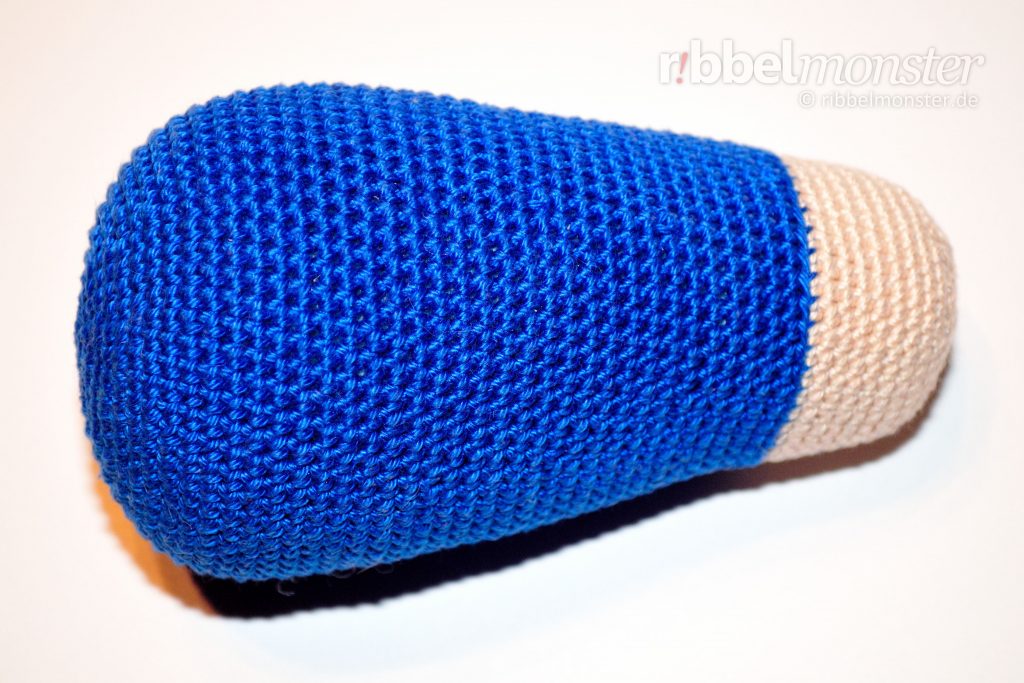
Crochet the body for the Crochet Wizard Gnome from bottom to top in spiral rounds using only double crochet stitches (UK!). Once the body is complete, continue crocheting the head.
Hinweis! Dein Amigurumi kann nur schlecht selbständig sitzen, wenn es vollständig mit einer gleichmäßig leichten Füllung gefüllt ist. Um das zu verbessern, kannst du einen entsprechenden Schwerpunkt einarbeiten. Dazu füllst du den Boden des Körpers einfach mit etwas Kunststoffgranulat auf, um den Körper ein wenig zu beschweren. So kann dein Amigurumi viel besser selbständig sitzen.
Hinweis! Wenn du ein besonders schönes Ergebnis erhalten möchtest, kannst du die regelmäßigen Zunahmen und regelmäßigen Abnahmen durch Versetzen ein wenig verstecken. Du erkennst regelmäßige Zunahmen an der Formulierung “jede … Masche verdoppeln” und regelmäßige Abnahmen an der Formulierung “jede … und … Masche zusammen häkeln”. Dabei hilft dir vielleicht auch die Maschentabelle für Kugeln und Kreise. Außerdem kannst du hier auch noch eine besondere Häkeltechnik für unsichtbare Abnahmen anwenden.
- blue:
- 1st round:
- magic ring
- into the magic ring:
- 6 double crochet stitches (UK!)
- = 6 stitches
- 2nd round:
- double every stitch
- = 12 stitches
- 3rd round:
- double every 2nd stitch
- = 18 stitches
- 4th round:
- double every 3rd stitch
- = 24 stitches
- 5th round:
- double every 4th stitch
- = 30 stitches
- 6th round:
- double every 5th stitch
- = 36 stitches
- 7th round:
- double every 6th stitch
- = 42 stitches
- 8th round:
- double every 7th stitch
- = 48 stitches
- 9th round:
- double every 8th stitch
- = 54 stitches
- 10th round:
- double every 9th stitch
- = 60 stitches
- 11th – 21st round:
- (= 11 rounds)
- every stitch one stitch
- = 60 stitches
- 22nd round:
- crochet together every 59th and 60th stitch
- = 59 stitches
- 23rd round:
- crochet together every 58th and 59th stitch
- = 58 stitches
- 24th round:
- crochet together every 57th and 58th stitch
- = 57 stitches
- 25th round:
- crochet together every 56th and 57th stitch
- = 56 stitches
- 26th round:
- crochet together every 55th and 56th stitch
- = 55 stitches
- 27th round:
- crochet together every 54th and 55th stitch
- = 54 stitches
- 28th round:
- crochet together every 53rd and 54th stitch
- = 53 stitches
- 29th round:
- crochet together every 52nd and 53rd stitch
- = 52 stitches
- 30th round:
- crochet together every 51st and 52nd stitch
- = 51 stitches
- 31st round:
- crochet together every 50th and 51st stitch
- = 50 stitches
- 32nd round:
- crochet together every 49th and 50th stitch
- = 49 stitches
- 33rd round:
- crochet together every 48th and 49th stitch
- = 48 stitches
- 34th round:
- crochet together every 47th and 48th stitch
- = 47 stitches
- 35th round:
- crochet together every 46th and 47th stitch
- = 46 stitches
- 36th round:
- crochet together every 45th and 46th stitch
- = 45 stitches
- 37th round:
- crochet together every 44th and 45th stitch
- = 44 stitches
- 38th round:
- crochet together every 43rd and 44th stitch
- = 43 stitches
- 39th round:
- crochet together every 42nd and 43rd stitch
- = 42 stitches
- 40th round:
- every stitch one stitch
- = 42 stitches
- do NOT cut yarn, continue with:
- Head
Crochet Head (1x)
Crochet the head for the Crochet Wizard Gnome directly onto the body, also from bottom to top in spiral rounds using only double crochet stitches (UK!).
Hinweis! Wenn du ein besonders schönes Ergebnis erhalten möchtest, kannst du die regelmäßigen Abnahmen durch Versetzen ein wenig verstecken. Du erkennst regelmäßige Abnahmen an der Formulierung “jede … und … Masche zusammen häkeln”. Dabei hilft dir vielleicht auch die Maschentabelle für Kugeln und Kreise. Außerdem kannst du hier auch noch eine besondere Häkeltechnik für unsichtbare Abnahmen anwenden.
- skin-coloured:
- 41st round:
- into the back loop only:
- every stitch one stitch
- = 42 stitches
- into the back loop only:
- 42nd – 48th round:
- (= 7 rounds)
- every stitch one stitch
- = 42 stitches
- 49th round:
- crochet together every 6th and 7th stitch
- = 36 stitches
- 50th round:
- crochet together every 5th and 6th stitch
- = 30 stitches
- 51st round:
- crochet together every 4th and 5th stitch
- = 24 stitches
- fill and stuff completely
- 52nd round:
- crochet together every 3rd and 4th stitch
- = 18 stitches
- 53rd round:
- crochet together every 2nd and 3rd stitch
- = 12 stitches
- 54th round:
- crochet together every 1st and 2nd stitch
- = 6 stitches
- cut yarn generously, pull through loop, close the remaining opening, secure and weave in the yarn end
Crochet Nose (1x)
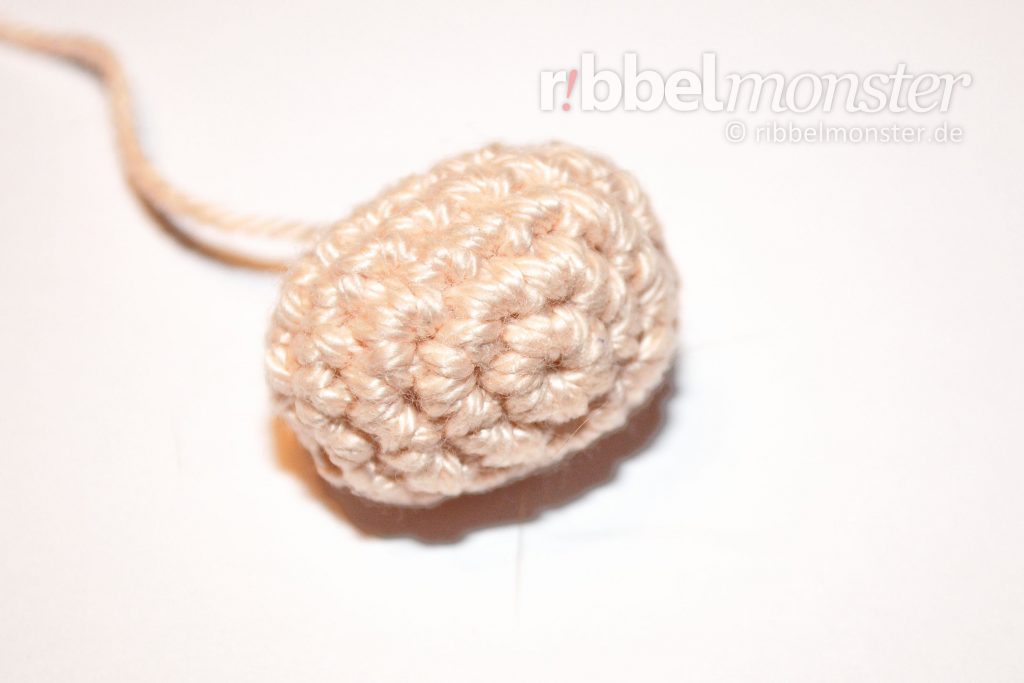
Crochet the nose for the Crochet Wizard Gnome from tip to base in spiral rounds using only double crochet stitches (UK!).
Hinweis! Wenn du ein besonders schönes Ergebnis erhalten möchtest, kannst du die regelmäßigen Zunahmen und regelmäßigen Abnahmen durch Versetzen ein wenig verstecken. Du erkennst regelmäßige Zunahmen an der Formulierung “jede … Masche verdoppeln” und regelmäßige Abnahmen an der Formulierung “jede … und … Masche zusammen häkeln”. Dabei hilft dir vielleicht auch die Maschentabelle für Kugeln und Kreise. Außerdem kannst du hier auch noch eine besondere Häkeltechnik für unsichtbare Abnahmen anwenden.
- skin-coloured:
- 1st round:
- magic ring
- into the magic ring:
- 6 double crochet stitches (UK!)
- = 6 stitches
- 2nd round:
- double every stitch
- = 12 stitches
- 3rd round:
- 3x two double crochet stitches (UK!) into one stitch
- 3x one double crochet stitch (UK!) into one stitch
- 3x two double crochet stitches (UK!) into one stitch
- 3x one double crochet stitch (UK!) into one stitch
- = 18 stitches
- 4th + 5th round:
- (= 2 rounds)
- every stitch one stitch
- = 18 stitches
- 6th round:
- 2x one double crochet stitch (UK!) into one stitch
- 3x crochet together two stitches with one double crochet stitch (UK!)
- 3x one double crochet stitch (UK!) into one stitch
- 3x crochet together two stitches with one double crochet stitch (UK!)
- 1x one double crochet stitch (UK!) into one stitch
- = 12 stitches
- fill and stuff completely
- 7th round:
- crochet together every 1st and 2nd stitch
- = 6 stitches
- Cut the thread generously, pull the loop long, close the remaining opening, DO NOT secure and stitch the thread end, it will be used for sewing later.
Crochet Arms (2x):
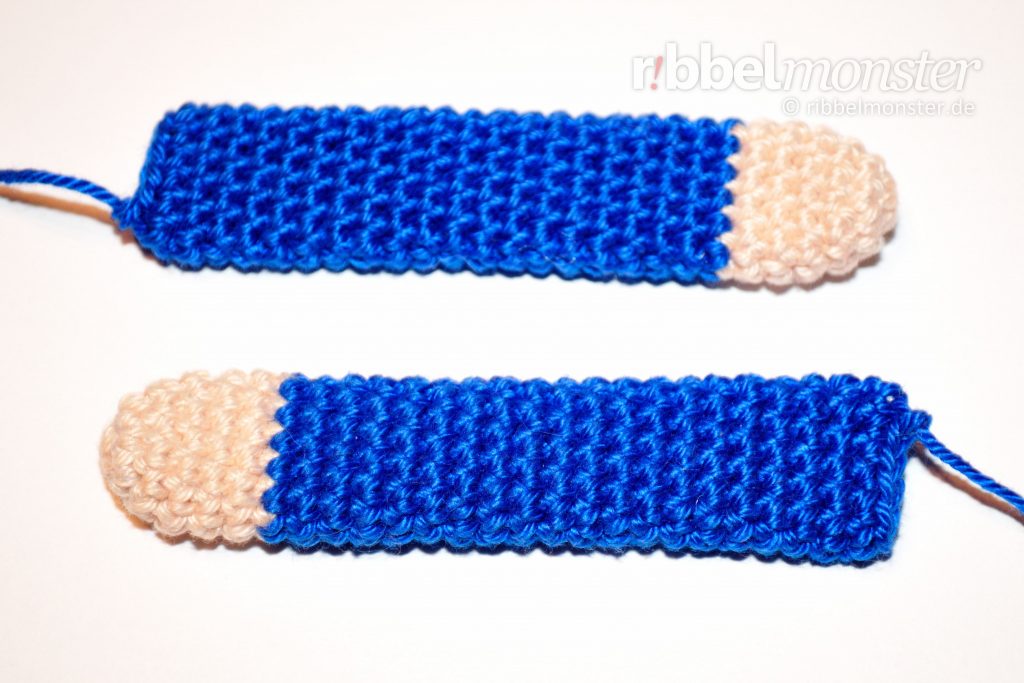
Crochet the arms for the Crochet Wizard Gnome from fingertips to shoulder in spiral rounds using only double crochet stitches (UK!). The arms are not filled but only folded flat.
Tip: Wenn du ein besonders schönes Ergebnis erhalten möchtest, kannst du die regelmäßigen Zunahmen durch Versetzen ein wenig verstecken. Dazu verwendest du einfach die Maschentabelle für Kugeln und Kreise.
(Redaktion: Block ersetzen)
Hinweis! Wenn mehrere möglichst identische Teile entstehen sollen, ist es sinnvoll diese am selben Tag nacheinander zu arbeiten. Bei größeren Teilen ist es sogar empfehlenswert diese gleichzeitig in Etappen zu arbeiten. Wir arbeiten einfach nicht jeden Tag gleich fest oder locker und das kann zu sichtbaren Unterschieden führen.
- skin-coloured:
- 1st round:
- magic ring
- into the magic ring:
- 6 double crochet stitches (UK!)
- = 6 stitches
- 2nd round:
- double every stitch
- = 12 stitches
- 3rd – 6th round:
- (= 4 rounds)
- every stitch one stitch
- = 12 stitches
- blue:
- 7th – 25th round:
- (= 19 rounds)
- every stitch one stitch
- = 12 stitches
- 26th round:
- every stitch one stitch
- = 12 stitches
- beyond the end of the round:
- 1x one slip stitch into one stitch
- cut yarn generously, pull through loop, do NOT cut the yarn end, it will be used later for sewing
Crochet Feet (2x):
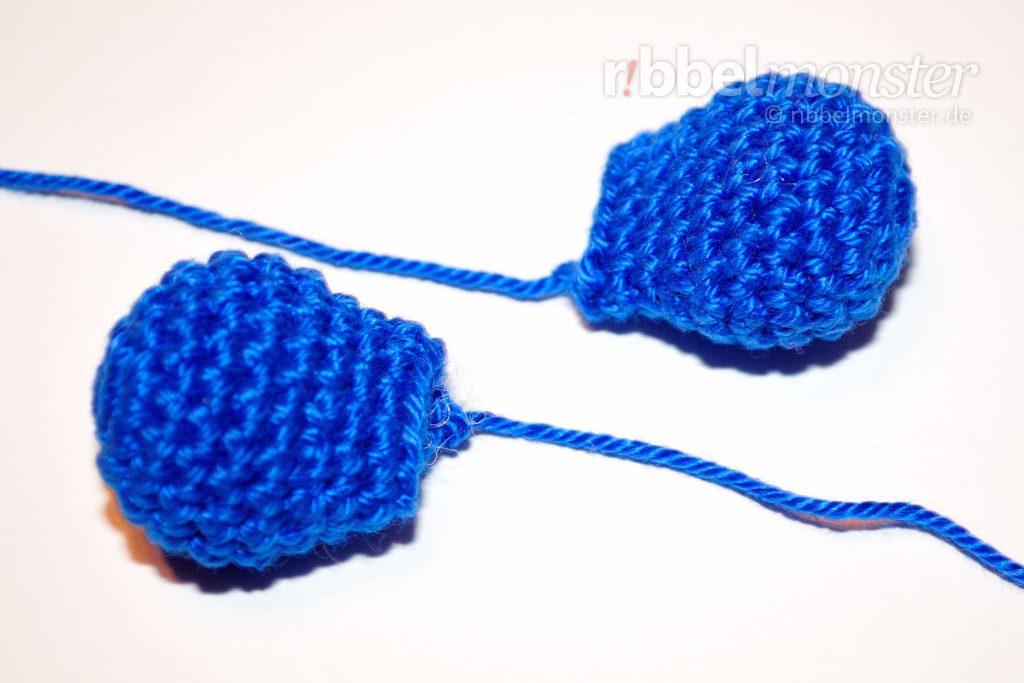
Crochet the feet for the Crochet Wizard Gnome from toe to base in spiral rounds using only double crochet stitches (UK!).
Hinweis! Wenn mehrere möglichst identische Teile entstehen sollen, ist es sinnvoll diese am selben Tag nacheinander zu arbeiten. Bei größeren Teilen ist es sogar empfehlenswert diese gleichzeitig in Etappen zu arbeiten. Wir arbeiten einfach nicht jeden Tag gleich fest oder locker und das kann zu sichtbaren Unterschieden führen.
Hinweis! Wenn du ein besonders schönes Ergebnis erhalten möchtest, kannst du die regelmäßigen Zunahmen und regelmäßigen Abnahmen durch Versetzen ein wenig verstecken. Du erkennst regelmäßige Zunahmen an der Formulierung “jede … Masche verdoppeln” und regelmäßige Abnahmen an der Formulierung “jede … und … Masche zusammen häkeln”. Dabei hilft dir vielleicht auch die Maschentabelle für Kugeln und Kreise. Außerdem kannst du hier auch noch eine besondere Häkeltechnik für unsichtbare Abnahmen anwenden.
- blue:
- 1st round:
- magic ring
- into the magic ring:
- 6 double crochet stitches (UK!)
- = 6 stitches
- 2nd round:
- double every stitch
- = 12 stitches
- 3rd round:
- 3x two double crochet stitches (UK!) into one stitch
- 3x one double crochet stitch (UK!) into one stitch
- 3x two double crochet stitches (UK!) into one stitch
- 3x one double crochet stitch (UK!) into one stitch
- = 18 stitches
- 4th – 7th round:
- (= 4 rounds)
- every stitch one stitch
- = 18 stitches
- 8th round:
- 2x one double crochet stitch (UK!) into one stitch
- 3x crochet together two stitches with one double crochet stitch (UK!)
- 3x one double crochet stitch (UK!) into one stitch
- 3x crochet together two stitches with one double crochet stitch (UK!)
- 1x one double crochet stitch (UK!) into one stitch
- = 12 stitches
- 9th + 10th round:
- (= 2 rounds)
- every stitch one stitch
- = 12 stitches
- cut yarn generously, pull through loop, do NOT cut the yarn end, it will be used later for sewing
Crochet Wizard Hat (1x)
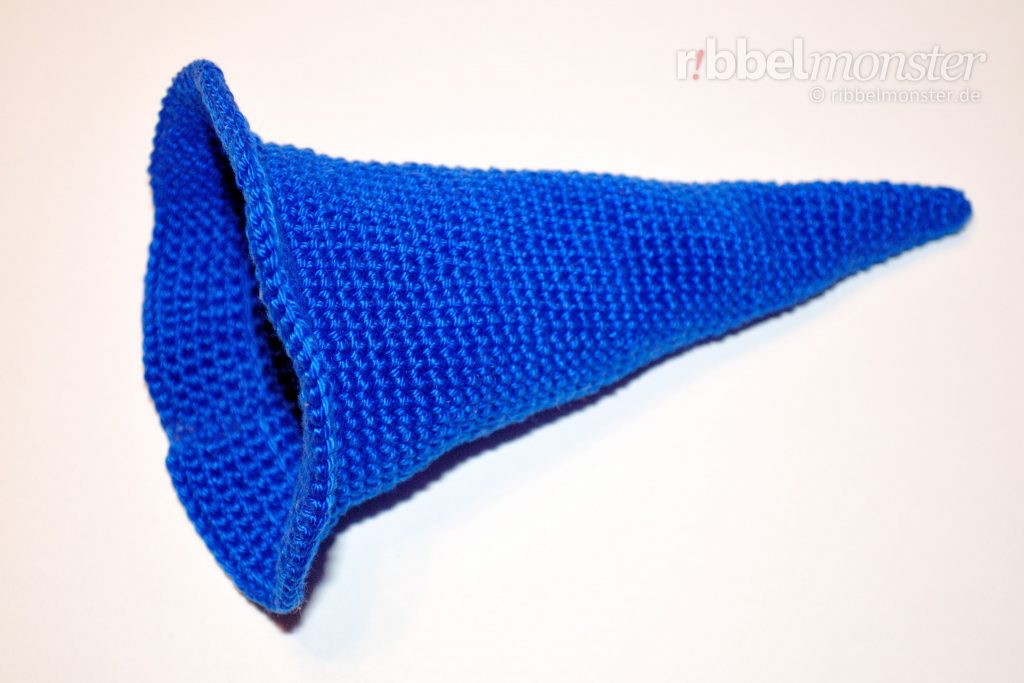
Crochet the wizard hat for the Crochet Wizard Gnome from tip to brim in spiral rounds using only double crochet stitches (UK!).
Tip: Wenn du ein besonders schönes Ergebnis erhalten möchtest, kannst du die regelmäßigen Zunahmen durch Versetzen ein wenig verstecken. Dazu verwendest du einfach die Maschentabelle für Kugeln und Kreise.
(Redaktion: Block ersetzen)
- blue:
- 1st round:
- magic ring
- into the magic ring:
- 6 double crochet stitches (UK!)
- = 6 stitches
- 2nd round:
- double every 6th stitch
- = 7 stitches
- 3rd round:
- double every 7th stitch
- = 8 stitches
- 4th round:
- double every 8th stitch
- = 9 stitches
- 5th round:
- double every 9th stitch
- = 10 stitches
- 6th round:
- double every 10th stitch
- = 11 stitches
- 7th round:
- double every 11th stitch
- = 12 stitches
- 8th round:
- double every 12th stitch
- = 13 stitches
- 9th round:
- double every 13th stitch
- = 14 stitches
- 10th round:
- double every 14th stitch
- = 15 stitches
- 11th round:
- double every 15th stitch
- = 16 stitches
- 12th round:
- double every 16th stitch
- = 17 stitches
- 13th round:
- double every 17th stitch
- = 18 stitches
- 14th round:
- double every 18th stitch
- = 19 stitches
- 15th round:
- double every 19th stitch
- = 20 stitches
- 16th round:
- double every 20th stitch
- = 21 stitches
- 17th round:
- double every 21st stitch
- = 22 stitches
- 18th round:
- double every 22nd stitch
- = 23 stitches
- 19th round:
- double every 23rd stitch
- = 24 stitches
- 20th round:
- double every 24th stitch
- = 25 stitches
- 21st round:
- double every 25th stitch
- = 26 stitches
- 22nd round:
- double every 26th stitch
- = 27 stitches
- 23rd round:
- double every 27th stitch
- = 28 stitches
- 24th round:
- double every 28th stitch
- = 29 stitches
- 25th round:
- double every 29th stitch
- = 30 stitches
- 26th round:
- double every 30th stitch
- = 31 stitches
- 27th round:
- double every 31st stitch
- = 32 stitches
- 28th round:
- double every 32nd stitch
- = 33 stitches
- 29th round:
- double every 33rd stitch
- = 34 stitches
- 30th round:
- double every 34th stitch
- = 35 stitches
- 31st round:
- double every 35th stitch
- = 36 stitches
- 32nd round:
- double every 36th stitch
- = 37 stitches
- 33rd round:
- double every 37th stitch
- = 38 stitches
- 34th round:
- double every 38th stitch
- = 39 stitches
- 35th round:
- double every 39th stitch
- = 40 stitches
- 36th round:
- double every 40th stitch
- = 41 stitches
- 37th round:
- double every 41st stitch
- = 42 stitches
- 38th round:
- double every 42nd stitch
- = 43 stitches
- 39th round:
- double every 43rd stitch
- = 44 stitches
- 40th round:
- double every 44th stitch
- = 45 stitches
- 41st round:
- double every 45th stitch
- = 46 stitches
- 42nd round:
- double every 46th stitch
- = 47 stitches
- 43rd round:
- double every 47th stitch
- = 48 stitches
- 44th + 45th round:
- (= 2 rounds)
- every stitch one stitch
- = 48 stitches
- 46th round:
- into the front loop only:
- double every 8th stitch
- = 54 stitches
- into the front loop only:
- 47th round:
- double every 9th stitch
- = 60 stitches
- 48th round:
- double every 10th stitch
- = 66 stitches
- 49th round:
- double every 11th stitch
- = 72 stitches
- 50th round:
- double every 12th stitch
- = 78 stitches
- 51st round:
- double every 13th stitch
- = 84 stitches
- cut yarn, pull through loop, secure and weave in the yarn end
Finish Wizard Gnome
Next, you can assemble all the parts with pins to see how they should fit. Start sewing only when everything is in the right place, and you are satisfied with the result.
Sew Nose onto Head
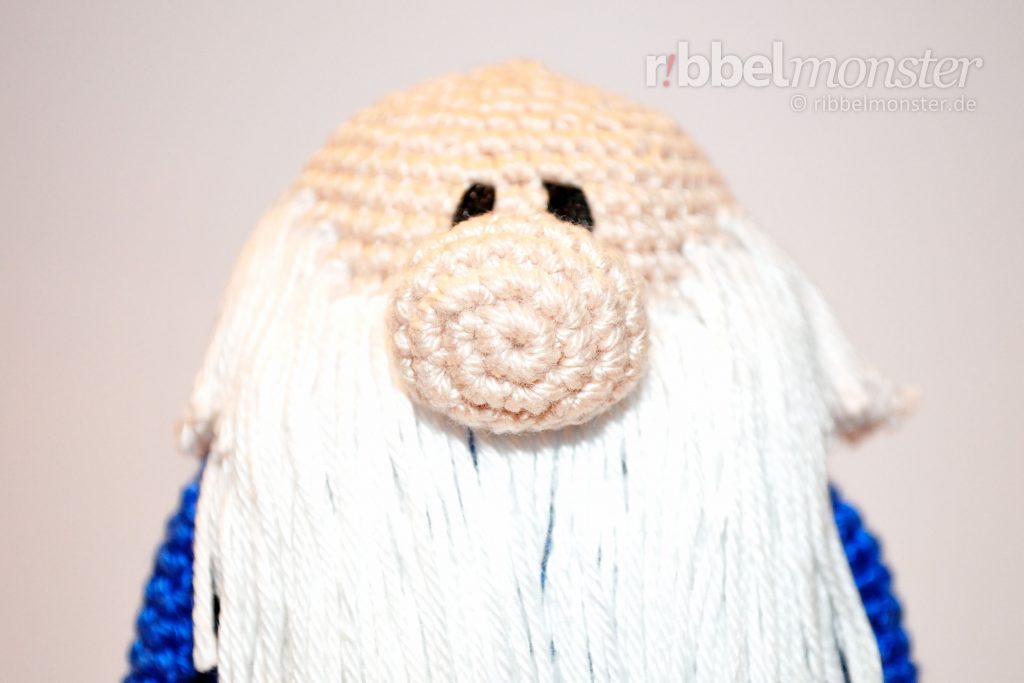
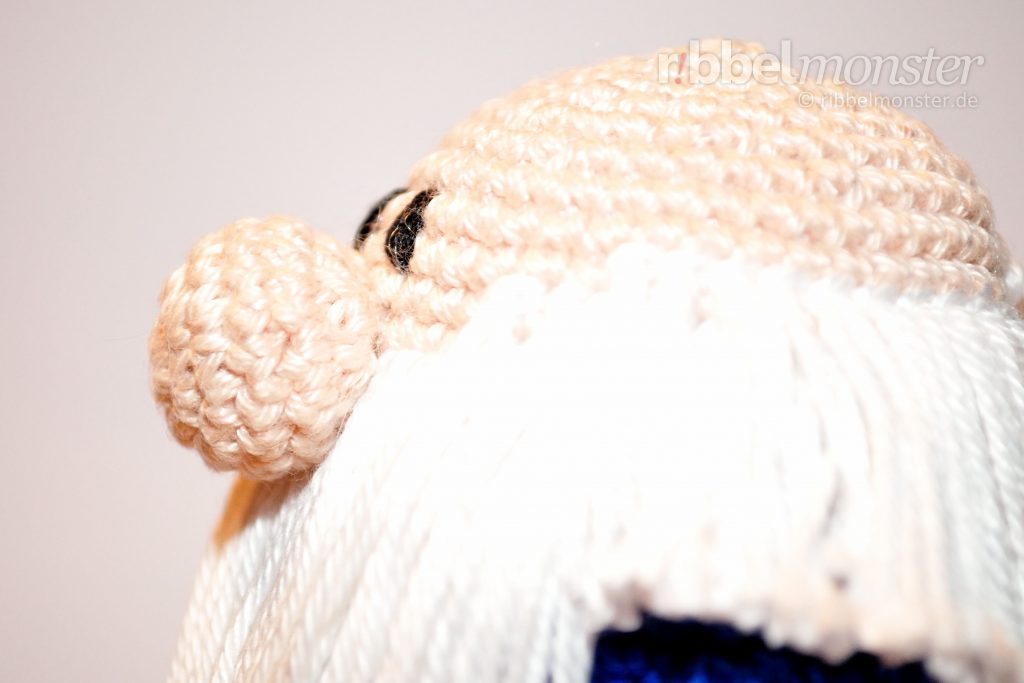
We start with the nose because it serves as our reference point for the center. It sits in the middle of the face and is sewn around between the second and fourth round above the collar. You can use the thread end for this, but make sure that the round transition from the collar on the body is on the back. Finally, secure and stitch the thread end inside the body.
Sew Arms to Body
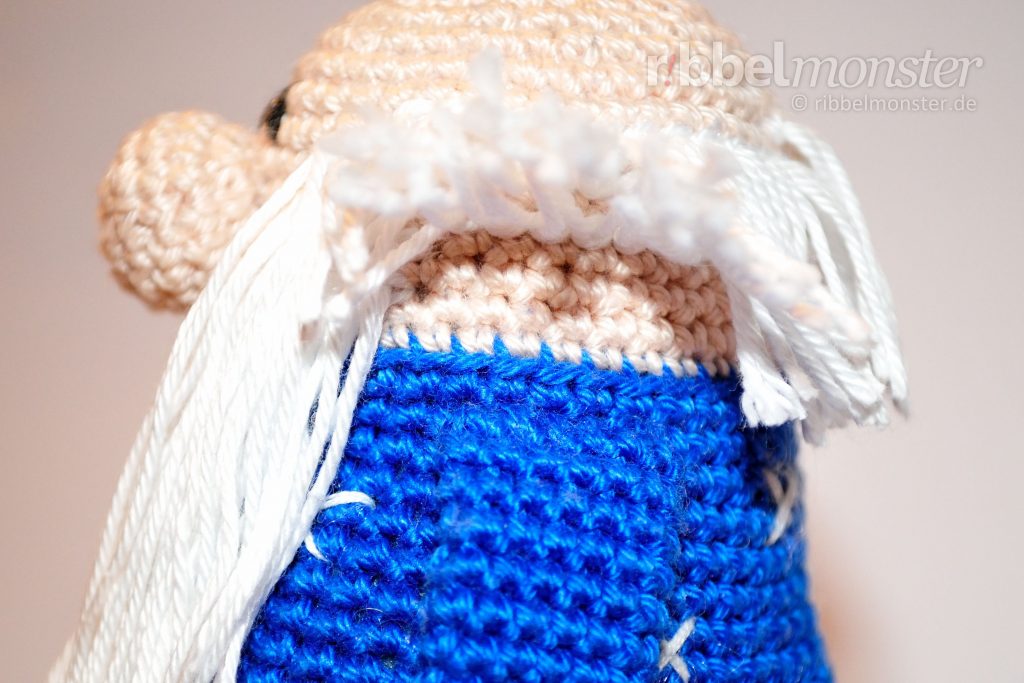
The arms are sewn flat folded one round below the collar, with the round transition on the inside. First, mark the two middle stitches of the round below the nose. Then, sew the arms with the thread ends about 16 stitches apart. These threads are also secured and stitched inside at the end.
Sew Legs to Body
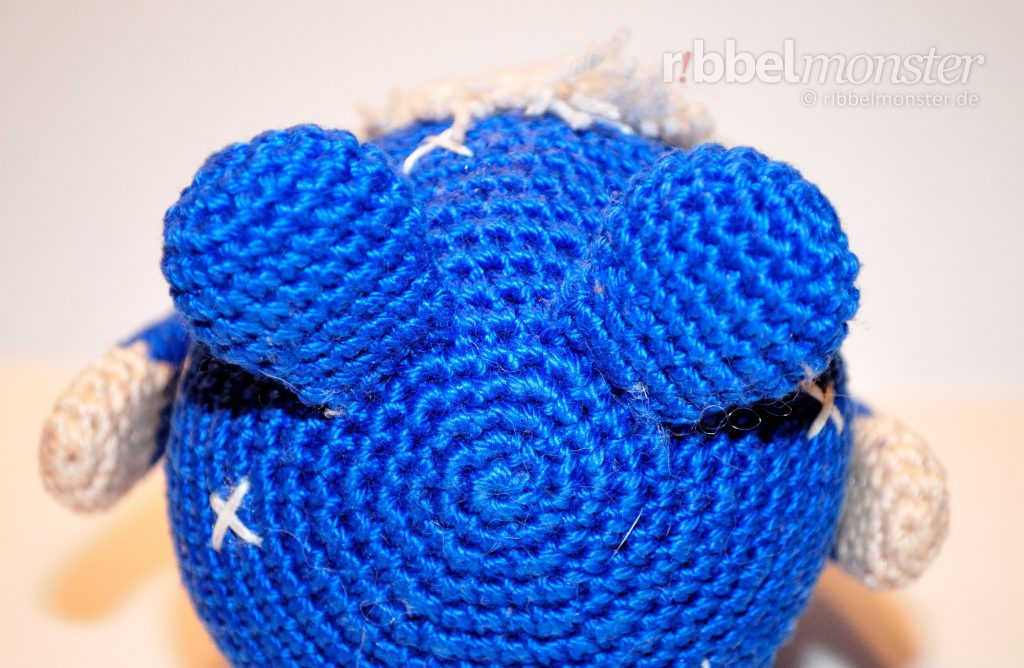
Next, mark a middle stitch at the lower end of the body to find the center between the legs. Then, lay your gnome on its back and sew the legs flat folded with the opening around the 6th round, leaving about 3 stitches apart between them.
Your gnome is already sewn together.
Attach Beard
Now you can attach the beard. Use threads that are 1 times as long as the blue body. Start in the round directly above the collar and work around all stitches from arm to arm. Work the two rounds above in the same way, inevitably omitting the nose. Now attach the sideburns on the outsides over 4 stitches in the next round and 3 stitches in the following round. Finally, shape the beard with scissors, if necessary. First, cut it to the correct length if necessary. Then, gently taper it from the sides to the center until the shape is right.
Attach Hair
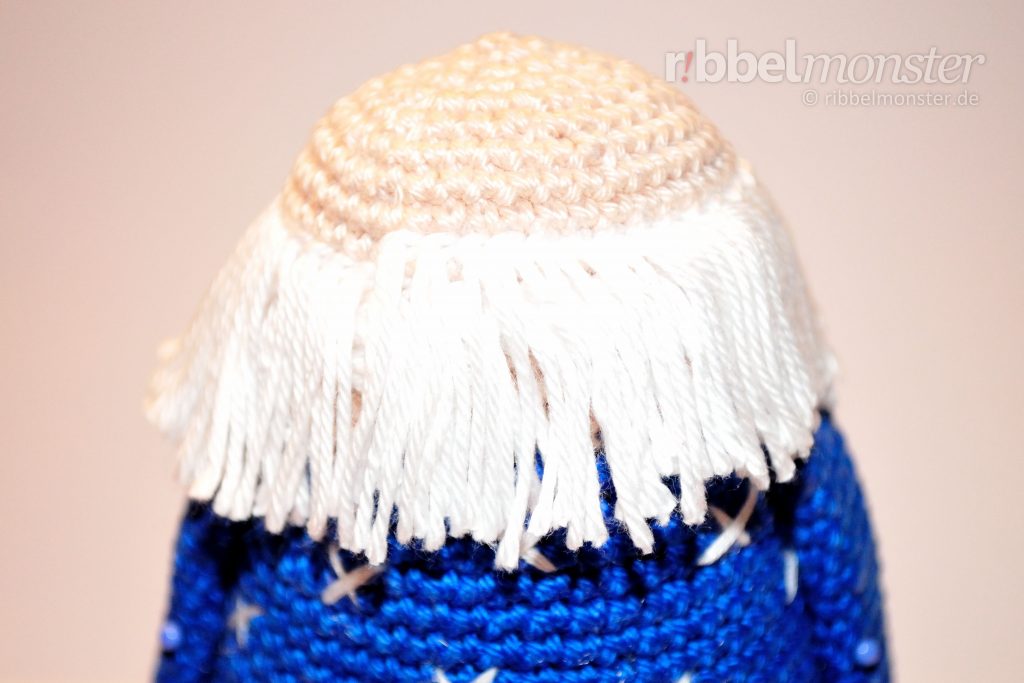
Afterward, you can also crochet a hair wreath. Use threads that are just long enough to knot. It starts at the level of the sideburns and extends down over 3 rounds. Make sure to work from the outsides to the center at the back of the head because there is a small offset at the center of the back of the head since the spiral rounds do not meet precisely. Then, cut all the hair from the hair wreath up to the height of the arm attachment and be careful not to shorten the sideburns.
Embroider Eyes
Now it’s time to embroider the eyes with black yarn above the nose. It’s important that the eyes are above the nose so they are not visible with the hat on. Simply stitch vertically around two stitches until the eye is the right size, and finally, secure the thread ends inside.
Embroider Stars
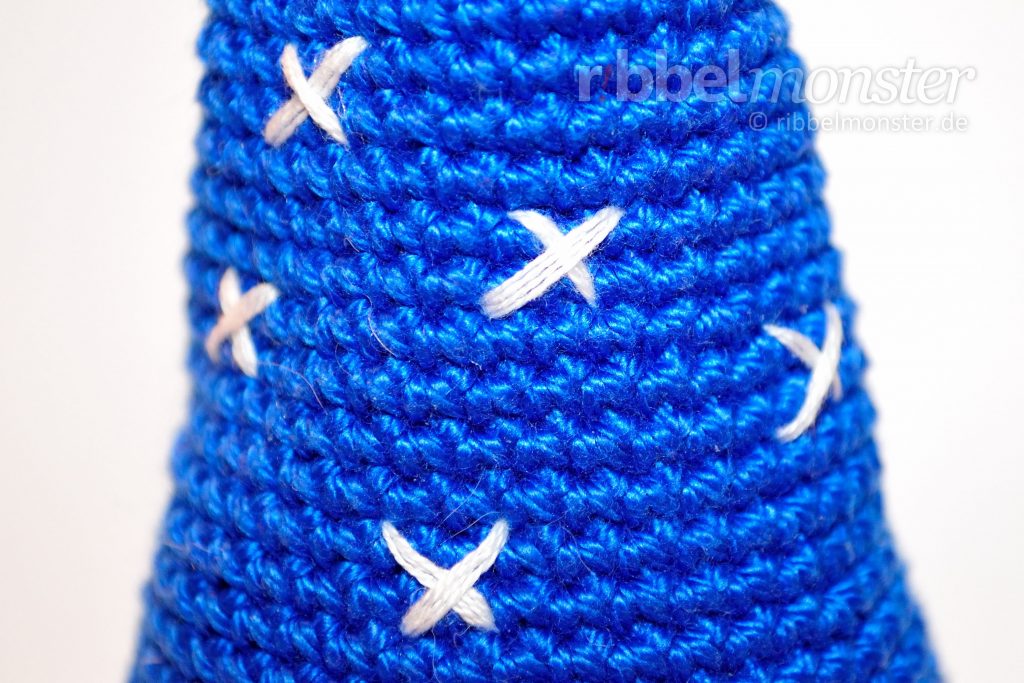
Use white embroidery thread to embroider stars on the hat and body. Each star consists of a cross that extends diagonally through a square of 3×3 stitch holes. Arrange the stars as evenly and randomly as possible and secure the thread ends inside each time.
Done!
Now you can put the hat on your crocheted gnome and enjoy its amusing appearance. It will surely bring a smile to everyone’s face when they take off its hat.
Your Amigurumi Wizard Gnome is now complete! I hope you had a lot of fun with the crochet pattern. We look forward to your next visit!
Hast du dich jetzt mit dem Wichtel-Fieber angesteckt? – Nicht so schlimm. Ich habe hier noch ein paar tolle Häkelanleitungen für niedliche Wichtel. Schau mal hier!
Wenn es dir zuhause an ein wenig Magie fehlt, dann kannst du dir einfach einen Zauberwichtel häkeln. Magnus Magicus zaubert deinen neugierigen Gäste mit Sicherheit ein tolles Lächeln ins Gesicht.
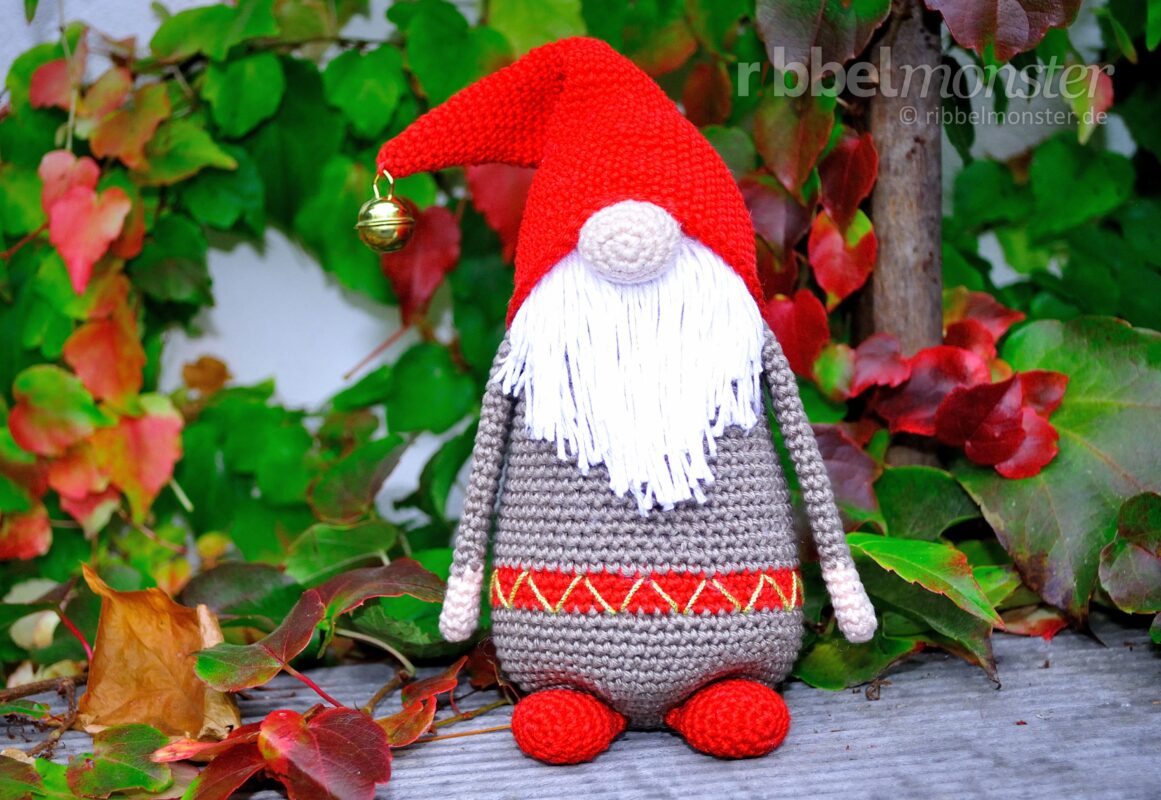
Passend zur Vorweihnachtszeit kannst du dir auch einen Weihnachtswichtel häkeln. Samtan Salaputius bringt bestimmt nicht nur Kinderaugen zum Strahlen.
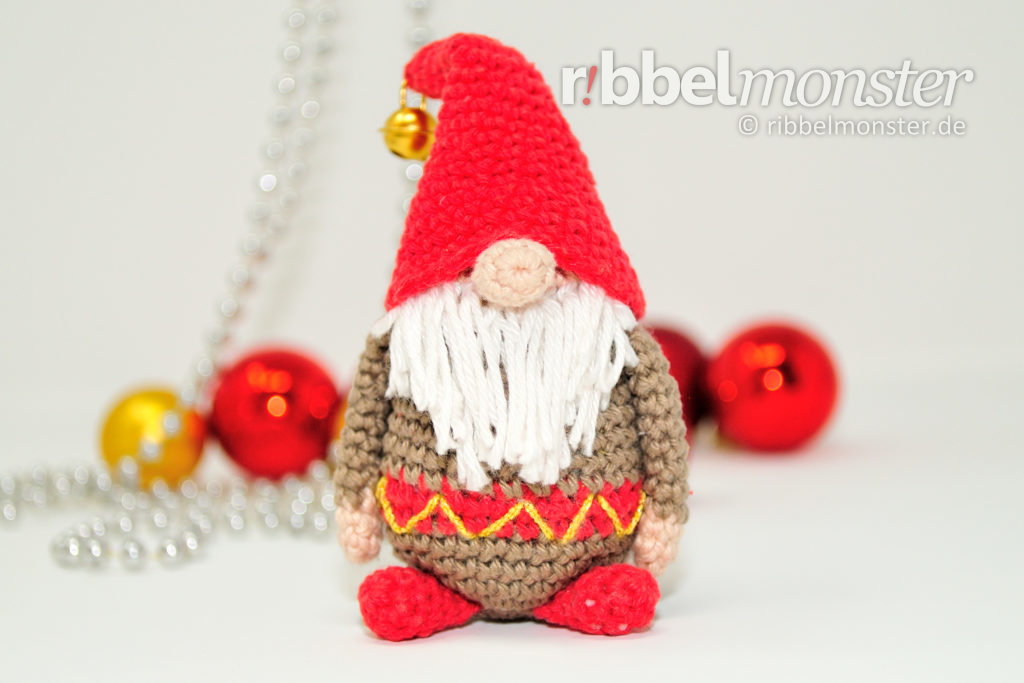
Von unserem Weihnachtswichtel gibt es übrigens auch noch eine kleine Version. So kannst du dir einen Mini-Weihnachtswichtel häkeln und überall dahin mitnehmen, wo noch Weihnachtsstimmung benötigt wird.
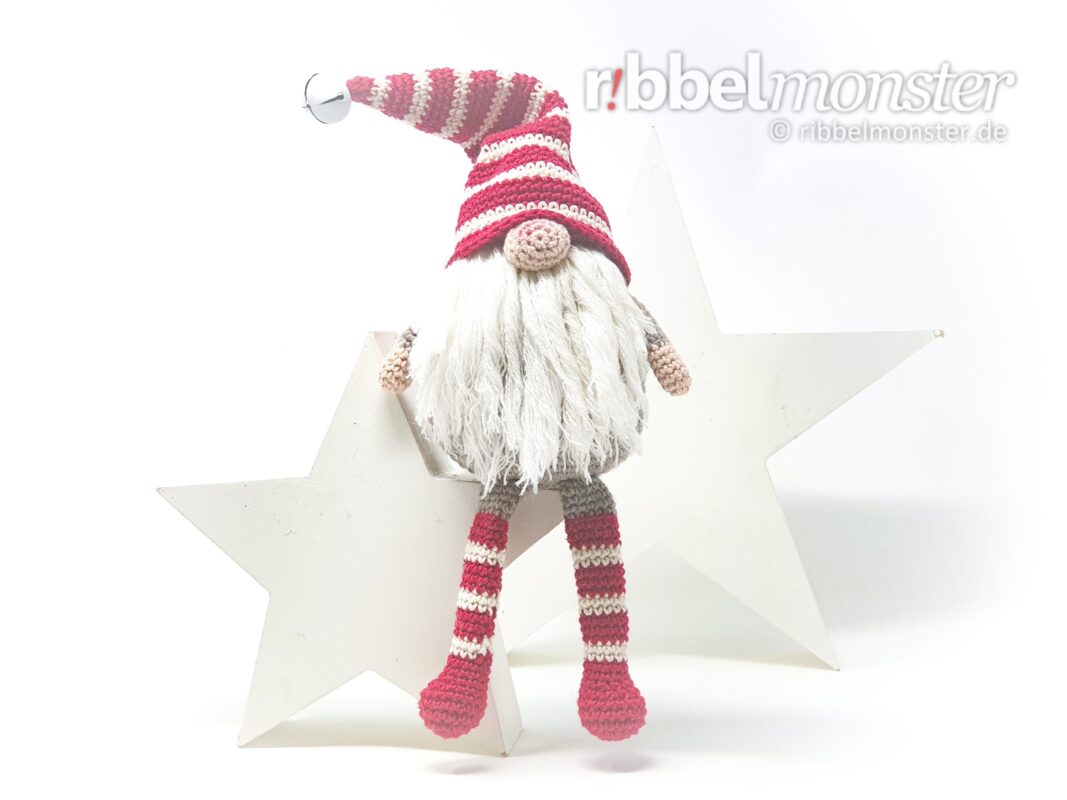
Und weil man irgendwie nie genug Weihnachtswichtel im Haus haben kann, findest du hier gleich noch eine Häkelanleitung für einen Weihnachtswichtel.
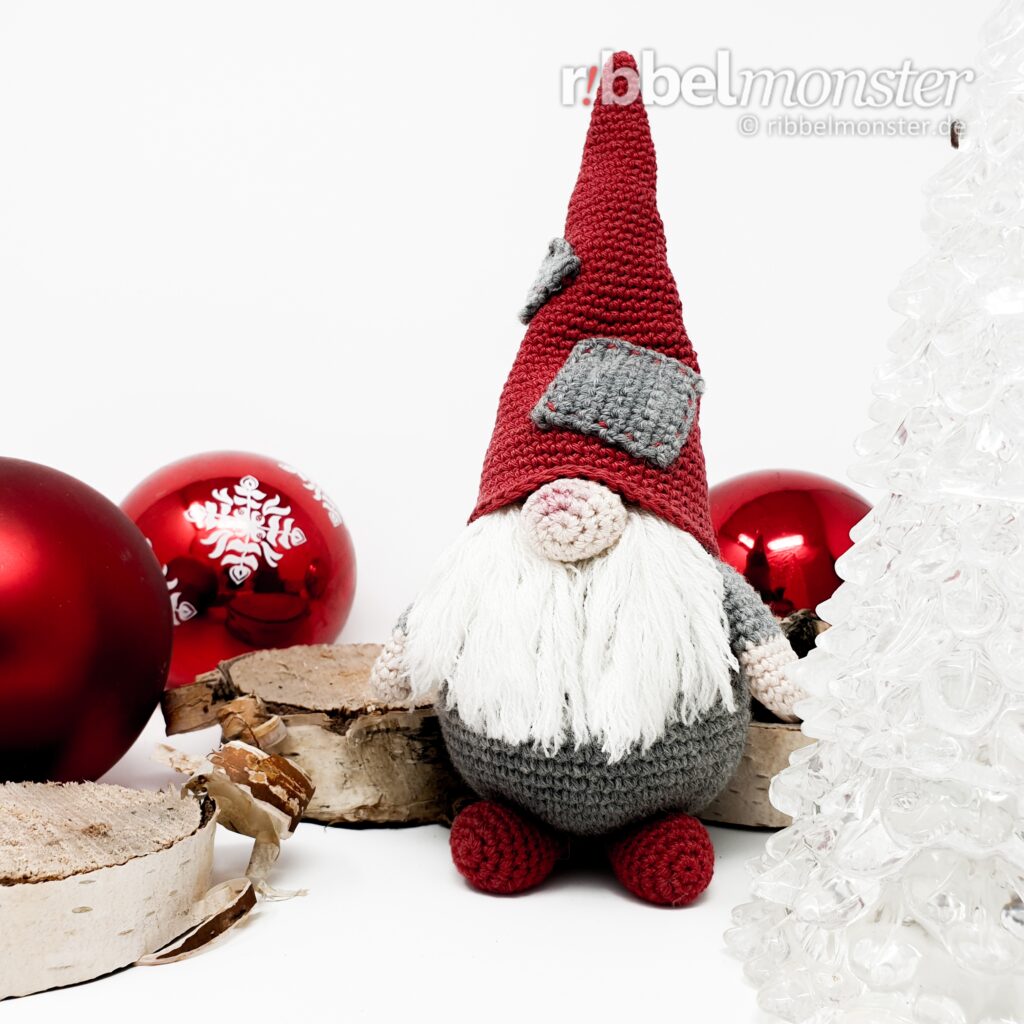
Wenn du gern einen Wichtel für das ganze Jahr haben möchtest, wäre vielleicht die Häkelanleitung für den Amigurumi Flickenwichtel genau das Richtige für dich.